Showing posts with label Die Cuts. Show all posts

WOW! Embossing Powder Creative Guest - Fabulous layout!


Hi Creatives! 

Welcome back for my second official post as a Creative Guest Designer for

WOW! Embossing Powder Blog

WOW Embossing Powder!

Yippeeee & lucky, lucky me!
If you missed my previous Creative Guest post earlier this month, you can check it out on their blog HERE.

For today's project I am focusing on incorporating more Glitter Embossing and Sparkles into your scrapbook layouts.
Here's what I'm talkin' 'bout.....

"Fabulous"


Oh how super cute & playful is this?!! 
So much glittery goodness here! 
You'll spy Black Twinkle, & Totally Teal Embossing Glitters, as well as those super sparkly, Celebration Sparkles! 
Here's a closer look at my layout....


Aboslutely darling!
And the best part? Well, it's super fun (& really easy) to recreate! 
Here's how....


Start with stamping the Pinkfresh Studio Heart & Soul Stamp set with the WOW! Embossing Pad, and then coat the images with WOW! Embossing Glitter in Black Twinkle. 


Use your WOW! Embossing Heat Tool to heat and set the Glitter Embossing Powder. 


Use the Heart & Soul coordinating metal die to precisely cut out the embossed image. 

(You will be amazed by the Black Twinkle Embossing Powder - see the close up below!)


Black Twinkle, indeed! Just look at that glittery result! SO incredibly beautiful!


Next, stamp up the owls, birds and butterflies from the Pinkfresh Studio Playful Animal Friends 1 stamp set, with the WOW Embossing Ink Pad. Sprinkle with WOW Embossing Glitter in Totally Teal, and heat set with the WOW Embossing Heat Tool. 


Be still my heart!!! Ga ga gorgeousness! 
This may a new favorite color of mine - so divine!!!


Fussy cut the embossed images to create your own glitter ephemera die cuts. 


Trim white cardstock to 11" x 11" and then use Pinkfresh Studio Liquid Watercolors in Sky Blue to paint a small circle in the center of the layout. Add a few gentle flicks of paint splatter around the circle too! 
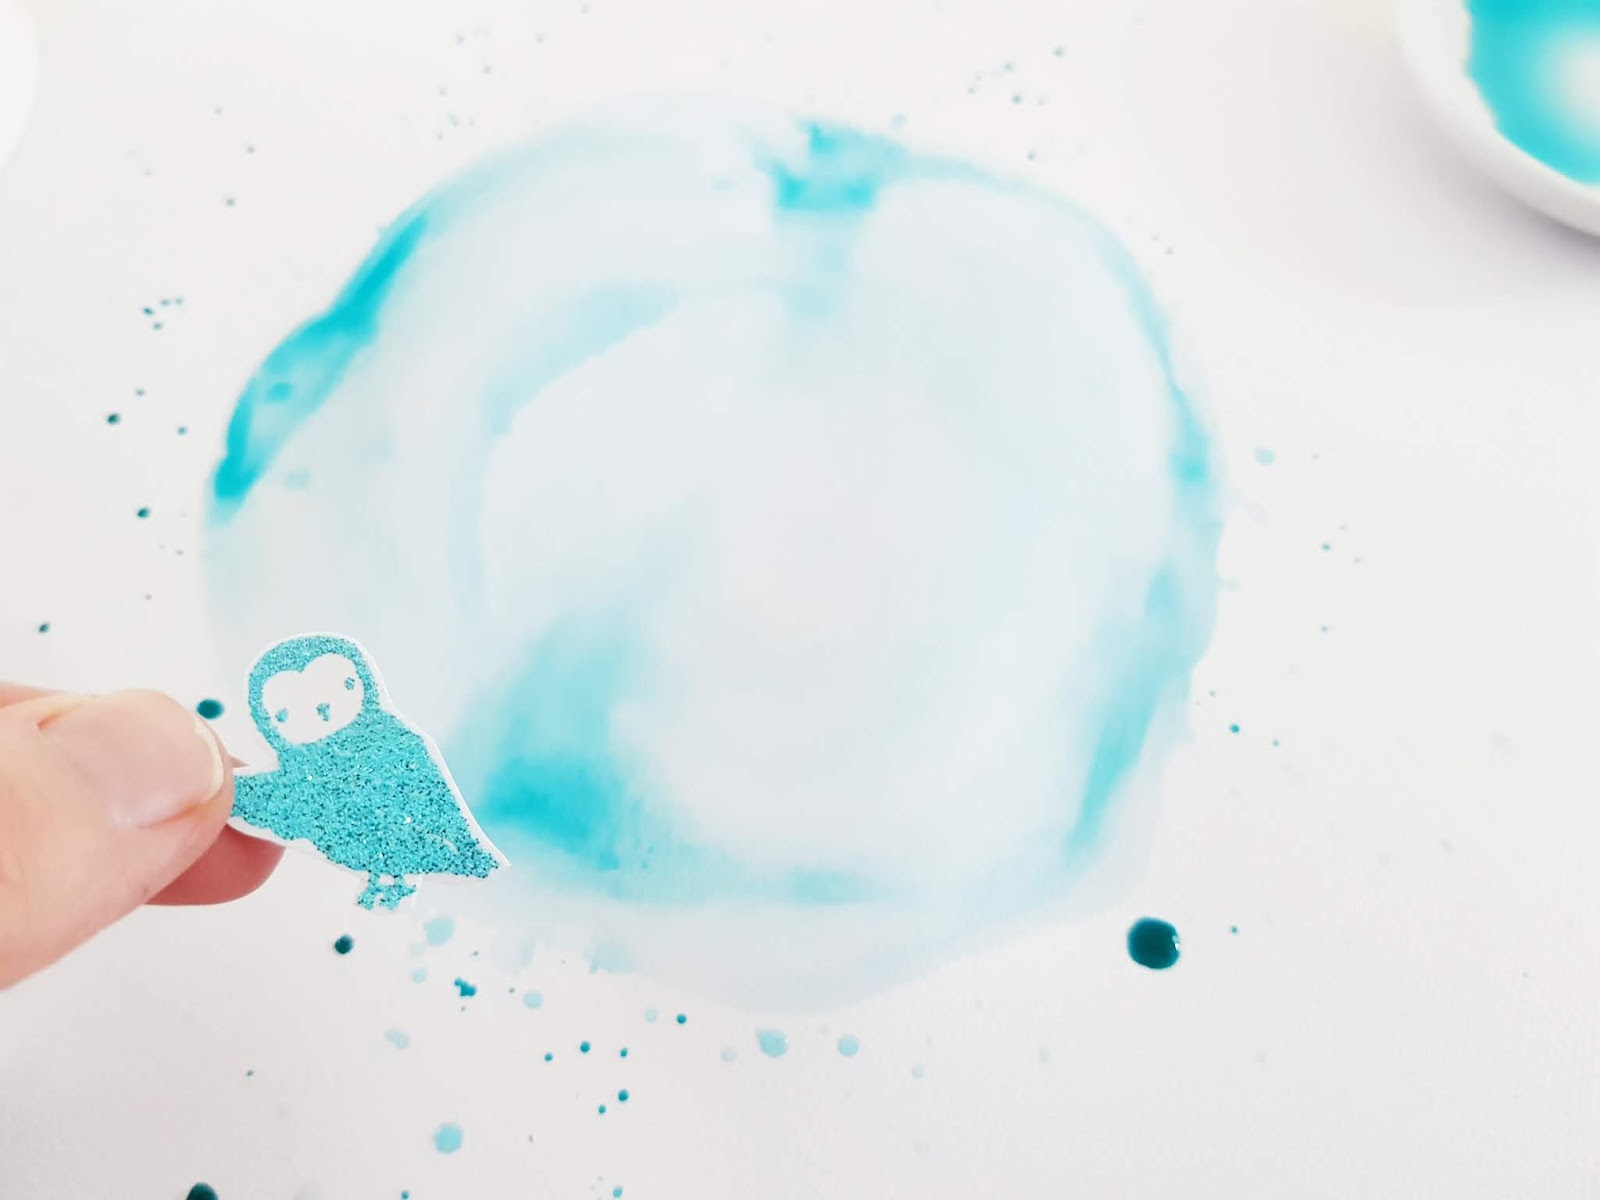

You can see the Sky Blue Liquid Watercolor is a beautiful match with the Totally Teal! 
SO pretty!!!


Attach the white cardstock to the Joyful Day 12 inch pattern paper called, Perfect Moment. This creates a soft border trim &looks really effective. Foam mount the Heart & Soul embossed image and tuck a framed photo beneath it. Embellish around the 'circle' with the Totally Teal Playful Friends. Add a Joyful Day ephemera tag and sentiment beneath the circle, and embellish with more of the Totally Teal Friends! 

For finishing touches, and that added WOW'Em factor, apply Celebration Sparkles to the layout....


The perfect glitter finish! 
To hold my Sparkles in place I applied a clear, fast drying glue sparingly around the design and sprinkled the Celebration Sparkles over the top. 


Add the layout title, I chose fabulous from the Joyful Day Puffy Phrase Stickers pack. 


Thankyou for making everything around me beautiful, 
Thank YOU for joining me today!

I really hope I have inspired you to incorporate the beautiful Glitter Embossing Powders into your memory keeping crafts! 

And a super big thankyou to WOW! Embossing Powder for inviting me to be their Creative Guest this month! 
I just adore the products and can't wait to share more inspiration with them! 

'til next time, 


Products Featured:

Cocoa Vanilla Studio: Loving Every Second Layout & Process Video


Hi Cocoa Vanilla Studio Friends!

 I am so excited to be sharing my take on this week's CVS design team fussy cutting theme!
I just love fussy cutting and the new HAPPINESS collection has so many perfect papers to snip away at! 
But enough chatter, here's my layout for today....

"Loving Every Second"


Sigh! Isn't this just divine?!!
Those fussy cut blooms from the CV-HA001 BOTANICAL BLISS paper are errrything! And I just adore this indigo, white, peach & blue color scheme - so, so pretty!
Here's a better look at my layout....


Swoon! Florals, butterflies, pretty colors and a giant heart - what could be more perfect for scrapbooking my two darlings?!
That indigo base paper is the reverse side of CV-HA001 BOTANICAL BLISS & just happens to be my favourite colour! So striking and it teams perfectly with the crisp white cardstock, and beautiful peach florals. Speaking of white cardstock, I trimmed mine to 11 inches square, and stitched it to that gorgeous indigo base paper. I layered the cardstock with the heart cut file, which I mounted with foam tape to create gentle texture & dimension. The heart cut file is actually the large die cut from the LARGE DIE CUT & BACKING KIT. Such an easy way to incorporate a cut file look without needing a digital cutting system! (and even better, you'll still have the beautiful backing paper left over for a future layout -  so win, win!)


Next, I layered fussy cut florals from the CV-HA001 BOTANICAL BLISS paper onto the large die cut. You'll also spy some fussy cut butterflies from CV-HA008 BRIGHT & BEAUTIFUL. Gorgeous!!!


There are also some sweet ACCESSORY STICKER & DIE CUT EPHEMERA butterflies and blooms too!
But it's that sweet framed photo in the center of the heart that really makes my layout!


I love making my photos the 'hero' of my page. Ultimately, that's why I scrapbook. Recording those precious memories & telling our stories is so important. I used a DIE CUT EPHEMERA wreath to frame my photo, and then foam mounted it over the central layer of fussy cut and DIE CUT EPHEMERA florals. 
My title is also from the DIE CUT EPHEMERA pack, and positioned to the bottom left of the framed photograph. Beautiful!


 I embellished the page with sequins from my stash of our 2015 LIFE IS BEAUTIFUL collection. (I *may* have been hoarding these pretties) For finishing touches, I applied the typewriter font journal stickers from the ACCCESSORY STICKERS sheet. Perfect!


Simple.Classic.Beautiful!
Fussy cutting is definitely 'a must do' with the HAPPINESS collection!
If you want to see how this lovely layout came together, please watch my process video here...


Thanks so much for watching!
I hope my video inspired you to get fussy cutting with your favorite Cocoa Vanilla Studio papers!
til next time,


Cocoa Vanilla Studio: Bloom & Grow with the Midnight Collection!


Hi Creative Friends!

Welcome back for more Cocoa Vanilla Studio awesomeness! 
Today I am sharing a super pretty layout with the divine MIDNIGHT collection! 
I just adore this gorgeous collection, and it's fast become my favorite collection of 2018! 
From beautiful patterns, sweet florals and a beautiful colour scheme this collection has it all! 
But enough of the chatter, here's my next layout with MIDNIGHT.... 

"Bloom & Grow"

Sigh! Isn't this just the prettiest?!!
It's no secret that I love ALL the floral things, and this is exactly why! So very beautiful!
If my layout looks a little familiar to you, you'd be correct! I'm actually taking inspiration from my own monochromatic layout from last month. 
It's called, "Our Happy Story" & looks like this......

Just divine! You can revisit this layout and blog post HERE
So sweet! 
You can see why I just had to create a pink version too! 
Highlighting just one colour, and creating monochromatic magic with the MIDNIGHT collection is really beautiful & so effective! 

For today's variation, I rotate the design, and opt for a more floral and feminine look! 
I feature the remaining half of the large mandala die from the LARGE DIE CUT & BACKING KIT (from last month's layout) and spray it in my favourite shimmering pink colours. I try to mimic the colours & tones from the 'Love This' die cut that features in the embellishment cluster in the top right hand side of my layout.  I just love how this turned out! 
A bright pop of colour, and with such depth, it allowed me to back the die with a busy pattern paper and not get 'lost'. Speaking of that floral paper, it's actually the reverse side of CV-MN007 INKY DEPTHS - yes, the paper I used to back my original design last month! #useallthethings! 
I think I need at least 20 sheets of this paper - it features both my favorite colour (indigo blue) and pretty florals!!! 
So I'm totally crushing on INKY DEPTHS! 
 You'll also note that I foam mount this floral backed, half LARGE DIE CUT & adorn it with gold sequins from our past HELLO LOVELY collection. Before I adhere it to my white cardstock base, I use the same shimmering pink sprays & the packaging technique to create a softened mixed media base. I do this where the half LARGE DIE CUT, and the vertical paper strips on the right, will be positioned. I then tuck a few floral ACCESSORY STICKERS, CLEAR STICKERS, DIE CUT EPHEMERA pieces & even floral CHIPBOARD ACCENTS alongside & beneath the LARGE DIE CUT rim. Amongst these florals, I also add my CLEAR STICKERS title Bloom & Grow, as well as some journaling with the typed ACCESSORY STICKERS. 
I select the gem like DIE CUT EPHEMERA as an unlikely, but very pretty, frame for my sweet ballerina photograph. I foam mount 2 CHIPBOARD ACCENTS blooms onto the rim of the LARGE DIE CUT. Next, I foam mount & layer my framed photo onto them. Lots of foam mounting in this layout to create dimension and clearly defined layers! 
Definition is important with so many pretty details! 
It really is a beautiful page for my darling girl! And such a happy moment to document! This photo was taken of her trying on all the Bloch Pointe ballet slippers for the first time - such a milestone moment for her! 
As we move across the page, you'll spot that softened mixed media layer. It is followed by a half inch strip of pattern paper CV-MN007 INKY DEPTHS (reverse side), and a 1 1/2 inch strip of pattern paper CV-MN009 SOPHISTICATED (reverse side also).  I love how these paper strips anchor my layout, and in particular, that LARGE DIE CUT.

Let's take a better look....
Stripes are always for the win, & I just LOVE the ombre pink stripes in pattern paper, CV-MN009 SOPHISTICATED! Over this pretty paper, I foam mount that gorgeous terrarium DIE CUT EPHEMERA, tucking a few die cut blooms beneath it. I add the Love This sentiment DIE CUT with thick foam tape too! 
For finishing touches, I scatter a few more of the HELLO LOVELY gold sequins! 

And there you have it!
 Beautiful layers, all the pink and lots of florals for my beautiful girl! 
I hope my layout has inspired you to get creating with the gorgeous MIDNIGHT collection! 
(& maybe try some monochromatic magic too!)

Thanks so much for visiting,
til next time,

Spellbinders: August Guest Designer!


Hi Friends! 

Welcome back for more Die-cutting inspiration & fun! 
I am super duper excited to be guest designing again this month for the amazing team at Spellbinders! 

 Shop Here


I love their fabulous product range and couldn't wait to create with more of their intricate metal dies. 
If you didn't see my first Guest Designer projects, 
you can check them all out HERE. 

For today's post, I received two gorgeous die sets to create with.....

from the Sew Sweet Collection by Tammy Tutterow

Shapeabilities Sew Sweet Trims Sew Sweet Collection by Tammy Tutterow

also from the Sew Sweet Collection by Tammy Tutterow

Shapeabilities Posies and Pennies Sew Sweet Collection by Tammy Tutterow

Aren't they both divine?!!
So many creative possibilities with both these dies! 

Here's what I have created.....


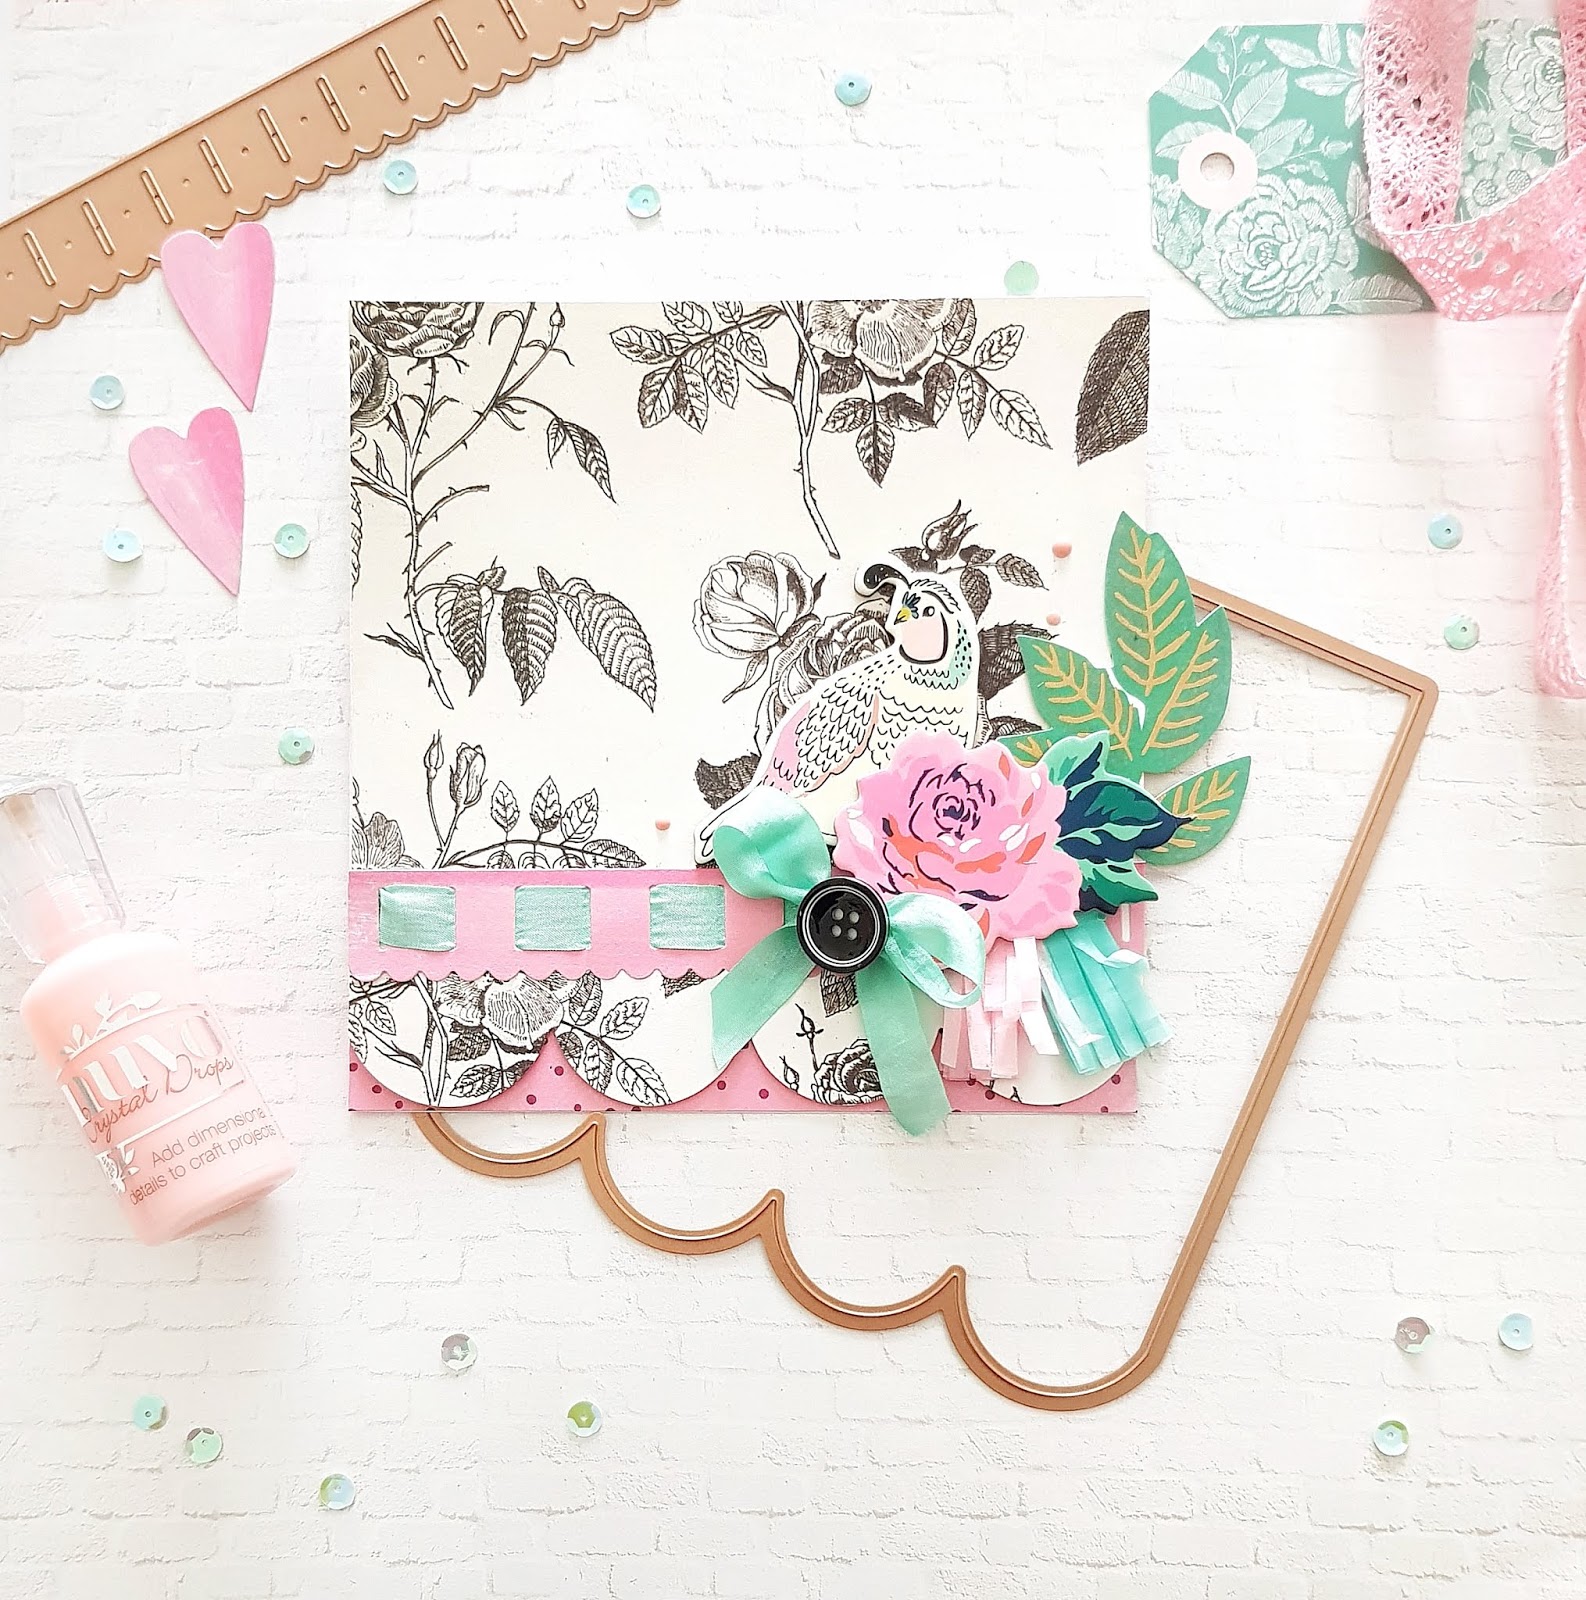
Sigh! Aren't they the prettiest?!!
So.much.gorgeousness!!!

I have combined the Crate Paper: Maggie Holmes: Flourish collection with these incredible dies for both of these dreamy cards!
The pink and mint color scheme is just divine! 

Let's take a closer look at them both....

"Hello Beautiful"


Hello beautiful, indeed!
For this card, I used the scalloped die to create the fancy 'trim' on my patterned paper card base. 
I then combined white cardstock & the faux stitched rectangle die to create my foam mounted card base. 
I die cut a mix of green pattern paper leaves, as well as a variety of the flowers. I layer the smaller flowers into the larger ones for added dimension & embellish the centers with buttons.
I use the small flag die as a banner, and anchor it with my card sentiment.  
For finishing touches, I add cotton floss, buttons and a tiny chipboard heart to complete this sweet greeting card!
Just gorgeous!

The second card is just as sweet.....


Oh.my.heart!!!
This is my kinda happy mail! So very beautiful!
 I combine both die sets for this pretty card!
I feature the scallop base for the fancy card front, & then embellish it with the Sew Sweet Trim. This particular trim is a fave of mine because, as you can see, it allows you to thread your ribbon through it! 
Talk about being both clever and pretty! 
Simple & sweet cards that will bring smiles to all who receive them! 

And speaking of smiles.... 
While I was originally typing this post, my sweet girl asked me to create a card for her to give.
In her own words, 'it needs to be fresh, young and fun - for a thirteen year old girl. And not too cutesy either' lol! She really makes me laugh! 
So I very quickly whipped up this 'young & fun' card using both die sets & the Pebbles Patio Party collection....

"Enjoy the Little Things" 


Fun, yes?! 
I hope she liked it! 

& there you have it! 
A few quick, & easy but oh so lovely cards with Spellbinders Dies!

Feeling inspired?
See more carfty ideas in the Spellbinders store HERE

Thanks so much for visiting today, 
til next time, 

Happy Arty Days, 
Amanda xo 

Spellbinders Guest Designer!


Hi Happy Arty Days Friends! 

I am so honoured (& a tad super excited) to be a Guest Designer this month for Spellbinders!


Spellbinders create the most beautiful and intricate metal dies - I LOVE them all!

For my post today, I am using the following dies.....


Etched Dies Good Vibes Only Collection by Stephanie Low


Etched Dies Good Vibes Only Collection by Stephanie Low 

I know, how pretty!!!
And so many creative possibilities too!
Here's what I've created with them....


Oh sigh! Aren't these cards just divine!?!!
I told you they are the most intricate and beautiful die cut designs! 
*Swoon!*

Let's take a closer look at each card.....


For my 'deer' love..... 
For this card I use the Crate Paper Maggie Holmes: Flourish collection, ribbon and Nuvo Drops in Bubblegum pink as well as both of the Etched Dies. 
You'll see that I have cut the Flowers Whisper die multiple times to create layers and dimension for that focal flower. I strongly recommend using a fine line glue for adhering those tinier, fiddly pieces together. I foam mount this feature flower onto the Leaves So Very Gorgeous die. The leaves are cut in white cardstock and I partially inlay them for added interest. 
Simple, pretty, layered dies! Love it! 


For my second card, "Grow with Love", I use the same papercraft supplies but also use the 
Hard to believe, but this gold foil card cuts like buttah!!!
Amazing!
For this card I use the other leaf flourish from the Leaves So Very Gorgeous set. I repeat cut it, and layer the two gold leaves with a white cardstock one.
 Lovely layers for beautiful results!
Absolutely Stunning! 

And because these dies are just SO pretty, I had to make one more card.....


Nothing says delicate beauty more than Cocoa Vanilla Studio!
I have used their More Than Words collection for this soft and pretty thankyou card.
This time, I cut the Leaves So Very Gorgeous die in pattern paper, and attacked it with my scissors!
Yes - all those leaves are all from the one die cut! Cut your die cuts to create new looks! Such a cool idea & doesn't it look lovely?!!

So very thankful to Spellbinders for having me Guest Design for them!

I hope I have inspired you to visit the Spellbinders Store HERE and see more of their incredible products!

Thanks so much for visiting,
til next time,

Happy Arty Days, 
Amanda xo 


Elle's Studio: Stashbusting the May Kit & Add-ons!


Hi Everyone! 

Today I am sharing how I use up the left overs of my Elle's Studio kits! 
Stashbust, kill your kit - call it what you want! 
The point is to use it all & be creative while we wait for our next kit to arrive!

The May Kit was an absolute stunner, and I made some truly pretty pages from it. 
But now what???
When I looked at what I had left over as a whole, there wasn't a commonality between anything!
I had a few 3 x 4 cards & one 4 x 6 card, and some Die Cuts left from the exclusive May Kit. 
I also had remnants of the Puffy Hearts & Play All Day Phrase Stickers, some of the Labels, as well as the Hazel Stamp!
 I had a bit of this and bit of that.... until I grouped everything by color!
Here's what I came up with.....

"Weekend"


How fun is this?!! 
Inspired by party banners, I decided to suspend my color blocked scraps together! 
I used some baker's twine & ink from my personal stash, but otherwise everything else is from the May Kit and Add Ons.  
Here's a closer look for you....


How did I get SO many pieces?
Lots of clever cutting from the May Kit 3x4 cards.

I used the negatives from the May Kit Die Cuts as a stencil and drew the hearts, stars and tabs on the left over 3 x 4 cards. I then fussy cut them out to reveal 'more' embellishments than I actually had on hand. 


While I had my trusty scissors handy, I also fussy cut the arrows from the 3 x 4 card that featured 5 arrows on it, as well as the left over labels. I also trimmed up the 4 x 6 card into smaller squares to matte beneath my photo. 
 I added the Play All Day Phrase Stickers to many of these embellishments, and then strung them along the twine in color blocks. 
To keep the design more cohesive, I kept the color blocks in rainbow order. 
Tip: Having analogous colors together is more orderly and pleasing on the eye!


To strengthen the color block feature, I repeat stamped the plus sign symbol from the Hazel Stamp. I stamped at varying angles to create a confetti appearance, and used coordinating inks. This stamping works beautifully with the banner design, and brings it all together!  


I position some of the Puffy Hearts onto the twine, and scatter others around the banner in their color block. 
To ensure my photo is the true hero of my layout, I place it in the center of my final banner. 


And there you have it! 
Kill your kit with a lil creative fussy cutting, stamping and color blocking! 
Hope this inspires you to use up the last of your May Kit! 

Thanks so much for visiting, 
til next time

Happy Arty Days, 
Amanda xo