Shimmerz Paints: Ice Cream Dream Layout & Process Video


Hi Creative Friends! 

Welcome back for Shimmerz Paints inspiration!
Today I am sharing a super sweet scrapbook layout (& process video) featuring a few of my favorite Shimmerz Paints products! 

Here's my Ice Cream Dream layout.....


Dreamy, indeed! 
Summer never looked quite so sweet! 

You'll spy lots of Shimmery goodness here:

and

Told you it was my favorites!!! 
Here's a closer look for you.....


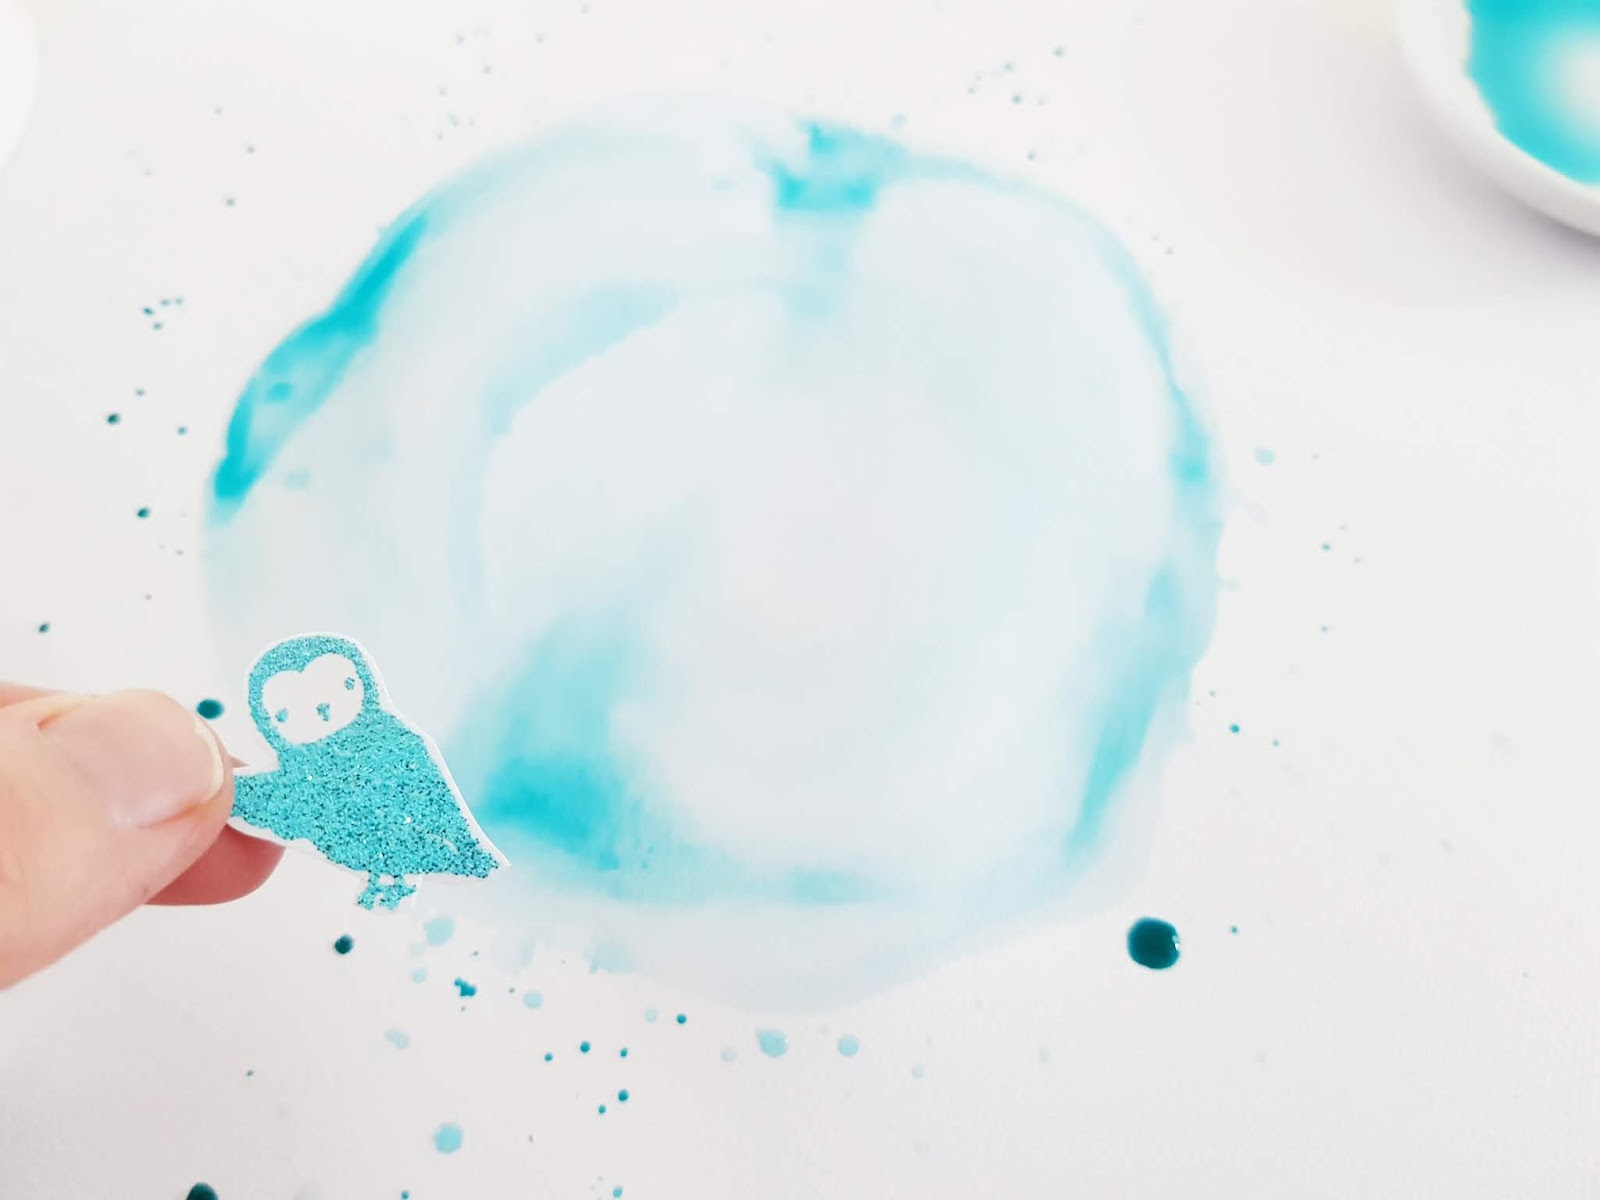
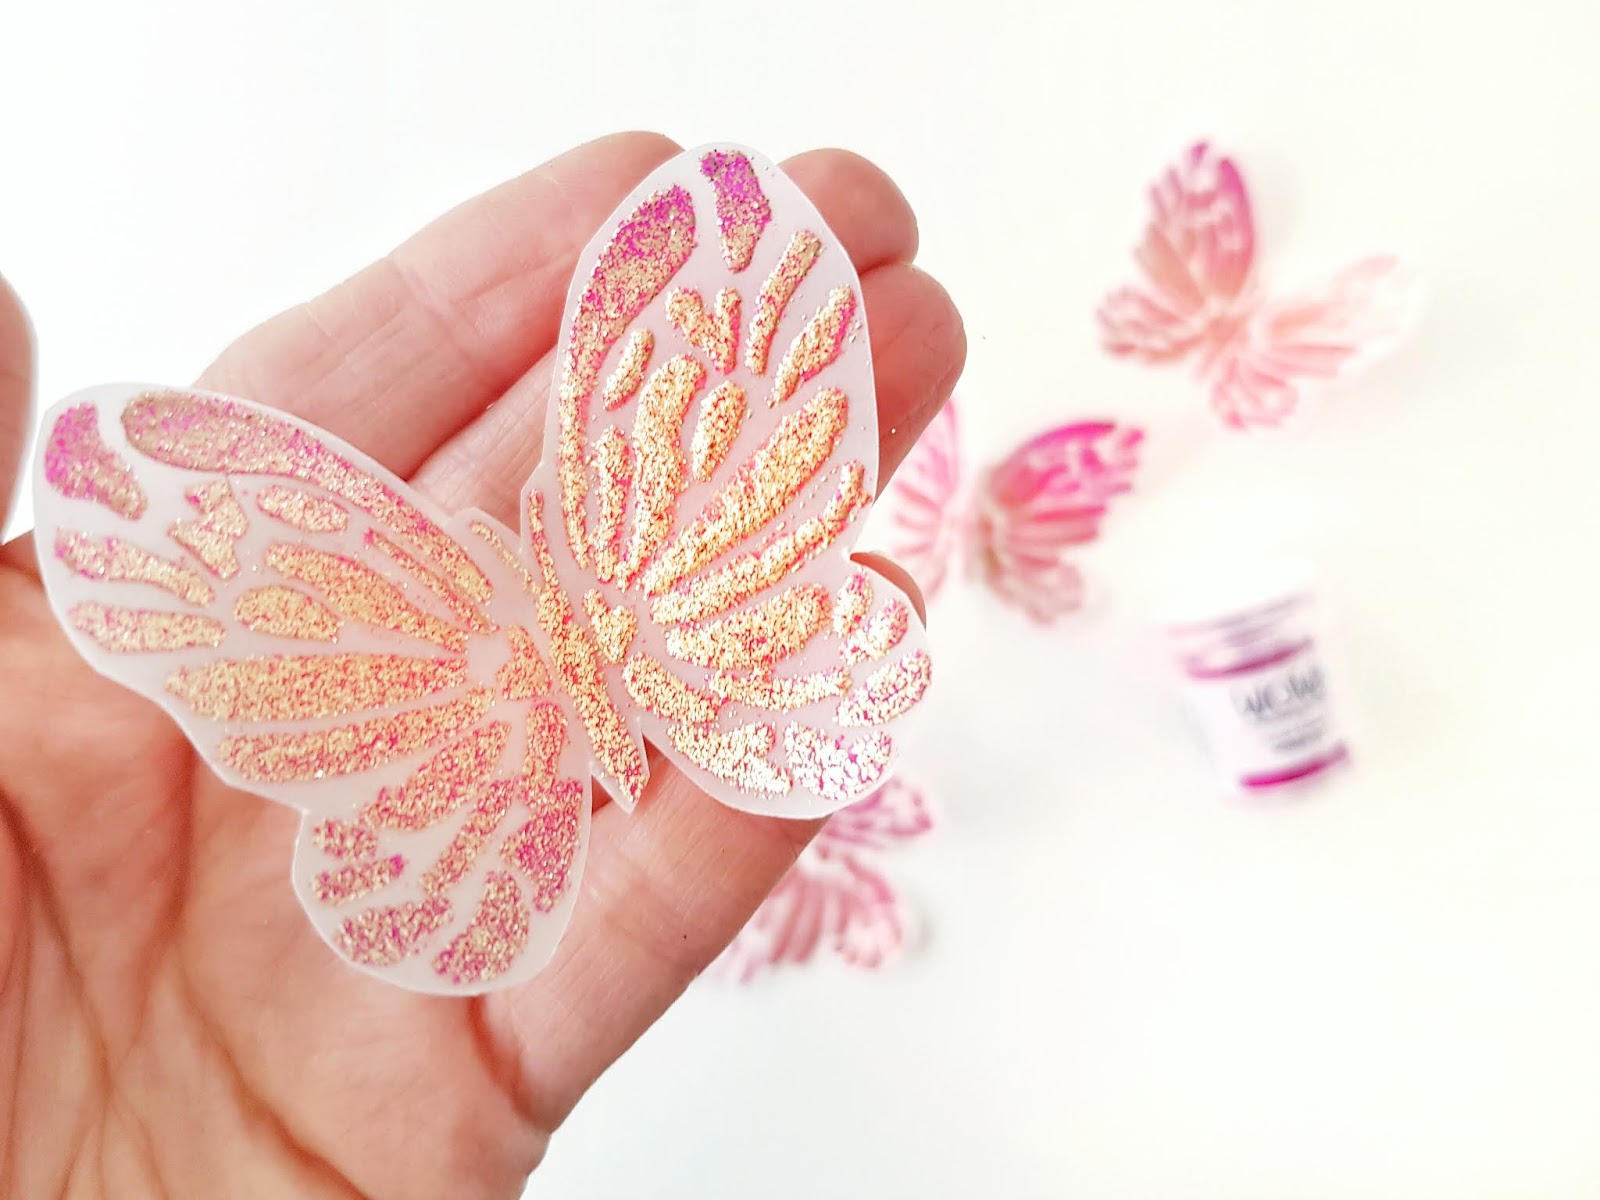
For this pretty page, I hand paint the Floral Frame 01 cut file from Cut To You, with Shimmerz Celery and Key Lime for the leaves, and then Shimmerz Lilac Blossom & Vibez Sweet Heart for the blooms. I just love how good this combination looks! Super pretty!


For my cardstock base, I apply a Peonies stencil with Dazzlerz: I Lilac You. Once dry, I fill around the stencil area with Creameez: Sky's The Limit & apply a few splatters of Vibez Princess too! 


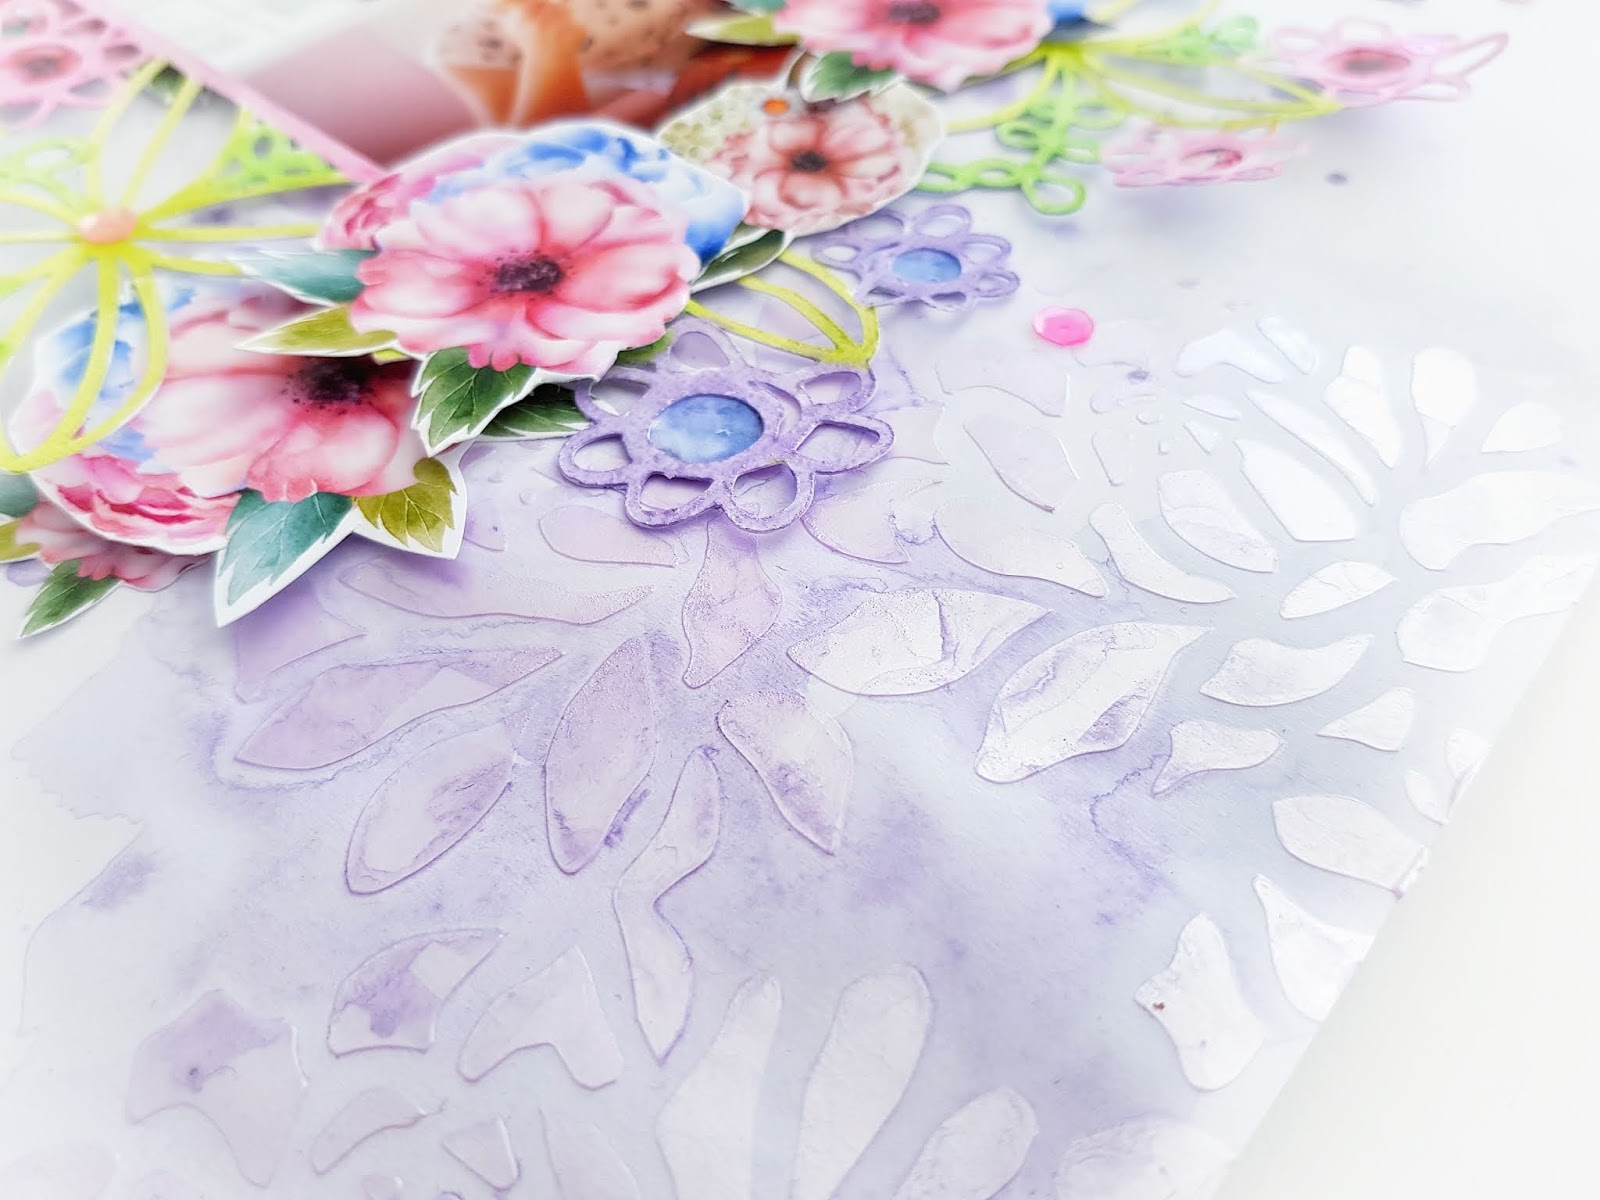
It's a really soft and subtle result, and flatters the delicacy of my design! 


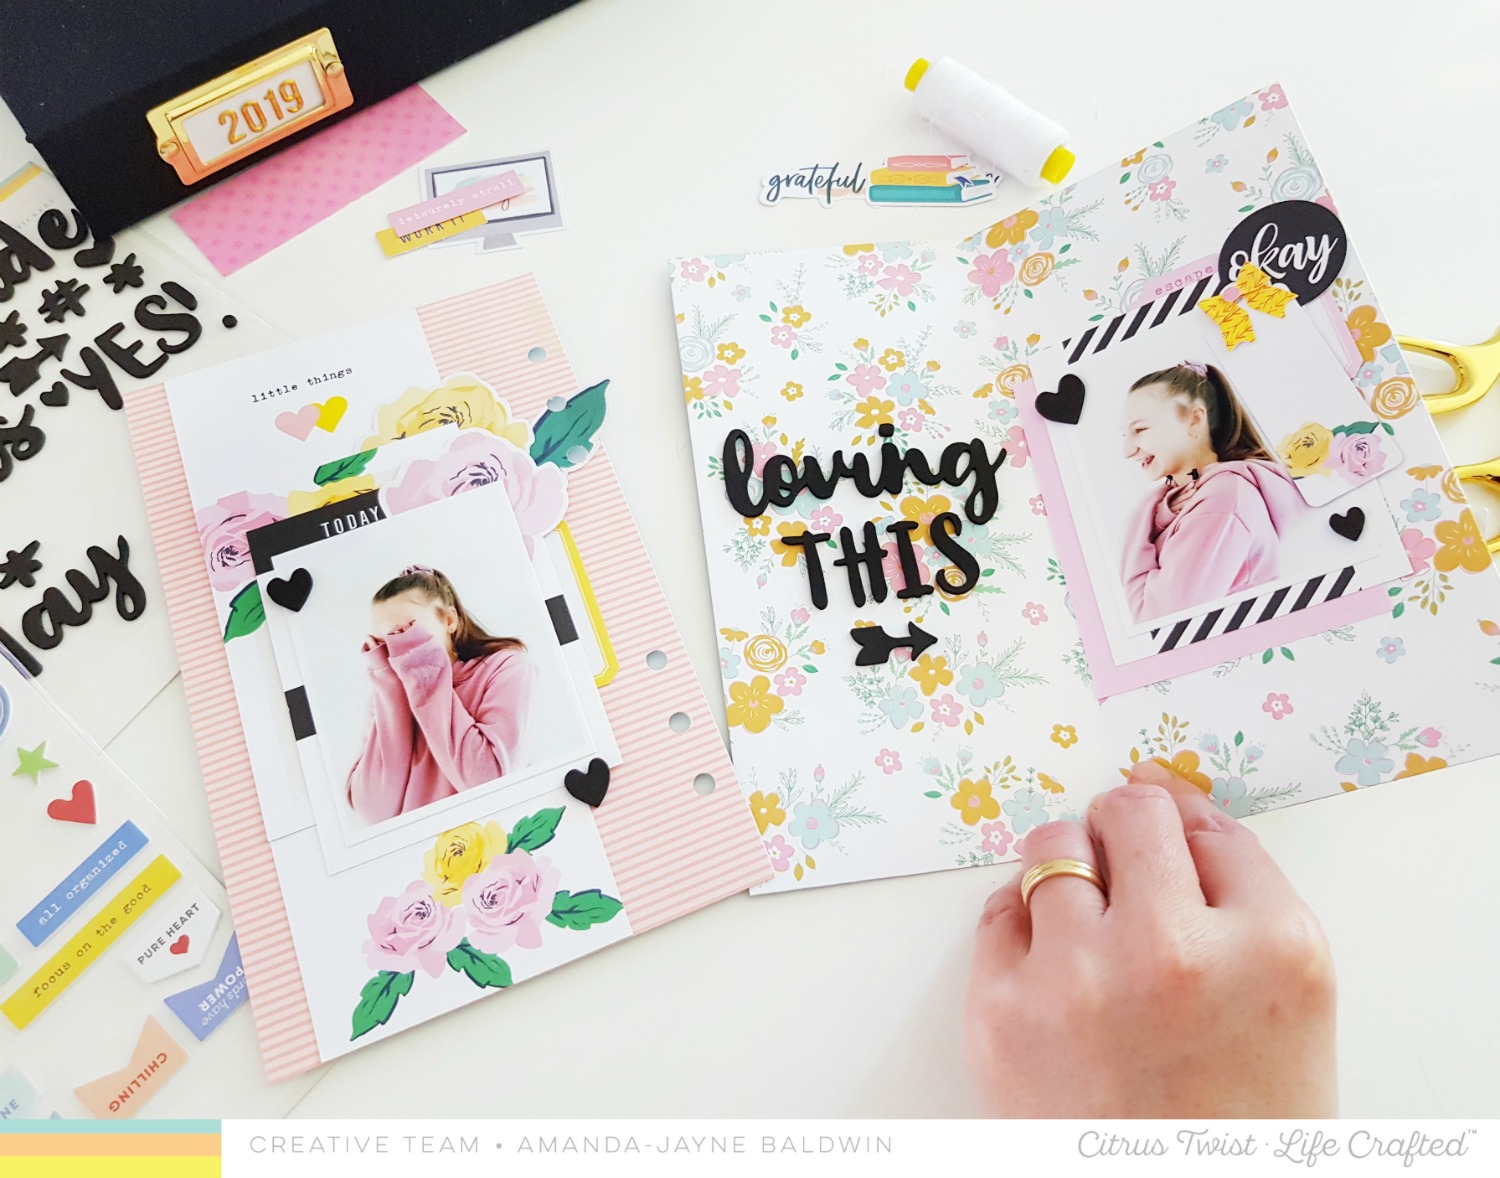
To embellish my darling photogrpah & page, I am using the beautiful Ice Cream Parlour digital collection from Tinker N Co Digital. I love that with digital collections you can print off as many die cuts and papers as you need! 


You'll also spy some of the Freezin' For A Reason sequins from our friends at Spiegel Mom Scraps. Yay! Everything coordinates so beautifully!


Want to see more of how this layout came together?
Please watch my Process Video HERE


Thanks so much for watching! 
I hope I have inspired you to get painting today! 

Need supplies?
Remember that typing code AMANDA in the comments section of your Shimmerz Paints store order will earn you a FREE paint! Yesss! 


til next time, 


Cocoa Vanilla Studio: Mixing Up Collections!


Hi Friends!
Welcome back for more beautiful, memory keeping inspiration!
Today I am sharing a layout created for the Cocoa Vanilla Studio Design Team'Mix It Up' theme!
Think old meets new, girl meets boy - you get the idea! 
Such a fun theme to create with!

Here's my layout.....

"One Of A Kind"


Wow! Isn't this gorgeous?!!
I've combined the awesome BOYS RULE collection with our newest line, HAPPINESS. I just love how fabulously they coordinate together, despite their very distinct differences! You'll spy my fave pattern papers from the BOYS RULE collection, CV-BR009 GOOD TIMES, and CV-BR008 ENTITLED (reverse side) as the background for this sweet page! I love how the blue swirls from ENTITLED mimic the water, and the fun pattern from GOOD TIMES subtly hints at the sun rising behind the water. So cool! To add more depth and interest to this layout base, I also foam mounted the water.
That fabulous cut file swan (What's Going Swan? courtesy of Cut To You) has also been backed with BOYS RULE pattern papers.  You'll spot the reverse side of CV-BR009 GOOD TIMES, as well as off cuts from CV-BR006 BOY STUFF. The swan is also foam mounted for added dimension, & to really draw attention to my sweet framed photo.
 Here's a closer look at it......


Sigh! This is just the sweetest!
My photo is embellished with a DIE CUT EPHEMERA frame from the BOYS RULE collection, and carefully tucked beneath the swan's wings. Surrounding the swan, I tuck a gorgeous arrangement of floral DIE CUT EPHEMERA pieces from the HAPPINESS collection, and then layer a floral ACCESSORY STICKER over the swan for added interest. 
The final embellishments for that decorative swan are some ENAMEL DOTS from my Cocoa Vanilla stash (possibly from MAKE A WISH & MADE OF AWESOME lines) and a foam mounted, DIE CUT EPHEMERA title, One Of A Kind
Simple. Sweet. And just a lil lovely!


To complete my darling page, I adorn the background with a mix of sequins, ACCESSORY STICKERS, and DIE CUT EPHEMERA pieces that I position in alignment with the sunburst pattern from the GOOD TIMES paper. 
Here's another view for you.....


Mixing collections needn't be tricky if you just keep to a pleasing aesthetic. 
Simple design = a beautiful result, every single time!


The HAPPINESS florals are just SO beautiful, they make everything lovely!


And there you have it! 
My fun take on the Cocoa Vanilla Studio 'Mix & Match' theme!
I hope I have inspired you to mix & match a few of your Cocoa Vanilla Studio supplies for a fabulous new look!

Thanks so much for stopping by today!
til next time, 

WOW! Embossing Powder Creative Guest - Fabulous layout!


Hi Creatives! 

Welcome back for my second official post as a Creative Guest Designer for

WOW! Embossing Powder Blog

WOW Embossing Powder!

Yippeeee & lucky, lucky me!
If you missed my previous Creative Guest post earlier this month, you can check it out on their blog HERE.

For today's project I am focusing on incorporating more Glitter Embossing and Sparkles into your scrapbook layouts.
Here's what I'm talkin' 'bout.....

"Fabulous"


Oh how super cute & playful is this?!! 
So much glittery goodness here! 
You'll spy Black Twinkle, & Totally Teal Embossing Glitters, as well as those super sparkly, Celebration Sparkles! 
Here's a closer look at my layout....


Aboslutely darling!
And the best part? Well, it's super fun (& really easy) to recreate! 
Here's how....


Start with stamping the Pinkfresh Studio Heart & Soul Stamp set with the WOW! Embossing Pad, and then coat the images with WOW! Embossing Glitter in Black Twinkle. 


Use your WOW! Embossing Heat Tool to heat and set the Glitter Embossing Powder. 


Use the Heart & Soul coordinating metal die to precisely cut out the embossed image. 

(You will be amazed by the Black Twinkle Embossing Powder - see the close up below!)


Black Twinkle, indeed! Just look at that glittery result! SO incredibly beautiful!


Next, stamp up the owls, birds and butterflies from the Pinkfresh Studio Playful Animal Friends 1 stamp set, with the WOW Embossing Ink Pad. Sprinkle with WOW Embossing Glitter in Totally Teal, and heat set with the WOW Embossing Heat Tool. 


Be still my heart!!! Ga ga gorgeousness! 
This may a new favorite color of mine - so divine!!!


Fussy cut the embossed images to create your own glitter ephemera die cuts. 


Trim white cardstock to 11" x 11" and then use Pinkfresh Studio Liquid Watercolors in Sky Blue to paint a small circle in the center of the layout. Add a few gentle flicks of paint splatter around the circle too! 


You can see the Sky Blue Liquid Watercolor is a beautiful match with the Totally Teal! 
SO pretty!!!


Attach the white cardstock to the Joyful Day 12 inch pattern paper called, Perfect Moment. This creates a soft border trim &looks really effective. Foam mount the Heart & Soul embossed image and tuck a framed photo beneath it. Embellish around the 'circle' with the Totally Teal Playful Friends. Add a Joyful Day ephemera tag and sentiment beneath the circle, and embellish with more of the Totally Teal Friends! 

For finishing touches, and that added WOW'Em factor, apply Celebration Sparkles to the layout....


The perfect glitter finish! 
To hold my Sparkles in place I applied a clear, fast drying glue sparingly around the design and sprinkled the Celebration Sparkles over the top. 


Add the layout title, I chose fabulous from the Joyful Day Puffy Phrase Stickers pack. 


Thankyou for making everything around me beautiful, 
Thank YOU for joining me today!

I really hope I have inspired you to incorporate the beautiful Glitter Embossing Powders into your memory keeping crafts! 

And a super big thankyou to WOW! Embossing Powder for inviting me to be their Creative Guest this month! 
I just adore the products and can't wait to share more inspiration with them! 

'til next time, 


Products Featured:

Citrus Twist Kits: "Around Here" Life Crafted Inspiration!


Hi Friends! 

Welcome back for more Citrus Twist Kits inspiration!
Today I am sharing an interactive page in my Life Crafted Album using the gorgeous 
Missed seeing the June Life Crafted Kit?
You can check it out HERE 
(& if you're really lucky there might be one or two still in stock  - Goodluck! ) 

Here's my latest creating with this sweet kit....


Oh, how pretty is this?!!
Lots of lovely layers with the 3" x 4" journal cards & die cut ephemera. The page on the left, 'Today', also features that gorgeous 3" x 8" bookmark. Pink, yellow, striking black and florals - LOVE!!!


The page on the right "Well loved little things"is the interactive page, and also features the Pinkfresh Joyful Day pattern paper, "Just Right" from the CTK June Scrapbooking Add On Kit. 
I trimmed this paper to 12" wide x 8" long, then scored down the 8" length every 4 inches across (creating 3 even fold lines). I concertina folded the pattern paper, and adhered the last fold flap onto the back of the previous fold - think a book cover that opens the wrong way. 


Open the flap cover to reveal.....


...the last photo from this funny story!
Our sweet teenage girl isn't always happy anymore, but this day she was! Loving This! 


So very pretty!
That tiny bow that's pinning the rose tag into place is from the fabulous Bows Cut File
which you can download HERE. 


Here's another view at that lovely page....


The Black Puffy Foam Phrase & Icon Stickers from this month's kit are errrything! SO cool!
I use the heart icons on every page to help unify the design. The pop of black against all the sweet pink & yellow is really something! 
Gor-jus!!!

It's no secret that the Life Crafted Kits & Albums are perfect for documenting your everyday life stories! 
I hope that you've enjoyed seeing my pages & are excited to get creating too! 

Get all your Citrus Twist Kits Life Crafted supplies in the shop HERE.

Thanks so much for stopping by, 
til next time, 


Cocoa Vanilla Studio: Love Here & Now!


Hi Creative Friends! 

Welcome back for more Cocoa Vanilla Studio inspiration!
Today I am sharing another super pretty page with the delightful HAPPINESS collection!
It's no secret that I adore florals, so when it came to documenting this photo of me and my puppy, I just had to use them all! 
Here's what I'm talkin' 'bout....

"Love Here & Now" 


So super pretty! Gimme all the florals! 
Love here & now, so much!
 If you know me, you'll also know my love for the color blue! Needless to say, I started my layout with the reverse side of the fabulous CV-HA003 GOOD VIBES pattern paper. Absolutely gorgeous! Such a pretty blue, and it compliments my photo background perfectly - win, win! I centered an 11" x 11" sheet of white cardstock over this paper, to create a white 'clean' background for my super bright & colorful page.


Next, I cut the fabulous bloom cut files from the exclusive HAPPINESS DIGITAL FILES which you can download from the shop HERE. I backed the leaves with the B-side of CV-HA004 FRAME OF MIND and the blooms with the pink watercolor paper from the 6 x 8 PAPER PAD. I positioned these larger cut file blooms in the left hand corner of my layout to create interest & anchor my open wreath design. DIE CUT EPHEMERA florals and leaves tuck into one another to form the remainder of the open wreath shape. I predominantly used pink and orange pieces, as these floral die cuts contrasted with the blue border trim beautifully!


 I layered pink & orange watercolor swatch CLEAR STICKERS beside the cut file blooms. I tucked my photograph into and beneath the cut file blooms, and over the CLEAR STICKERS base. Next, I foam mounted an ACCESSORY STICKER onto my photo. To finish off my photo cluster, I added the foam mounted DIE CUT TITLE (love) and a heart ACCESSORY STICKER.


I chose to extend my title with the ACCESSORY STICKERS 'here + now' sentiments, which I applied to the right hand corner of my layout.


I added the typewriter font phrases (also from the ACCESSORY STICKERS sheet) around the wreath to tell a little of my story, as well as more sticker hearts.


'Love You More' sequins from SpiegelMom Scraps, as well as some fussy cut butterflies from pattern paper CV-HA008 BRIGHT & BEAUTIFUL are added to my layout for finishing touches. And there you have it!


Simple, bright & beautiful memory keeping at its best! 
You just can't go wrong with the gorgeous HAPPINESS collection.
I hope you have enjoyed seeing my layout today 
& feel inspired to get creating!

Thanks so much for stopping by,
til next time, 


Citrus Twist Kits: June Life Crafted Kit & Scrapbook Process Video!


Hi Friends! 

Welcome back for more Citrus Twist Kits goodness! 
The June Life Crafted Kit - 'Around Here' is all kinds of gorgeousness,
and today I am sharing my latest layout,
& process video with it! Yay! 

If you've missed seeing what I've already created with this yummy kit so far, you can go back and check it out HERE.

Here's my latest layout, 

"Let The Fun Begin"


Oh, isn't this fun indeed! 
This kit is jam packed full of the brightest, most colorful pattern papers and divine embellishments! 
I couldn't resist using lots of these delicious products for this pretty page!

You can see how I create this layout in my process video here:


Thanks so much for watching! 
I hope I have inspired you!

Here's a few pretty close-ups.....


I love creating for Citrus Twist Kits, and the Around Here Kit was perfect for documenting this happiness! All the craft related ephemera, bright n fun patterns, and those lemons just screamed Citrus Twist to me! 


From the vibrant pattern papers to the amazing clear stamps, this kit has it all! 
If you're SUPER fast, there *might be one still available in the store HERE.


Perfect! 

I hope you enjoyed checking out my video,
and are inspired to get creating with your Life Crafted Kits! 
Have you considered a CTK subscription?
Not only do you save $$$, but you also receive lots of exclusive items just for subscribers, plus you'll never miss out on getting your kit! Win, win! 
See more about the benefits HERE. 

Thanks so much for joining me today, 
til next time, 


WOW! Em June Creative Guest - Lovely Layout


Hi there, crafty friends!

 I am so super dee duper excited to be this month's creative guest for

WOW! Embossing Powder Blog

WOW Embossing Powder! 

I know, awesome!
For today's post I wanted to showcase how easy it is to incorporate glitter embossing into your scrapbook layouts! 
Here's what I'm talkin' 'bout....

"Lovely"


Sigh! So.much.pretty!!!!
Did I mention that Florida Sunset Glitter  is my new FAVE powder?!! 
Like seriously, how amazing is that sparkle?!
LOVEEEEEE!

Let's take a closer look....


Lovely, indeed!
Simple, beautiful & super easy to recreate!
Here's how....


Take your WOW! Embossing Pen & use it to draw (or stencil color ) a butterfly onto clear vellum. 


Sprinkle generously with WOW! Embossing Glitter: Florida Sunset WS95R(O).


Use your WOW! Embossing Heat Tool to heat set the powder. 
Just look at that gold!!!


Repeat process until 5 Florida Sunset butterflies are created. 


Fussy cut each butterfly. 
Ahh-may-zing! Told you that this glitter was something else!!! 
Absolutely MAGICAL!


Paint a watercolor heart onto 12 x 12" white cardstock. 


Once dry, draw in a few more 'heart lines' with the WOW! Embossing Pen. 
This will add  both interest to the layout & really highlight the heart shape. 


Sprinkle & heat set with the fabulous Florida Sunset Glitter Embossing Powder!
Such an effective result!
To complete the layout, embellish the heart with the fussy cut Florida Sunset butterflies, some of your favorite scrapbook supplies (I used Cocoa Vanilla Studio: Happiness collection), photo & title! 
Voila! 
Super simple, but oh so beautiful scrapbooking with WOW! Glitter Embossing Powder!

Here's a couple of pretty close ups for you.....


Such gorgeously rich colors & intense sparkle!


WOW, indeed!!!!


And there you have it! 
WOW! Embossing Glitter is just errrrrything to me right now! 
I hope I have inspired you to use these awesome powders on your next creative project (or even scrapbook layouts) - 
Trust me, you'll be SO happy with the result!

Thanks so much for stopping by today!
I'll be back later in the month with more creative inspiration,

til then, 

Products Featured:
WOW! Embossing Pen 
WOW! Embossing Glitter: Florida Sunset WS95R(O)
WOW! Embossing Heat Tool
Clear Vellum Acetate
Cocoa Vanilla Studio: Happiness Collection 
Watercolor Paints