Cocoa Vanilla Studio: Flying High: That's My Boy!


Hello everyone,
Welcome back for more Cocoa Vanilla Studio inspiration!
 I am still so super-dee-duper excited about being part of this incredible DT!
Just loving it!
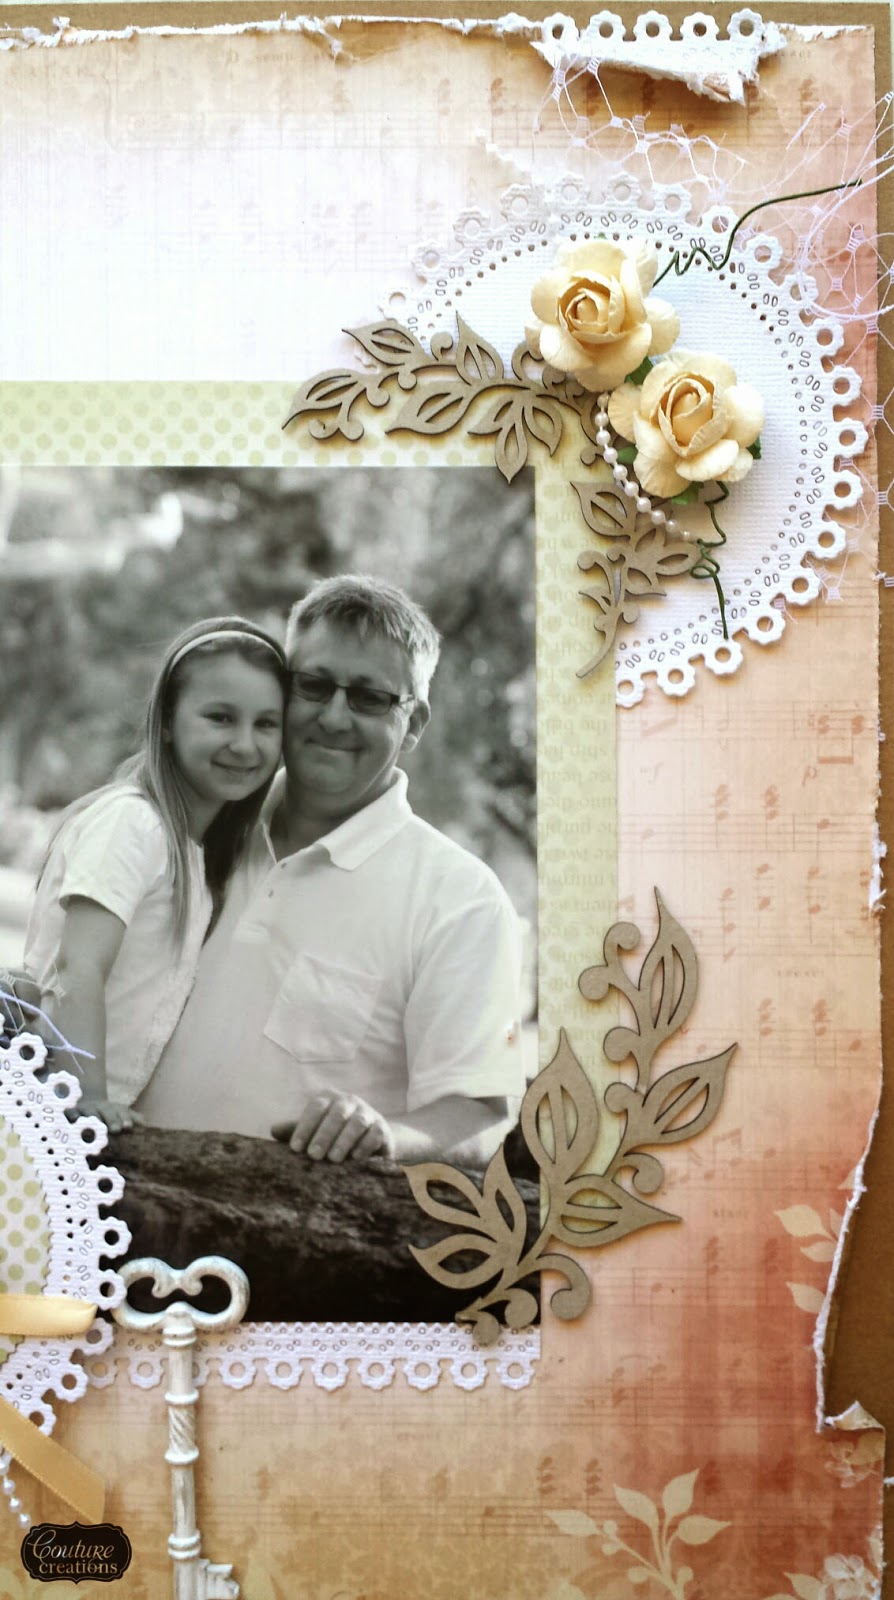
Today I am sharing a super fun boy page I created using the awesome
Flying High collection.


I know - too much fun!!!
There are so many playful elements to Flying High,
&
I just LOVE how they partner so perfectly together!
Here's my first take with Flying High..........
"That's My Boy" layout
2015-02-10 08.32.32
I know, soooooo much fun going on here!!!!
And where to start? So many fabulous elements that make up this super fun boy page.
Obviously, the patterned papers are just a statement all on their own -
for me, they are all about happy, mischievous, playful little boys AKA made for my lil Mister A!
I think that's why my layout is so fun too; it's a real reflection of my oh-so-happy, hillarious lil guy -
hence, 'That's My Boy' journal card title. Yep, just perfect!!
Let's take a closer look......
2015-02-11 22.50.36
Oh wow! I am totally infatuated with the Flying High wood veneers!
They are so intricately detailed and really add that 'finishing touch'.
FYI: Yes, I did use an entire packet on this layout -
but then look at how many of these beauties you receive in the pack?!! Awesomeness!
2015-02-11 22.49.21
Speaking of awesomeness, aren't those flair buttons just the coolest?!! Another of my favourite embellies!
You'll also spy some of those fantastic cork stars too - & stickers!
Yep, all those stickers are from Flying High!
OMGoodness, there's just so much Flying High love on this layout it's about to take off, lol!
2015-02-11 22.47.48
Okay, so there are a few small items featured on this page that aren't from Cocoa Vanilla Studio...
The background is made from gesso, gelatos & a cool stamp, there's a lil black sharpie pen, a staple or 2, a few paper flowers & some twine from my stash but that's it.
Everything else you see on this layout is Flying High!
I know, this collection totally rocks!!!
2015-02-11 22.46.59
From stars & clouds, to bunting and airplanes, this collection has definitely got it all.
So much fun indeed!
2015-02-10 08.32.32
Love how this layout turned out,
& I hope it has inspired you to get creating with this fabulous new collection
Thanks for visiting,
Happy Arty Days,
Amanda xo

Altered Chalkboard Heart with Imaginarium Designs


Hi everyone!

Welcome back for a lil more Imaginarium Designs LOVE!
A quick lil creation to share with you today, 
my super sweet

 - Altered Chalkboard Heart -


Isn't this just super pretty?!! 
Such a gorgeous lil love token with some DIVINE chipboard embellies!
Those intricate flourishes have been coated in Kaisercraft Petal ink & stamped with script to coordinate with those printed Prima vine flowers.
The phrase has been coated in gesso and then treated with Couture Creations Glitzin' Glamour: Crystallina. 
The remaining chippies have been coated in lilac ink.
Soooooooooooo pretty!
Let's take a closer peak...............


Yep, those chippies are just the perfect embellishment to this altered art!

Hope this creation inspired you!
Thanks for taking a look, 

Happy Arty Days,
Amanda xo


Couture Creations DT project March #2 Thankyou Tag


Hi Creators!
Welcome back for more inspiring ideas!

Today I am sharing my final Design Team tutorial with Couture Creations.

I have had the most incredibly, amazing experience on this Design Team, 
however, I have also over-committed myself with lots of exciting new ventures - 
so I am stepping aside (for now!).
You'll still spy some of my creations in the upcoming Creative Inspiration magazines,
& you never know,
 I might just drop by for a guest spot there too :)

 For everyone who has supported and encouraged me on this incredible creative journey,
I truly THANKYOU from the bottom of my heart....

This final creation is for you xo

 - With Thanks Tag -


I know, so pretty!
& yes, it is a lazy crafter , oh-so-simple creation!

Here's how.........

Create a tag base using kraft cardstock, 
then layer with the gorgeous Vintage Rose Garden Paper
As exampled below.


Next, prepare your die cuts - 
I used the stunning new Frames & Frills Die Set: Elissa.


Gently fold in the frill edges of the doily to give a lil more dimension.
Use a vintage coloured ink to stamp a sentiment, 
& sponge daubers to edge your frills.


I also used the sponge daubers to edge around the tag.....

Attach frill trim to tag base, as shown below.


Next, attach the die cut flower to the frill doily using the 2 Way Glue Pen 
(it gives a really clean finish with no unsightly glue stains)
& then embellish with a similarly coloured bloom.


Fussy cut a few butterflies from the Vintage Rose Garden Paper collection,
 and attach to the tag.


Using a piercing tool, place a hole in the top of the tag to allow for the coordinating ribbons.
Embellish with a sprinkle of gemstones, and the ensemble is complete!


Such a very simple, but just lovely to look at, thankyou tag!

For all my Couture Creations family, friends and fans;
Thankyou
you're in my heart always!

Thanks for visiting,

Happy Arty Days,
Amanda xo


CO723623 Sponge Dauber 6pk


Couture Creations - Pictures of You Layout


Hi Happy Arty Days Fans!
Welcome back for more Couture Creations inspiration!
Today I have a truly stunning layout to share with you,

"Pictures of You"


Just such a striking page! Love it!
(& how cute are those 2 in the pics?!!)

No surprises, but this is another really easy, but gorgeous, page to create - 
here's how.....


Start with these fabulous Couture Creations products....
(you'll need 2 sheets of this delightful paper),
&

Plus a few chippies from our friends at Imaginarium Designs....


Start by preparing your die cuts first - 
I used black cardstock for my doily & frill trim, 
white cardstock for flowers
 & the inner circle die for my photographs
(As shown below)


Next it's time for some serious fussy cutting!
Cut out all the butterflies from paper sheet CO723999 & put aside for later.
Then cut out most of the flower features from one of the CO723998 paper sheets.


Adhere the fussy cut flowers to their original position on the remaining sheet of
Tip: To make your fussy cut pieces really 'pop' adhere two layers of the 3D Foam Dots for extra volume and height! 


Tuck one of the die cut flowers under the fussy cut flower in the bottom right hand corner.
Ink those gorgeous Leaves & Circles Flourish chippies in green 
& attach to the page as shown below. 


Tip: Use the new 2 Way Glue Pen to adhere the chipboard. It is really neat to apply, and avoids unsightly glue stains.

Ink chipboard title in red & adhere to one of the doily frames.
Attach doily frames, frill trims, & photographs to page, as exampled below.


Attach remaining white die cut flowers just above the frill trim on the left.
Embellish the page with the fussy cut butterflies that were prepared earlier, and a few tiny red blooms.


& there you have it!

A really stunning layout that was so simple to create!


I hope you enjoyed my tutorial today!
&
 that my layout has inspired you to get creating!
Thanks so much for visiting,

Happy Arty Days,
Amanda xo


Couture Creations Treasured Memories Layout


Hi everyone!
Welcome back for more Couture Creations inspiration!

Today I am sharing this gorgeous layout with you.......


Love this! 
A really pretty page featuring lots of Couture Creations delights,
including the stunning new
Frames and Frills Ornamental Lace Die: Elissa Set CO723963


I can't begin to tell you just how much I LOVE this die set! 
Simply stunning!!!

Here's how I created my layout......

Start by trimming the Vintage Rose Garden Paper (12 x 12") into 11 3/4 x 11 3/4" using the fabulous new Couture Creations Trimmer, as shown below.


Using scissor blades, carefully distress paper, and tear in 3 locations (as featured below).
Using the new Frames & Frills Die: 
prepare 2 flower bunches in apricot cardstock, & 2 doilies & border frill trims in white cardstock.
Onto 12 x 12" kraft card stock, adhere one flower bunch & one border frill trim so that they will 'peak' through the torn paper. Attach distressed paper, as shown.


Position white doily and milliners lace in top right hand corner, use a 6 x 6" Vintage Rose Garden Paper Pad square to mat the photo and adhere into place. Attach photo.


Working in the lower left corner of your photograph, attach the second doily using 
This doily will also require the inner circular die from the Frames & Frills die set, as well as the second flower bunch, to be attached to it (see below).
A ribbon and bow complete the doily embellishing. Place the last border frill trim beneath the photo.


Embellish the layout with complimentary coloured blooms, pearl trim, a vintage key and these chipboards from our friends over at Imaginarium Designs:


And that's how I created this really simple, but oh-so-lovely page!


Love those new Frames & Frills Dies!!!

Hope you liked my layout today, and feel inspired to get creating!
Thanks for visiting,

Happy Arty Days,
Amanda xo


CO723963 Frames and Frills Ornamental Lace Dies: Elissa Set 


Cocoa Vanilla Studio: Sugar & Spice!


Hi everyone!

Welcome back for some gorgeously girly inspiration using the brand new collection from 


I know - it's just divine, isn't it?!

Here's my first layout using this pretty paper collection......

"Happy Girls are the Prettiest"


Sooooooooo beautiful! Love this! 
The papers are so feminine and pretty, the wooden veneers so intricate 
& the stickers and flair buttons are just incredible!

Let's take a closer look at those stunning embellies......


Yep, just divine!!!

I could rave about this collection for months - it's just too darling!

If you'd like to see more Cocoa Vanilla Studio yumminess 
&
be inspired by the talented DT 

Thanks for visiting, 

Happy Arty Days,
Amanda xo 

Kaisercraft Betsy's Couture Collection


Welcome back everyone!

Today I am sharing some of my creations from the beautiful, almost heritage, collection from 

Betsy's Couture

Betsys Couture Paper Pack with Bonus Sticker sheet

I know, this is just BEAUTIFUL paper!!
I actually couldn't bare to use it at first - it is just so lovely!

But once I got started creating with this collection I couldn't stop, lol!

Here are some of my favourite creations using Betsy's Couture Collection;

First up I just have to share my Family Frame which featured at CHA 2015 & is is in the current (February edition) of Workshop Magazine.
(Just incase you didn't notice - I am soooo proud of this creation!)


Isn't this just so beautiful?!!
This frame is really special to me because that is my Granparents on their Wedding Day!
Such special memories to be able to share & enjoy!
I am hoping to present this frame to them later in the year - I do hope they love it!

Also featuring in this month's Workshop Magazine are these projects too;

"Love Completely" layout

Another gorgeous wedding captured - this time, my own! 
Love how regal that blue appears! 
& the Wooden Flourishes balance all that green and blue perfectly.
Love it!

"Time Stood Still" layout

Such a luxurious, heritage feel! 
I can't stress enough how lovely this collection is to create with!

And here's a card that also features in Workshop Magazine;
Hard to believe that this was made from my scraps, lol!

And here are some of my other gorgeous creations using Betsy's Couture;

A few cards........


They truly are such pretty patterned papers to work with!

Off the Page creations.......

"Amazing" Wall Plaque


"Friendship" Tag


And a few more layouts....

"The ones I love the Most" layout


"Looking Back" layout

and my final, but favourite layout with this collection.....

"Memories" layout

Isn't this just lovely?!!
Told you once I started creating with it I couldn't stop!

Betsy's Couture is just DIVINE!!

Thankyou for stopping by and taking a look at my latest projects!


til next time,

Happy Arty Days,
Amanda xo