Showing posts with label wreath. Show all posts

Cocoa Vanilla Studio: Happiness Here & Now!


Hi Friends!

Welcome back for more Cocoa Vanilla Studio inspiration!
I am SO excited to be sharing my first official layout with the delightful new Happiness collection! This line is so bright and beautiful & I just adore all those florals!!! 
But I could rave for hours, so let's get straight into my project...

"Here & Now"


Wa wa WOW!!!!
No surprises that my first layout with the HAPPINESS collection features the super stunning floral wreath paper, CV-HA005 SO FRESH. Isn't it just the prettiest?! Totally swoon worthy!
I build on this floral wreath base with lots of fussy cut butterflies from pattern paper, CV-HA008 BRIGHT & BEAUTIFUL, and then create two more circular designs within the floral wreath. A ring of fussy cut butterflies, and one of DIE CUT EPHEMERA florals to frame my sweet photo. SO pretty! 
Let's take a closer look.....

Just look at those fussy cut butterflies! So detailed and perfectly positioned within the wreath!
But it's the floral frame around my photograph that really has my heart....


Absolutely stunning!!!
It's created entirely from DIE CUT EPHEMERA blooms, with one of the CV-HA008 BRIGHT & BEAUTIFUL butterflies tucked into the floral frame for good measure. I foam mount this cluster so that my photo really stands out and remains the focus of my layout (despite all those colorful distractions!).
Here's a better view for you....


Sigh! Could it get any sweeter?! Florals always have my heart!!!
The butterflies are such a beautiful element to this collection too! 
You'll notice that I opt for only blue butterflies in my center ring. 
Not only does this cut through all the pinks, oranges and greens, it also helps with visual definition too!


To further enhance the circular flight pattern of the butterflies, I add sequins to strengthen the path, and define the ring.


ACCESSORY STICKERS are always a staple item in any Cocoa Vanilla Studio collection for me! The typewriter font word stickers are always the perfect way to add sentiments and journaling to your pages.
For finishing touches, I sprinkle a few sequins around the wreath....
and Voila!!!
Simple, quick & easy creating that looks Aaaah-MAZING!!!
HAPPINESS is all kinds of paper beauty! 
And I hope that I have inspired you to get creating with it too!

Thanks so much for visiting today!
til next time, 

The Cut Shoppe: Flutterby Butterfly Love!


Hi Friends!

Welcome back for more cut file inspiration, with my latest layout for The Cut Shoppe!
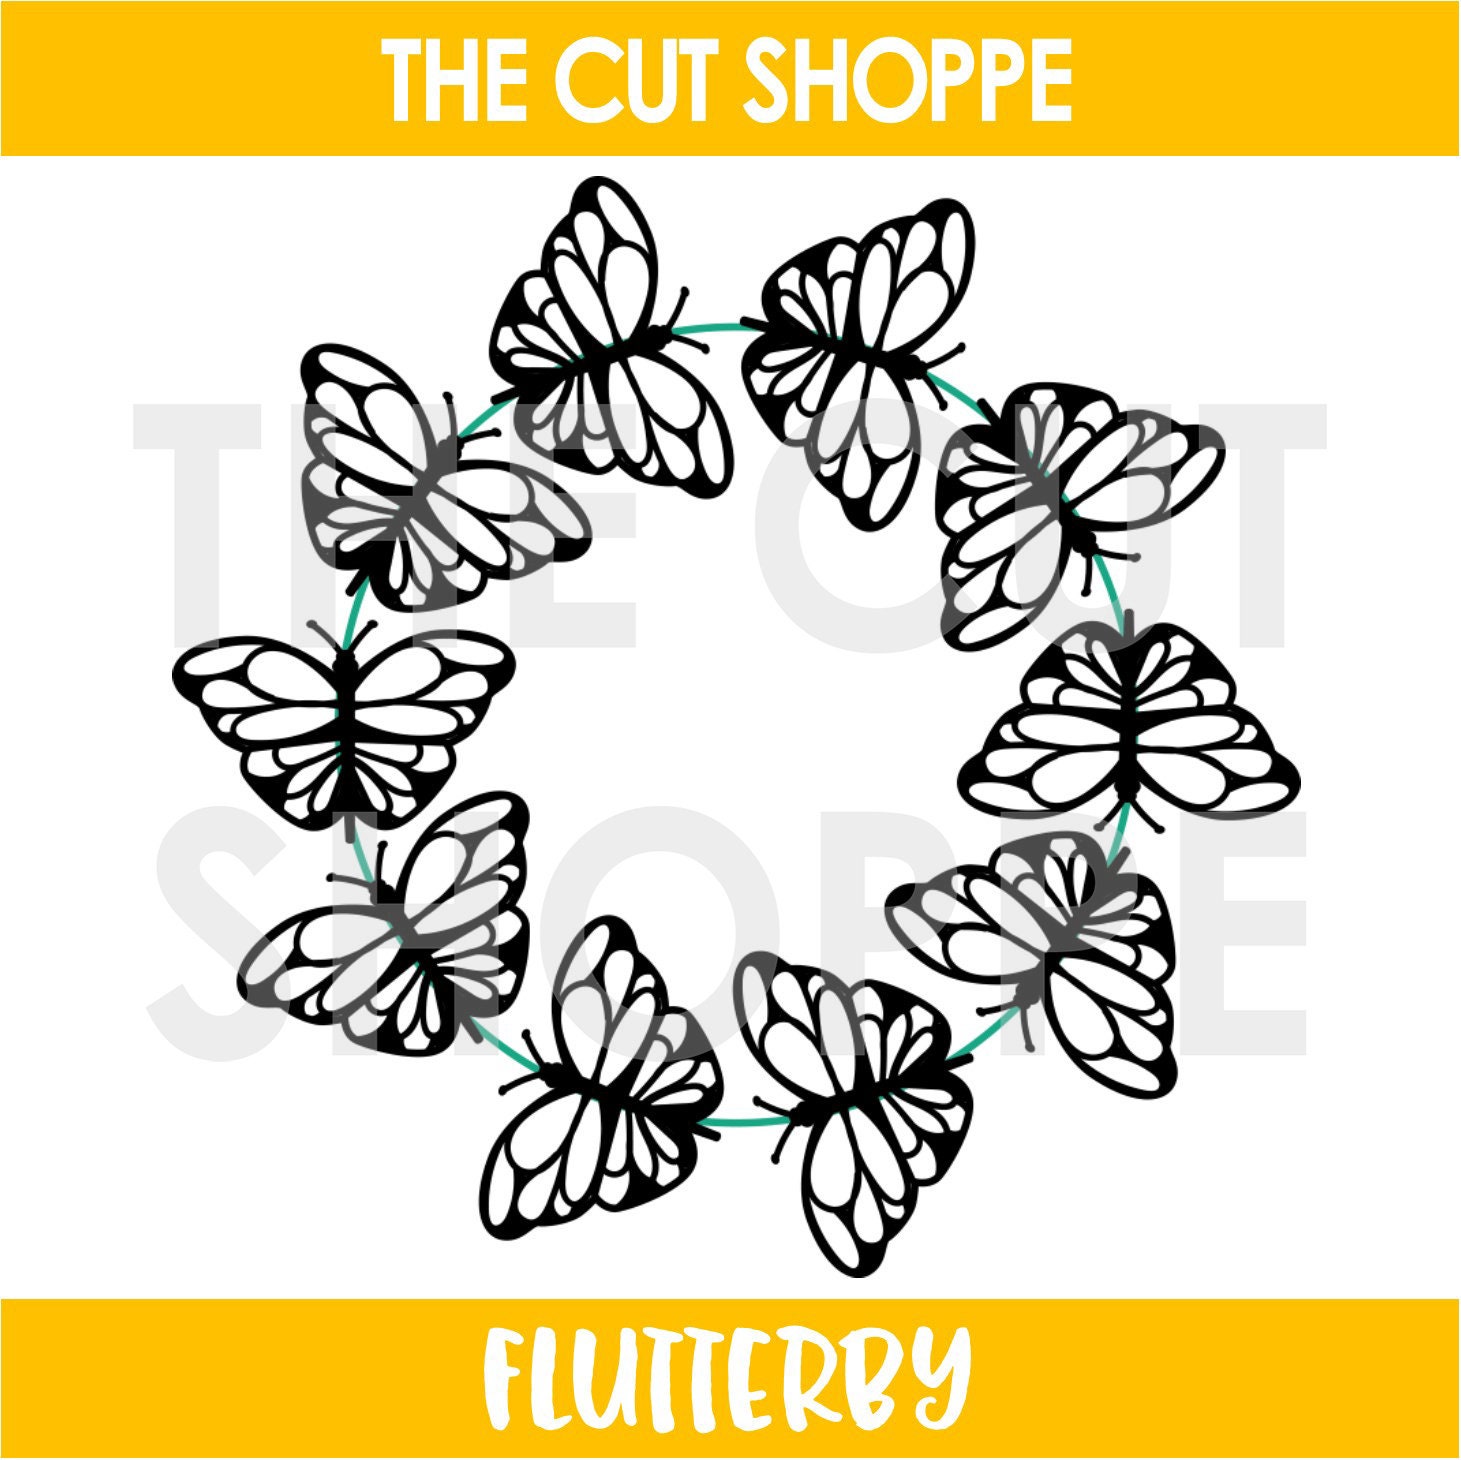
Today I am sharing a very pretty page with the fabulous Flutterby cut file! 
I just love butterflies, & pop them in a wreath and well, I'm one happy creator! 
Here's what I've made with this file today.....
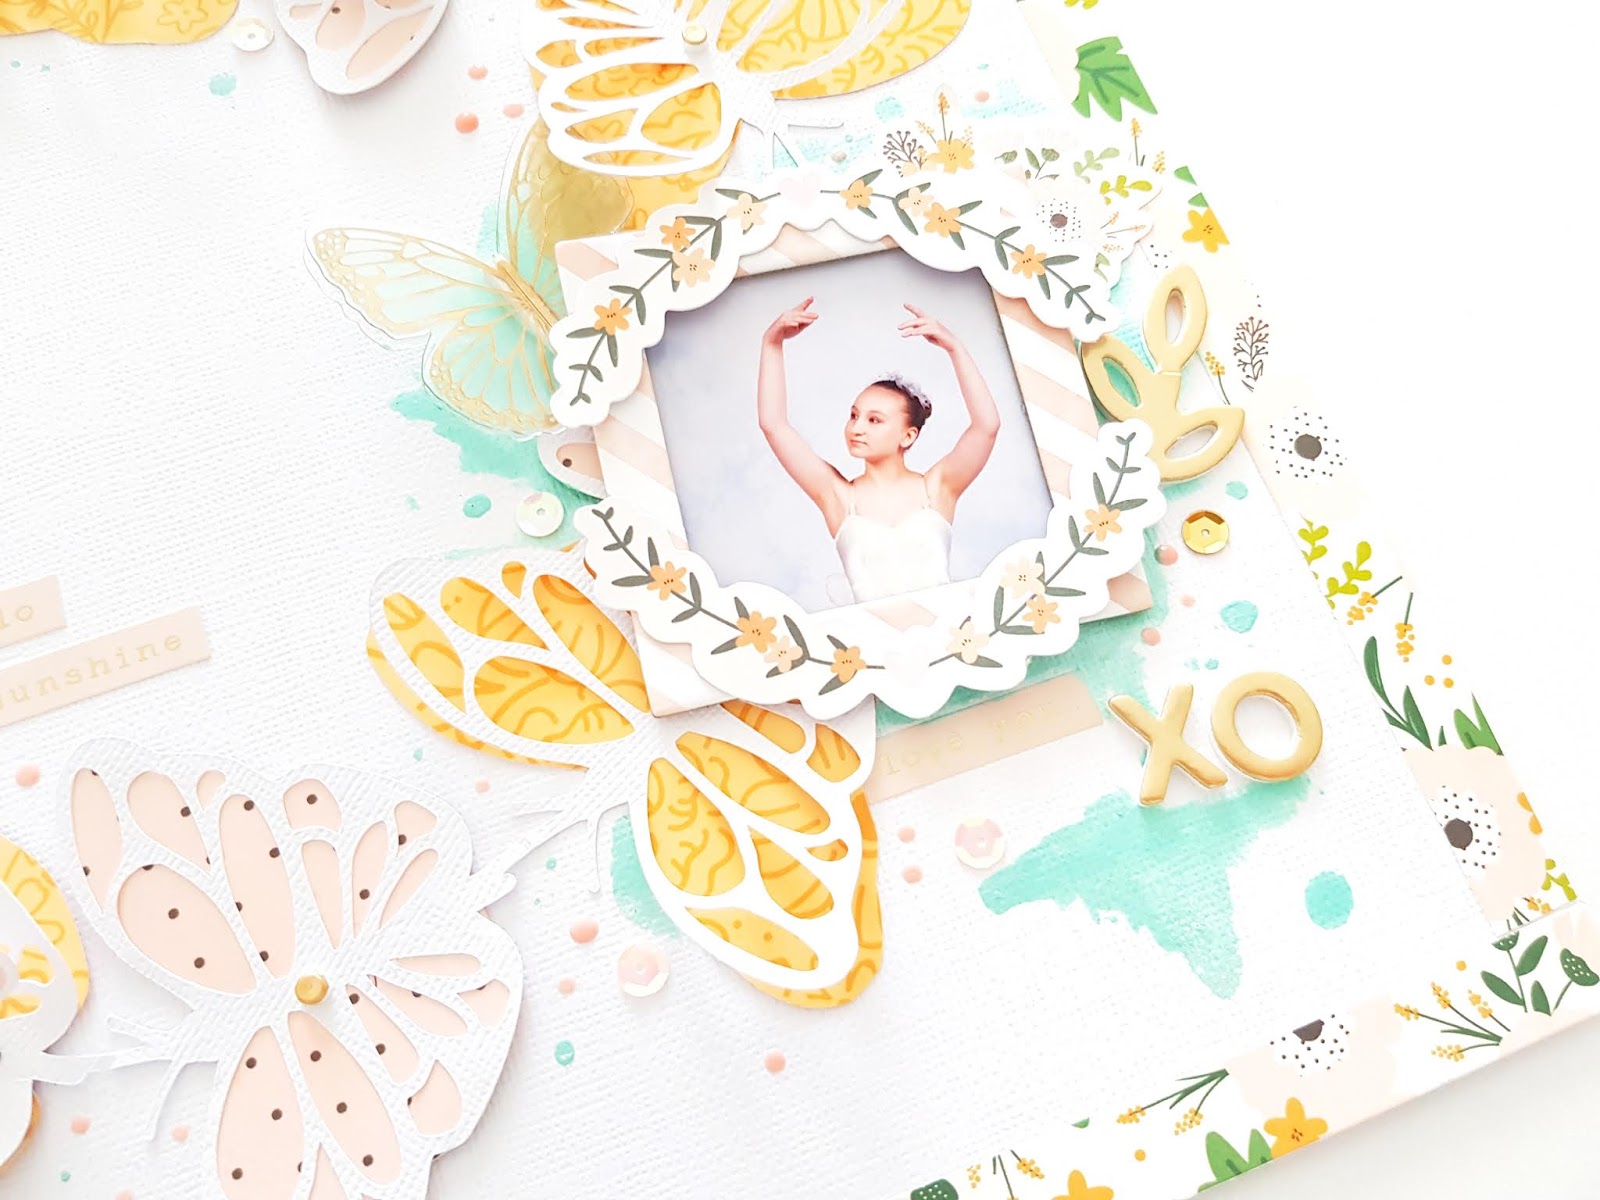
"Hello, Sunshine"


Sigh! Isn't this just lovely?!
The Flutterby digital cut file is just so intricate and oh-so-beautiful!


Absolutey divine! 
You can find this incredible file in The Cut Shoppe Etsy Store HERE. 

Let's take a closer look at my layout....


I've teamed that amazing Flutterby file with the beautiful Pebbles Jen Hadfield: Along The Way collection & I think you'll agree that this is perfect combination!
You'll also spy my fave Shimmerz: It's Mint To Be as an accent color.
So.much.pretty!
I love the white on white look, & regularly cut our files in white cardstock to use on white backgrounds. I really like how this creates a clean and fresh look to layouts, and allows the cut file to be supported with bright pops of color - without being too busy on the eye! 


I've backed half of the butterflies with that soft pink polka dot paper, gluing them perfectly into place. 


The other butterflies are backed a lil differently! I have traced the remaining butterflies with pencil onto that pretty golden yellow paper, cut them out and semi attached them to the Flutterby cut file. I love how they create that layered wing look! 


I've also dressed the Flutterby cut file with lots of pretty embellishments including die cuts, stickers and dots. 


To ensure my photo isn't lost amongst all those beautiful butterflies, I pop it into a frame before layering it onto the Flutterby file. Pretty! 
Such a gorgeous layout for my gorgeous ballerina! 
I think you'll agree that the Flutterby digital cut file is a must have! 

I hope my layout has inspired you to add the Flutterby to your TCS collection today!

Thanks so much for visiting, 


Pinkfresh Studio: One Paper - Two Ways!


Hi Friends! 

I am just loving all the gorgeous creative possibilities with the new Pinkfresh Studio Indigo Hills 2 collection! So.Much.Pretty!!!
For today's post I am putting the pattern paper MEADOW under the product spotlight! 
If you haven't seen this beautiful paper yet, it looks like this.....

That wreath is just divine! 
& I am totally crushing on those watercolor leaves!
But enough chatter, here's what I've created with this beautiful paper....
First up, is a traditional wreath layout,

"Beautiful Ordinary Life"


Isn't this oh-so-lovely?!! 
A pretty page for my pretty girl! 
I feature the reverse side of pattern paper GLEN as my 12 inch base, and layer it with an 11 inch square of white cardstock. I fussy cut around the outer rim of the MEADOW wreath and adhere it to the center of the white cardstock with thick foam tape. 
It's not hugely noticeable, but this gentle dimension really helps to make that wreath pop! 


I build my photo cluster on the left hand side of the wreath, being sure to layer lots of floral die cuts beneath my sweet photo! I adorn the photo with one of our fabulous CHIPBOARD STICKERS frames, and embellish with that DIE CUT EPHEMERA title, as well as those amazing WOOD VENEER & PUFFY STICKERS. 


I use the MINI ALPHAS PUFFY STICKERS to form my subtitle around the curve of the wreath. Cherished, indeed! Such a precious memory! 


I add a PHRASE STICKER sentiment to the right hand corner of my design, and embellish around this portion of the page with more PUFFY STICKERS. 
For finishing touches, I add a few ENAMEL DOTS around the wreath and photograph. A really beautiful layout that is simple for you to replicate at home. 
I hope you'll give it a try!

For my second layout, I am opting for a little more fussy cutting....

"Better Together"


Sigh! So very beautiful! 
This time I am using the reverse side of pattern paper RIDGE as my 12 inch base. I layer this paper with an 11 inch square of smooth white cardstock, and then fussy cut the wreath from the MEADOW paper. Once completed, I snip the wreath into two portions - ensuring one section is much larger than the other. The larger section forms the larger semi circle at the top of my page, while the smaller one is positioned at the base of my layout. 
As I want the leaves to be dimensional and fold upwards on my layout, I only glue the wreath 'line'. I use foam dots beneath the leaves to keep them propped up. 


Next, I take pattern paper GLEN and fussy cut the two main flowers, separating them to create 6 individual blooms. I attach the blooms to the wreath, and save the only pink one for beneath my darling photo. 
To make some of the flowers stand out on the semi wreaths, I attach them with thick foam tape. 
So effective!


For my photo cluster I wanted the look of layered frames, but I only had the one CHIPBOARD STICKERS frame left. The solution? More fussy cutting! I trimmed up one of the JOURNALING SPOTS with gold foil, and glued it behind the photo to create the appearance of another frame. In between the two frames, I also tucked in the pretty pink bloom & leaves saved from pattern paper GLEN. Below the framed photograph, I add a PHRASE STICKER sentiment -  Obsessed with you - perfect for my two darlings! I use the MINI ALPHAS PUFFY STICKERS to create my title, and then decide to add a few XOs with the larger GOLD ACCENT PUFFY ALPHA STICKERS. I love how the golden alphas subtly encourage your eye to travel around my page. 


I add a couple more PHRASE STICKERS, and a CHIPBOARD STICKERS heart but for the ultimate finishing touch, it has to be my favorite ENAMEL DOTS! Love 'em!

And there you have it - one wreath paper design, two very different looks! 
I hope my spotlight on the MEADOW pattern paper has inspired you to get creative! 
The Indigo Hills 2 collection is a whole lot of lovely,
 and perfect for documenting all your treasured memories! 
Thanks so much for visiting today!
til next time, 

Happy Arty Days, 
Amanda xo 

Cocoa Vanilla Studio: Little Moments


Hi Friends!

My turn on the Cocoa Vanilla Studio blog today! 
I am sharing a More Than Words scrapbook layout that highlights our gorgeous FLAIR BUTTONS, as well as scraplifting our super talented Ulrike Dold! Yay!
So much inspiration! Let's get started!
Here's my layout,
"Little Moments"

 
Sigh! Isn't this pretty?!!
Pattern paper CV-MT001 PRECIOUS is SO divine!!!
I have a thing for florals and I *may* have been hoarding this paper! It's just so beautiful!
Speaking of beautiful, how fabulous is the filled wreath design from Ulrike? SO good! You can see more of Ulli's work here.
Now back to that gorgeous floral paper, PRECIOUS! The soft colours in the blooms are reflected in my mixed media background, and are just the prettiest! You'll also spy that wreath cut file (it's from Paper Issues) and the daisies in particular, are perfect for adorning with FLAIR BUTTONS.
With so much to look at here it's important that my photo remains the focus. So it doesn't get lost in all those blooms I use a black & white picture, as well as adding a CHIPBOARD ACCENT STICKER frame to make it more noticeable.
 Let's take a closer look.....


All those pretty layers!!! 
And that photo is just the sweetest! Love these two cherubs!
On closer view, you'll see that I actually mounted the paper backed wreath onto foam. Apart from adding dimension and interest to the design, it also creates a visual separation between the coordinating mixed media base and the PRECIOUS paper. Defined space gives the eye a sense of order and avoids the 'messy' look despite the painterly base. In between the paint and the foam mounted wreath, I also tuck in a few DIE CUT EPHEMERA blooms, as well as that very pretty ACCESSORY STICKER tag.


So dear to me, indeed!


I fold the cut file daisies and leaves upward, adding more dimension because I am conscious that I don't want the colours and blooms to all blend in together. My framed photograph is tucked in under that first daisy and then more DIE CUT EPHEMERA pieces are added to this cluster. Each daisy is adorned with a sweet FLAIR BUTTON as its centerpiece.


Simple, but oh-so-sweet and effective!


Cocoa Vanilla Studio create beautiful FLAIR & it's wonderful to be able to showcase how perfect they are! A 'must have' embellishment! I should add that the sequins that are scattered throughout my layout are from the Bits & Pieces in the Love Always collection.
To break up all the flowery goodness, I've added a few DIE CUT EPHEMERA butterflies to the wreath and adorned the outer wreath with CHIPBOARD and ENAMEL SHAPES hearts.
Here's another look at the beautiful FLAIR BUTTONS....


The You Are Loved FLAIR is such a soft grey that I mount it onto an ACCESSORY STICKER before applying to the daisy. In keeping with my design, you'll note that the sticker is in fact a PRECIOUS pattern wreath. Perfect! I love how everything always partners and coordinates beautifully in our collections! So good!


To add more emphasis and attention to my photo, I also add that pretty blue sentiment banner to the frame. The blue really contrasts against the apricot frame and is the perfect finishing touch!
Voila!
I hope my scraplift today has inspired you to use FLAIR BUTTONS in your projects!

Thanks so much for visiting!
til next time, 

Happy Arty Days, 
Amanda xo 

Cocoa Vanilla Studio: Bohemian Dream: Remember


Hi Creative Friends!

Time for another Cocoa Vanilla Studio post,
&  I am SO excited to be sharing my take on pink OR blue theme week!
Both of these colours are divine - but one of them is my all time favourite!
I am still swooning over the beautiful Bohemian Dream collection, and just had to use it for today's layout.
It's just so dreamy and divine!

Here's what I've created,
"Remember"


Oh isn't this pretty?!!!
And no surprises, I chose to use blue for my layout! Did you know it's my favourite colour? lol!
There are a couple gorgeous hues of blue in the Bohemian Dream collection,
& I decided to feature both of them in this sweet page.
There's that delicate, pastel aqua, as well as that super pretty royal blue.

My layout begins with that sensational stripe pattern, CV-BD005 DREAMER.

I just adore this shade of blue, and with it's watercolour appearance - well, let's just say it's a sure favourite of mine! LOVE it!
To really draw your eye into my page, I use a central focal point design for my photograph.
The VELLUM & DIE CUT EPHEMERA wreath also serves as a border for my sweet layered photo! And those layers! Well, aren't they something?!
That's exactly why I LOVE the new 6 x 6 PAPER PAD - it has so many uses and is perfect for layering!
Let's take a closer look....

That wreath is SO pretty!
I've combined those incredible watercolour leaves and intricate butterflies from both the DIE CUT EPHEMERA & VELLUM ACCENTS packs, as well as those sweet ENAMEL SHAPES.
Being selective to only use those with blue tones.
To further establish the love of blue, I have also added a very soft and delicate mixed media base within the wreath.
It's a combination of Shimmerz PaintsVibez: Jeni Be Bleu, Inklingz: Me & Blue, &
Creameez: Sky's The Limit. So so pretty!!!
The 11 inch square white cardstock base really emphasises the colours and again, draws you into my layout.
I have used a black and white photo for my layout because it lends itself to the colour palette beautifully.  And just how divine is that photograph?
I have double framed it to really focus in on that sweet moment.....

Beautiful, indeed!
My photo is layered onto a few of the blue patterned 6 x 6 PAPER PAD papers, and then framed with the distressed timber frame DIE CUT, which I then double up on with matching CHIPBOARD ACCENT STICKER frame.
The frames also mimic the jetty and shapes formed within my photograph. Everything so carefully positioned, to create a sense of unity within the design.
The frame is then embellished with an ENAMEL SHAPE, DIE CUT sentiment & another CHIPBOARD ACCENT STICKER. Central to it all is that gorgeous layered butterfly. It's another of those fabulous CHIPBOARD ACCENT STICKERS with a DIE CUT simply added over the top of it! Such a simple idea, but adding such dimension!


You'll then spot that incredible CHIPBOARD TITLE STICKER, 'Remember'.
I love that these chippies are bare, and can be hand coloured to suit your needs. I gave mine the blue treatment with some of the Shimmerz Paints I used to create that soft background with. I also dove into my stash and used a butterfly punch to cut out a few tiny cardstock butterflies. One is positioned beneath the edge of my title and the others within my wreath design. They just help to break up all the blue, and add a lil interest.


For finishing touches, more ENAMEL SHAPES, a lil cotton floss thread & that FLAIR BUTTON. Who doesn't love a good flair?!
And at Cocoa Vanilla Studio, the flairs are always so beautifully coordinated and designed with the collection in mind.
Absolute perfection!
And there you have it!

Sweet. Simple. Understated.
But oh so Beautiful!!!

Hope you feel inspired to seek out the blue (or even the pink) tones in your Bohemian Dream stash!
Need more Bohemian Dream?
Visit our online store HERE before it's all sold out!

Need those Shimmerz Paints? 
Visit the online store HERE &
REMEMBER: Place my name in the comments section of your order to receive a FREE gift! Yay!

Thanks so much for stopping by today!
til next time,

Happy Arty Days,
Amanda xo

Paper Issues: August Product Spotlight


Hi Happy Arty Days Friends!

Welcome back for another fabulous Paper Issues 

Product Spotlight


This time we're shining the light on...


It's no secret how much I LOVE Amy Tangerine's fun, vibrant colours and patterns! 
Here's what I've created for this spotlight...

"Life Is Beautiful"


La la LOVE this!!!
Talk about bright and vibrant colours! 
To balance all that gorgeous colour, I used a beautiful black and white photograph, and those stunning gold glitter alphas. They're officially called The Lucky Ones Thickers and are the coordinating Thickers for this line. 
Here's a closer view.......


So gorgeous!
I've used watercolour droplets to create my faux wreath & I just love how effective this looks!
You'll also spy those super cute Puffy Hearts - love these!
And finally, how about that bow!!!! Check it out below......


Oh squeee!!! It's the cutest!
Love me a cute bow or 3!
Such beautiful products to create such stunning projects with!
I hope you feel inspired by my layout today!

Need to get some Hustle & Heart in your stash?
Get yours in the Paper Issues store here 
& REMEMBER: Use my code AMANDA & you'll save 20% off!


Wanting a lil more inspiration with this cool collection?
See what the rest of the team has created with it here

Thanks so much for stopping by!
I really appreciate your kindness & support!
til next time, 

Happy Arty Days, 
Amanda xo 

Paper Issues: Scrap 'n' Chat Challenge


Hi Friends!

Welcome back for a bonus challenge this month with Paper Issues!

Today we're hosting a super fum Scrap 'n' Chat day  in our Facebook group here - stop in, say hi and join in on all the latest scrapbook gossip! ;)
& play along with the challenge too!

Here's what the challenge looks like.....


Super fun! Simply take 8 and create! Yay!!! 
This is my kinda challenge - lots of possibilites! 

Here's what I came up with......

"Sweetheart"


Oh my!!! Isn't this just delicate and pretty! A bit like my sweet subject in the photograph!
I've stashbusted Crate Paper Maggie Holmes Gather collection and combined it with Crate Paper's Heart Day line - just gorgeous! You'll spy fussy cutting and a fabulous FREE cut file from the Paper Issues store.
But which 8 did I use? 
Gold, mist, staples, paperclip, tag, label, chipboard & washi
Did you spot them all?

Here's a closer view........


 Those fussy cut blooms are just divine! As is that wreath cut file!!!
So much pretty going on here!


The acetate tag and those xo paperclips are perfect embellishments for this sweet page!
Love it all!

Now it's your turn! Show us what you got! Play along here.

Need Crate Paper & scrapbook supplies? 
Use my code AMANDA in the Paper Issues store here and you'll save 20%off your total order! 
You can also grab all those amazing FREE cut files here too
YAY!!! Happy shopping lovelies!


Thanks for stopping by today!
til next time, 
Happy Arty Days,
Amanda xo