Showing posts with label tags. Show all posts

Elle's Studio: April Kit & New Releases Inspiration!


Hi Friends! 

Welcome back for more Elle's Studio awesomeness! 
Every month Elle Price wows us with more gorgeous memory keeping products 
& this month is no different! 
Check out the amazing April Exclusive Kit.....


Told you it was amazing! SO good!
Those colors and designs are so bright & fun!
And we all know that the add on items are always super incredible....


LOVEEEEEE!!! 
That Wander clear stamp totally has me!
And let's not forget the fabulous digital cut files & printables for this month....


Yay! 

Here's what I've created with these products so far.....

"Love This"


Sigh! Isn't this the sweetest 8.5'" x 11" layout?! I just adore those cascading hearts!
Told you that Wander stamp had me ;) SO good!

Other Supplies: White cardstock, sequins, and stamping inks - pink, cyan & violet. 

Here's a closer look for you....


Loving all those tucked in pieces and layered embellishments! Heart this, indeed!


To coordinate with the pretty color scheme, I fussy cut those labels from the Pastel Labeled Journaling Tags. Such a fun way to incorporate these pocket cards into your scrapbook pages. Speaking of incorporating pocket cards into layouts, how about that lovely trim on the left hand side of my page?! Yes, both strips have actually been cut from the 6 x 4" cards! Awesome!


You'll also spy some of the sweet die cuts from the April Exclusive Kit here. I foam mount them for added dimension and interest.  
And the Love This Wood Veneer is just the best veneer title ever!!!


Love it! 

My second project today is a fresh and contemporary scrapbook layout, 

"Wander" 


Wow! Such a clean and fresh Summer page! 

Other Supplies: Sewing machine & thread, staples, baking paper. 

Here's a closer look for you......

More Of This, for sure!!!
The glossy white Wander Acrylic looks amazing positioned over my photograph, and really draws you into the heart of my page and story. 
Like my previous layout, I've opted for lots of layered goodness with the April Kit and embellishments!


Love!


Puffy Stickers (& Dots) add the perfect finishing touch! 

I hope my projects have inspired you to get creating with this month's kit! 


Be sure to stop by a lil later in the month for more Elle's Studio inspiration!
Thanks so much for visiting, 
til next time, 


Pebbles: Happy Day with Along The Way!


Hi Creative Friends!

Welcome back for more Pebbles inspiration!
Today I am sharing a really beautiful layout with our adorable Along The Way collection
With so many pretty patterns and such a delightful color scheme, 
it's an absolute joy to memory keep with!
 And this lovely layout is both effective and super easy to recreate at home! 
But enough chatter, here's my lovely page....

"Happy Day"


Oh so pretty, indeed! Clean, & contemporary design with a soft, feminine twist!
Here's how to recreate this layout....


Start by adhering 5 tags from the Along The Way Tags pk to the right hand side of white 12" cardstock, as shown above. I adore this sweet pack of tags and just had to feature some of them in my layouts!


Next, trim the reverse side of pattern paper Flutter (blue with polka dots print) to 3 1/4" x 12" and attach to the right hand side, being sure to cover the prints on the Tags.  Then, trim Flutter to 2 3/4" x 12", mount with foam tape and attach from the right hand side also. This creates a raised paper overlay onto the polka dots print, and looks so impressive! A great point of interest to the right side of the layout, and such a wonderful way to showcase that divine Flutter paper!
Time to create the photo cluster....


Trim the reverse side of pattern paper Flutter to 4" x 3", and then trim the reverse side of Window Box to 4 1/2" x 3 1/4" and glue them together. Attach another of the Tags beneath the paper layers, as shown above. Glue your smaller size photo (mine was 2" 2 1/2" size) & embellish with an Ephemera sentiment. I applied foam dots to the Ephemera to make sure it was easy to see against the pattern papers.


Align this photo cluster beside the center Tag on the layout, and tape into position.

Tuck a couple of Ephemera leaves into the photo cluster. Embellish over the cluster with the pretty girl Ephemera. Again, I used foam dots to ensure this adornment was easily identified.


Embellish with butterflies! I used two of the 6" x 12" Cardstock Stickers butterflies, as well as that gorgeous Dimensional Sticker one! So pretty!


Add a title with the gold foil Katherine Thickers, and a few tiny spots of journaling with Phrase Stickers.


Tuck a floral sticker beneath the right hand corner of the photo, and add the extra pretty girl Cardstock Sticker. For finishing touches, add the smile always heart Cardstock Sticker, a baker's twine bow to the photo cluster tag and a scattering of pastel pink sequins.


Such a lovely page to document the oh so pretty person in your life!
I hope I have inspired you to get creating with the beautiful Along The Way collection!

Thanks so much for visiting,
Happy Arty Days, 
Amanda xo


Other Supplies: Baker's twine, sequins.

Elle's Studio: Sketch Inspiration


Hi Everyone!

Welcome back for more gorgeous inspiration with the Elle's Studio May Kit & Add-Ons!

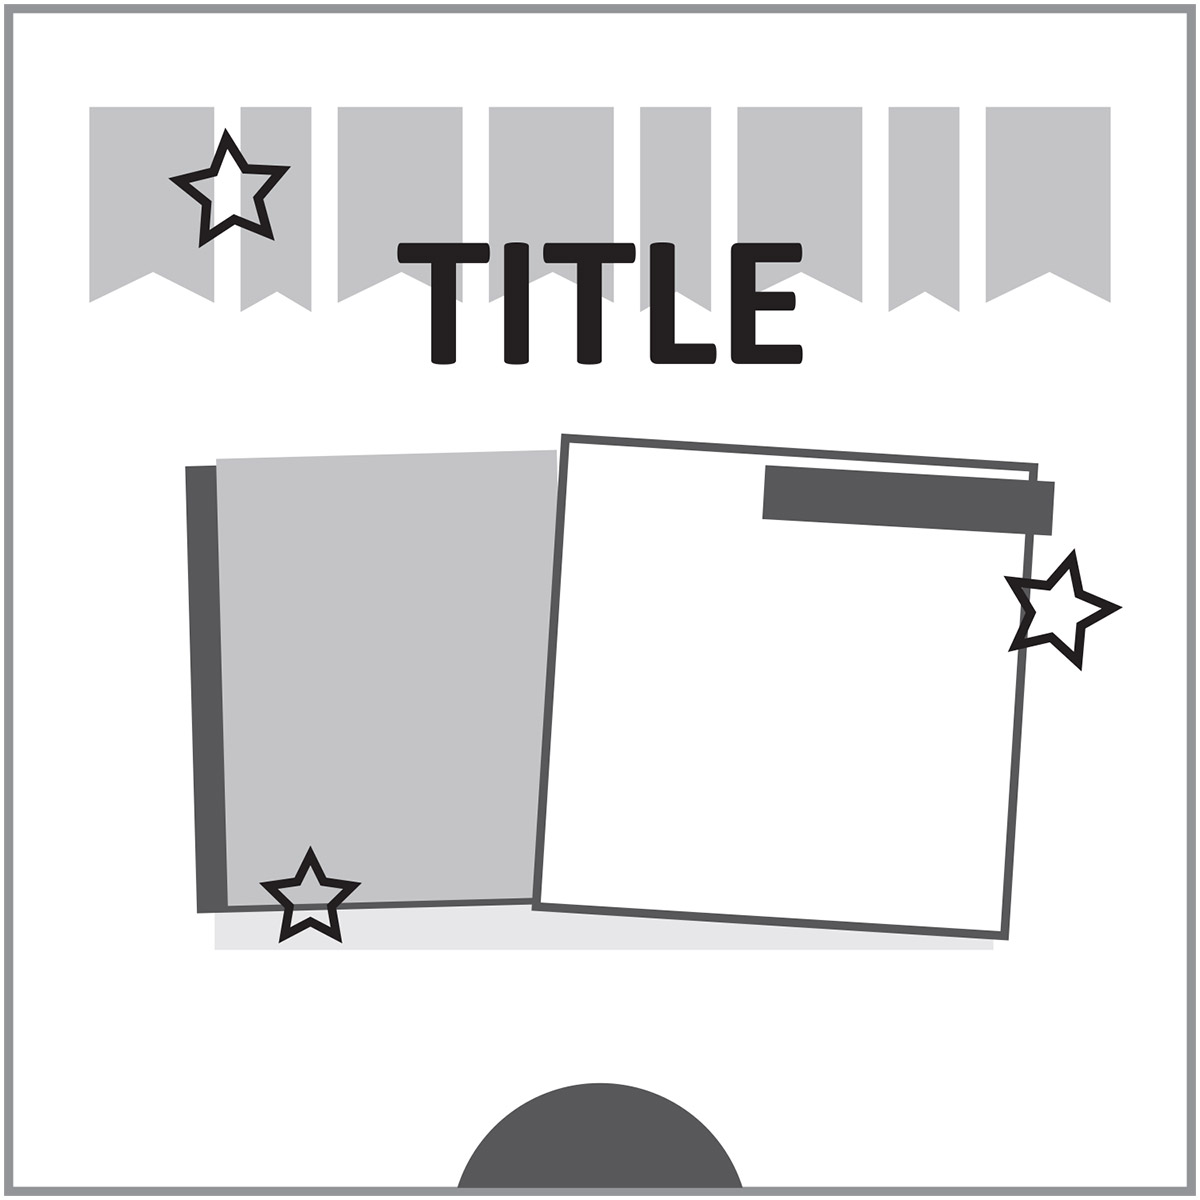
For today's post I am creating a layout from this month's sketch inspiration.
 It's based on the 'Yes Please' layout in our April Gallery & is by the super talented Susan Brochu.
Here's what the sketch looks like....


Awesome, huh?!

 I've followed the sketch pretty closely, 

but I'm adding my 'twist' to it by using super bright colors, & adjusting all the proportions. 

Here's my take on it,

"Good FUN"


Good FUN, indeed! 
This is my two darlings on Easter morning eating chocolate bunnies, for breakfast, no less! 
Living the (chocolate) dream for sure! 
The bright, playful colors in this month's kit were perfect for documenting this happy moment!
And nothing says fun better than an over sized FUN wood veneer title, right?!
That veneer is just awesome, and the woodgrain contrasts beautifully against the rainbow of tags and labels! 
I love Susan's clever use of flags in her design.  I twist this idea, by arranging tags and labels into the flag style. I coordinate mine into similar color groups, and align each group with the veneer title, for maximum impact!
You'll also spy a few pretties from our new Noteworthy collection, including that super happy, yellow stripe, pattern paper base. Possibly a new fave o'mine! 
**The typewriter font journal trim beneath my photo cluster is actually the reverse side of the barcode strip from that same pattern paper** 


I should note that the 'good' veneer is from our Title Builder Vol. 2 Veneer set, and coordinates beautifully with our May kit! 
That FUN veneer title is a such a stand out feature!  
Stretching it across the page and adding the Puffy Heart stickers between the letters really adds emphasis to this already BIG impact title! So cool! 


Speaking of Puffy Heart stickers, you'll also spot the Gold Shapes and Dots adorning my layout too! 


 My photo cluster and layers are created from the 3 x 4" and 6 x 4" tags in the May kit, and embellished with some pretty Add-Ons, including those fabulous Play All Day Phrase Stickers.  Beneath these layers, I add a little tissue wrap from my stash to create dimension, texture & interest. 


And there you have it! 
My fun take on this fabulous sketch using the gorgeous May Kit, Add-ons & Noteworthy collection. 
I hope I have inspired you to get creating with these beautiful products! 
Thanks so much for visiting!
til next time, 

Happy Arty Days,
 Amanda xo 

Pebbbles: Patio Party & The Art of Gift Wrapping


Hi Friends!

Time for more Pebbles inspiration! 
It's party theme week on the Pebbles blog, so for my post today I wanted to share the joy & spirit of giving!
Or, to be more precise, the beautiful art that is gift wrapping! 
The bright and beautifully designed Patio Party collection is simply perfect for creating the most desirable looking little gifts!


Sigh! Who wouldn't want to receive these pretty packages?!!
 And all it takes is a few pretty papers and a lil imagination!

Here's a super quick how-to.....
1.  Select your favorite pattern paper designs. For the sample below I am using the sweet TABLESCAPE paper.

2. Wrap your gift,  minding to fold your edges slowly and carefully to avoid paper tears, and seal with your preferred clear tape. My package was only tiny, so I trimmed a 2 inch length off one side.


3. Using my left over trim (reverse side of paper TABLESCAPE), I created a 'runner' through the center of my gift.


4. Attach a cute tag! There are so many gorgeous options for you to snip out from the JUST FOR YOU pattern paper. I chose the Happy Day tag because it coordinated perfectly with the TABLESCAPE paper.


5. Attach the tag, and embellish the package with Ephemera, Dimensional Stickers and even those oh-so-pretty laurel leaf Gold Safety Pins!


Voila!
Simple! Sweet! And just that extra bit special for your someone special!


Here's a few more ideas to inspire you with....


Isn't this divine?!! Created using the floral pattern paper, BACKYARD BLOOMS.  Oh-so-pretty!
And how about this lemon delight from our CITRUS SWEET paper......


This totally warms my heart! I don't know if I could even bear to open this one up!!!
Here's one for all the flamingo lovers...


Pardon the pun, but why don't you give beautiful gift wrapping a flamin' go! So super fun and sweet!


Carefully wrapped gifts take only a moment to create, but leave a long lasting impression on the recipient!

So.much.eye.candy!!!


I hope I have inspired you to delve into the art of gift wrapping!
And yes, our patterned papers are 12 inch squares - so these particular samples were only small gifts. For larger gifts, try Kraft wrapping paper with our Patio Party embellishments! 
Perfect!
Thanks so much for visiting today!


Pebbles Patio Party: Concertina Tag Cards!


Hi Creative Friends!
I am so excited to be sharing my first tutorial with the all NEW Pebbles, Jen Hadfield: Patio Party collection! With so many beautiful patterns and designs, this collection will wow you!
Image result for pebbles jen hadfield patio party
So super beautiful! 
 But enough chatter, let's get onto my project - Concertina Tag Cards!

When I first laid eyes on pattern paper JUST FOR YOU I knew I wanted to make a trio of cards from it! I love receiving cards that are a little interactive, and concertina folded tags are so much fun!
Here's how....
  1. Trim out the 'triangles' connecting the tags, and then cut into 3 'rows' or sections, as shown below.

2. Use a ruler and scoring tool to mark all the 'folds' & then firmly press into concertina (fan fold).

3. Prepare 3 card bases for your trio. (I used white cardstock, trimmed 6" long x 8" wide, which I score down the center and fold to create a 6" x 4" card.) Trim pattern paper WANDERING WILDFLOWERS to 5 3/4"long  x 3 3/4" wide and adhere to front of card.

4. Attach a 12" length of ribbon to the card front - be sure to only glue in the center and not the sides, as we'll need this ribbon to tie up our tags. Next, tape the back of the final tag in the concertina over the ribbon and onto the card front, as below....
*I attach a pretty layered BUTTERFLY STICKER over the butterfly print tag and add a WOOD STICKER to the front of my card for a little embellishing*

5. Use the ribbon to 'tie up' the cascading concertina, and pin into place with those stunning GOLD SAFETY PINS. Add a PUFFY STICKER or two for that finishing touch!

SO pretty! 
And the recipient has such a fun surprise when they untie that bow! 
Decorate those pretty tags with messages to your loved ones or leave as is, they're sure to please either way!

The second card in this trio uses the same techniques, but this time I use the reverse side of WANDERING WILDFLOWERS for the card front. I also use the patterned barcode strip from the base of this paper as an alternative to ribbon. Cute!  
Hole punch the tags, and fasten together with another of those awesome GOLD SAFETY PINS, taping the final tag onto the card front, as before. 
Decorate with those super sweet PUFFY STICKERS.


Here's how these two cards look before opening.....

Yes - I wrapped up that card like a present as really adds that specialty to the gesture of card giving!
And here's how they look after opening.......

Love this! SO cute 'n' fun!
The last card in the trio is slightly different! Prepare the card front as per card 1, then embellish with a doily. Take the final set of concertina tags and slice off the end tag. Hole punch, attach a ribbon and then place onto the card front with adhesive foam dots.


Take the remaining concertina tags and tape the two end tags inside the card - creating a simple pop up effect!
I decorate mine with those beautiful BUTTERFLY STICKERS, and fill the card with sequins. Such a happy surprise when you open this card!


And there you have it! A trio of concertina tag cards that are sure to bring a smile to everyone you share them with!


Thanks so much for visiting today!
I hope I have inspired you to get creating with the gorgeous Patio Party!

til next time, 
Happy Arty Days, 
Amanda xo


OTHER SUPPLIES: