Showing posts with label Cozy & Bright. Show all posts

Pebbles: Holly Jolly Christmas!


Hi Creatives!

Welcome back for more Pebbles inspiration!
Today I am sharing a really simple process video with the super cute Cozy & Bright collection! 


I just love this adorable collection - it's so playful & fun! 
Perfect for documenting all the holly jolly Christmas moments!
But enough chatter, here's what my finished project looks like.....

"Holly Jolly"


Oh isn't this the sweetest?!! 
Nothing's more precious than a puppy for Christmas!!! Holly jolly, indeed!
I've featured one inch strips of the bright stripes pattern paper, MERRY & BRIGHT to act as an anchor at both the top and base of my 12 inch white cardstock page.  I've also drawn on the less traditional Christmas colors in this collection, and used the light blue and pink for a more whimsical look!
Here's a closer look for you.....


This is oh so pretty! 
Lots of beautiful embellishments to adorn and support my sweet photo!


I fussy cut those  blue & pink tags from pattern paper GIVE JOY, and use them to layer my photo with. The use of tags is a great alternative to blocks of pattern paper, and adds a more playful and fresh look!


Just look at the soft glitter on the 6 x 12 ACCENT STICKERS - those red baubles are just divine!


Loving those DECORATIVE BRADS too!


Want to see more, including how this layout came together? 
Please watch my short process video HERE.
Thanks so much for subscribing to my channel too!


I hope you enjoy and feel inspired to get creating with Cozy & Bright for the Holidays!

Merry Christmas, & Happy Arty Days, 
Amanda xo


Holly Jolly Holiday Hop!


Hi Friends! 

Today I am super - dee - duper excited to share that I am participating in the 

YouTube Crafters

Holly Jolly Holiday Hop

Join me and some of the BEST creatives in the papercrafting industry as we share some 
Holiday Cheer on our channels! 
There's so much fun to be had, & even this FREE Holly Jolly Cut File to download....


SO awesome, huh?!! 

Here's a sneaky peak at the layout I've created for this fabulous hop....

"Holly Jolly"

Isn't this just adorable?!!
I've combined my favorite Shimmerz Paints, 
Pebbles: Cozy & Bright collection
 and the FREE Holly Jolly Cut File to create this super cute layout! 
Want to see more?
Stop by my channel HERE to start the hop, and see how this page came together! 

Thanks so much for watching! 
I hope I inspire you, & that you enjoy the hop! 

Merry Christmas!

Happy Arty Days, 
Amanda xo 

Pebbles: Cozy & Bright Christmas Layout!


Hi Friends!

Welcome back for more Pebbles Christmas inspiration!
This week's theme post for the DT is all about documenting a Christmas Tradition in your 'home' country. For those of you who don't know, I'm an Aussie girl and spend most of my days at the beach! And Christmas is no exception! But before we get to the big day, we have quite a few traditions that we like to participate in.
 The festive season doesn't officially start for us until the Christmas Pageant (think Christmas Parade) has occurred. 
So, for today's post, I am documenting my children participating in the Christmas Pageant. Yay!
Here's my layout.....

"Pageant Day"


Isn't this the sweetest?! Such a bright, happy & adorable page! So.much.fun! 
Best part? It's super simple and easy to recreate - here's how....


Start by trimming the reverse side of pattern paper Tis The Season (candy cane stripes) on an angle. I made my paper strip 3" at the widest end and 2" at the shortest point. Attach to the top of the white cardstock background. Repeat this process, but this time use the candy canes pattern of Tis The Season, and reduce all measurements by one inch. Layer over the top of the stripes paper & glue into place (as shown above).

Take your square photograph, and tuck a Cozy & Bright Tag beneath it. Add a a few layers of torn white tissue wrap to the back of the tag. This torn paper adds both dimension and interest to the photo cluster.

'
Foam mount the photo cluster onto the top right hand side of the layout, & embellish with a few Die Cuts.


I just adore that cookies n cocoa Santa - so super cute!


Embellish with more Die Cuts, as well as some fabulous 6" x 12 " Accent Stickers.

Add a 1/2" trim of pattern paper, Tis The Season (reverse side) to the very base of the page
.

Embellish with those amazing Decorative Brads.


Add some Puffy Stickers - they make everything look awesome!

Create your title (& xo subtitles) with the Cozy & Bright Maggie Thickers. So cool! Love these amazing candy cane print alphas!


Build on your title work with a Decorative Brad!


Continue to embellish with stickers, brads and die cuts until your happy!
And Voila! An adorable page that is oh-so easy to create!
Here's a few close ups for you......


And there you have it! 
Cozy & Bright - perfect for documenting the Festive Season!
I hope I've inspired you to get creating with this amazing new line!

Happy Holidays, Friends!


Pebbles: Cozy & Bright Christmas Cardmaking!


Hi Friends!

Welcome back for more Pebbles inspiration with the gorgeous new Cozy & Bright collection!
As we head into December, it's time to start getting all those beautiful Christmas cards created and ready to write! 
Today I'm sharing a super quick & simple tutorial on how to make a set of beautiful cards in next to no time!
Here's a little look at my completed cards.....


Oh aren't these the sweetest?!! So super cute!
I can't help but sing, "Have a Holly Jolly Christmas, It's the best time of the year..."
I may have put the Christmas Carols on while I created these pretty cards ;) It really is my most favorite Holiday!
But enough chatter, 
here's how easy it is to recreate these lovely cards...


Start with two sheets of white Bazzill cardstock and trim each sheet 6" x 8". Score and fold each cut to create a total of 4 card bases (repeat this process for as many cards as you need). Use the Cozy & Bright Washi Tapes to border the front of each card - as shown above.


Using the reverse side of pattern paper Warm And Cozy, trim 4 rectangles each measuring 3 1/2" x 5 1/2". Add a 1 inch thick ribbon 1/2" from the base of each rectangle.


Foam mount the Warm And Cozy rectangles and adhere to card fronts.


Use the Cozy & Bright 6 x 6 Paper Pad & punch out 4 large circles . Select an ephemera sentiment, and foam mount onto the large cirlces.


Glue the circle sentiments to the card fronts.


Embellish with  more Cardstock Shapes Ephemera, and an Embellished Brad.
Note: I prefer to remove the pins from the back of my brads and adhere them with foam dots, creating a flair button appearance.


So simple, and yet, oh so pretty!!!
Here's a better look at my Cozy & Bright card set....


SO cute!!!


Absolutely adorable and oh so easy to make!!! You could easily make a dozen of these sweet cards at your next craft afternoon and be prepared for the Season of Giving!
I hope I have inspired you! 
Happy Holidays & thanks so much for visiting!
til next time, 

Happy Arty Days,
Amanda xo


OTHER SUPPLIES:

Spellbinder's November Large Die of the Month


Hi Friends! 

I am so excited to be guest designing again for Spellbinders! 


Today I am sharing a few cards that I have created with the
Spellbinders Large Die of the Month for November!
There are so many elements to this die set that could be used for a variety of Holiday projects,
and you can see the Large Die in its entirety HERE
Interested in joining the Spellbinders clubs? 
You can find out more about it all  HERE
Such an amazing die set with SO many possibilities!
Ultimately it is an Advent Calendar set,
 but for today's post, I just had to use it for Christmas cards!
It's just perfect for cardmaking! 
But rather than rave about it - here's what I've created.....


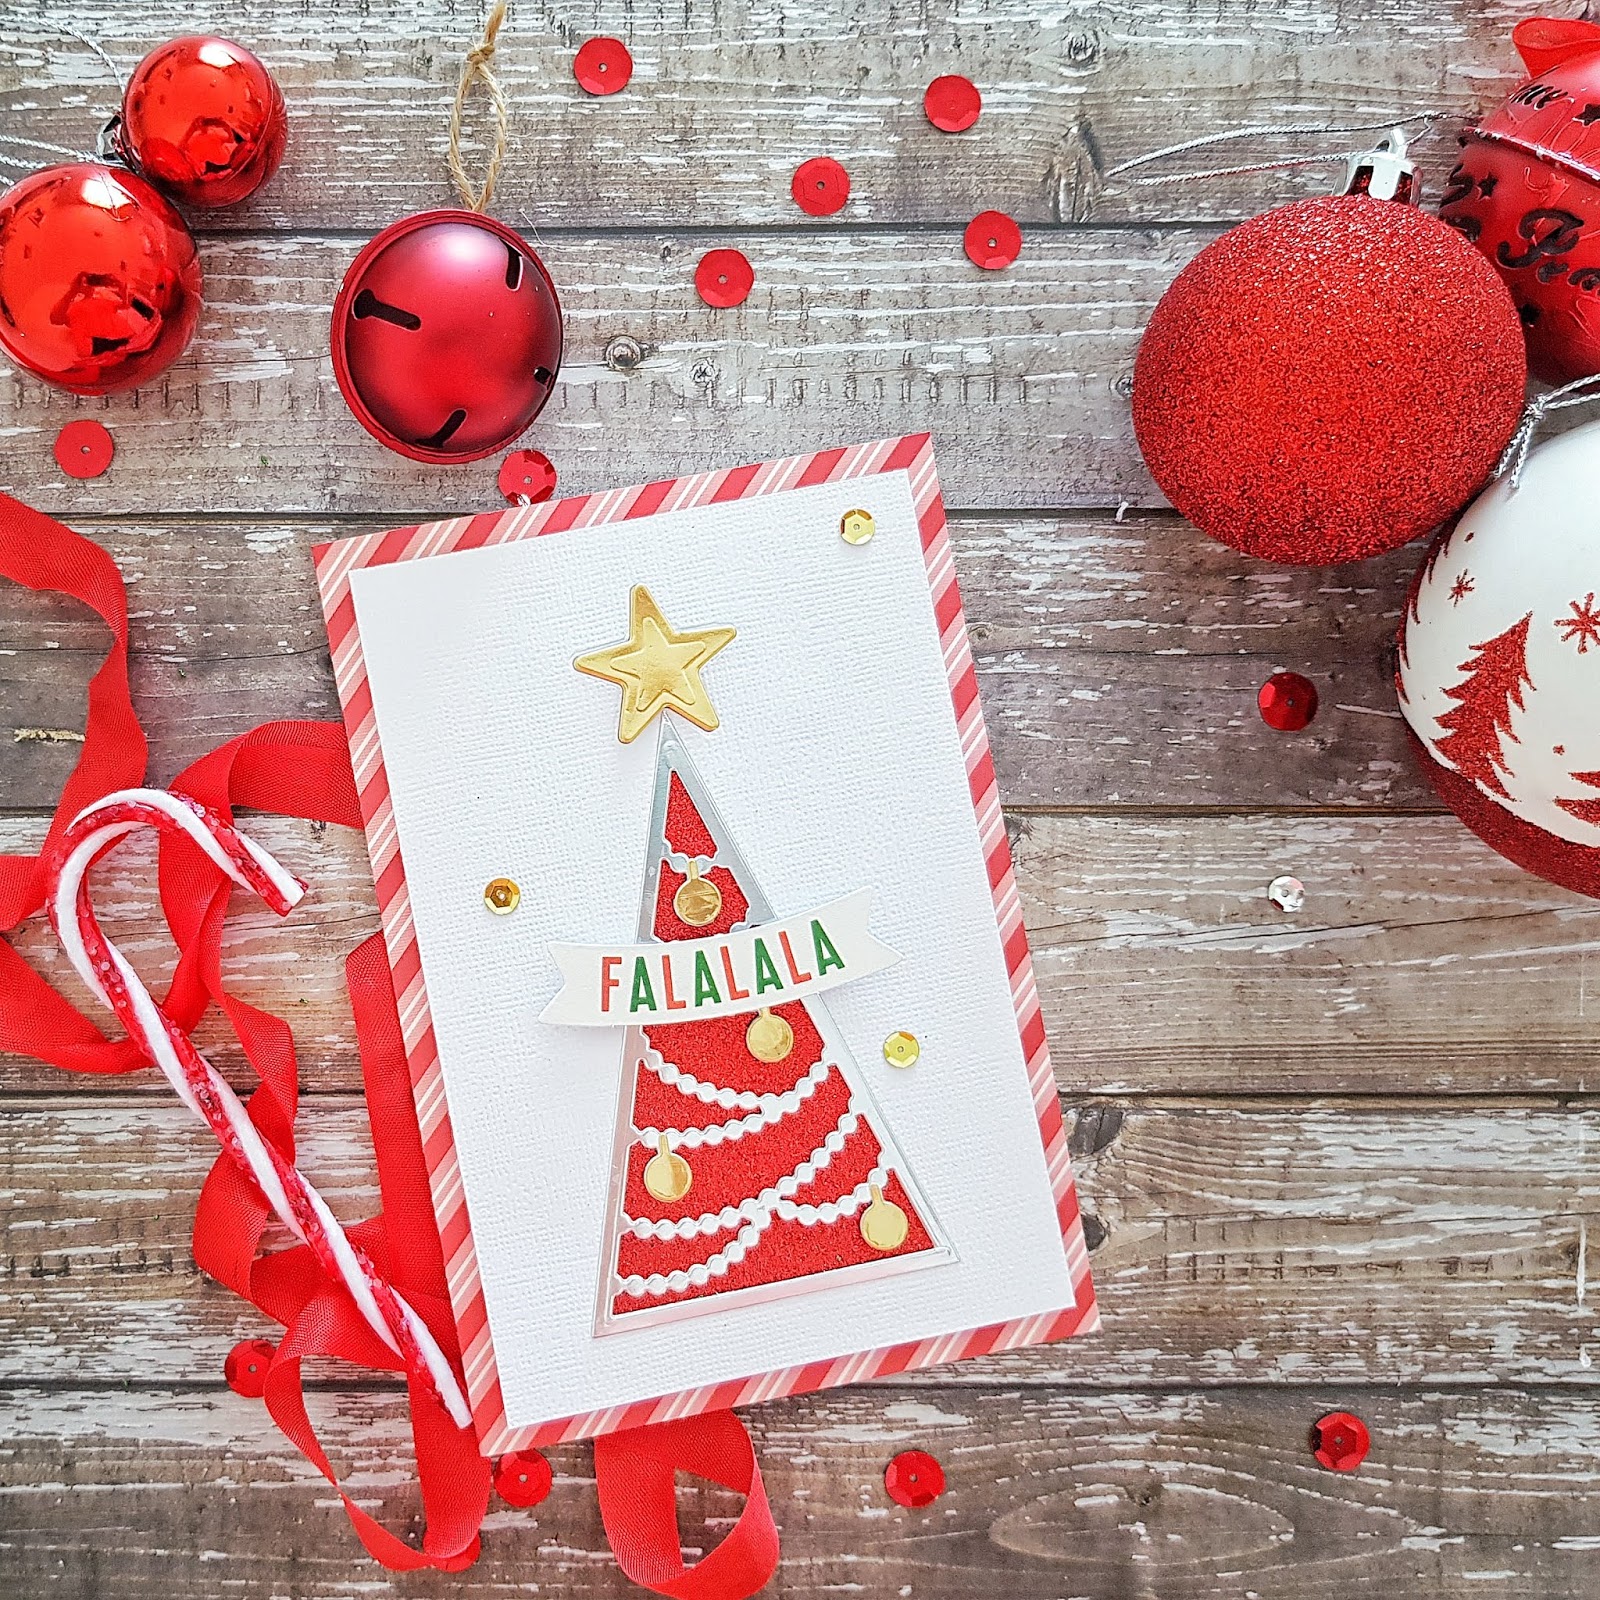
How sweet are these Christmas tree cards?! 
Such intricate and clever cuts!
I have supported these dies with scrapbook supplies from the gorgeous Cozy & Bright Christmas collection from Pebbles!
Looks like a perfect match to me!

Here's a better look for you.....


O' Christmas Tree, O' Christmas Tree....
Isn't this just divine?! 
I just adore how the star die features the tinier inset embossed star - it's all about the details...


And how sweet are those teeny tiny baubles?
Super cute!
I foam mounted the tree to add gentle dimension to this card, and then foam mounted the ephemera sentiment onto the die cut for more interest!

Here's a couple variations featuring the fabulous 


Talk about spreading the Holiday cheer! 


For this card, I also featured the HO! dies from this set. I have cut them in red glitter cardstock for added wow factor. So effective!
I cut the tree design in both gold and silver, and then used the 'left over' pieces to inset the tree design. Doesn't it look stunning?! 
Here's a closer look for you....


Absolutely beautiful! 

I hope I have inspired you with these Festive handmade cards! 
Visit the Spellbinders Instagram for more Holiday Cheer with the November

Thanks so much for visiting, 
& Have Yourself A Merry Little Christmas!

Happy Arty Days, 
Amanda xo