Showing posts with label Silhouette. Show all posts

Cocoa Vanilla Studio: Unforgettable Christmas Layout!


Hi Creative Friends!

Today I am super excited to share my Christmas theme page with the beautiful Cocoa Vanilla Studio: UNFORGETTABLE collection. 
I know - it isn't a Christmas line, nor are there any Holidays elements to this collection BUT, 
I think UNFORGETTABLE is pretty versatile and suits all occasions! 
Here's what I came up...

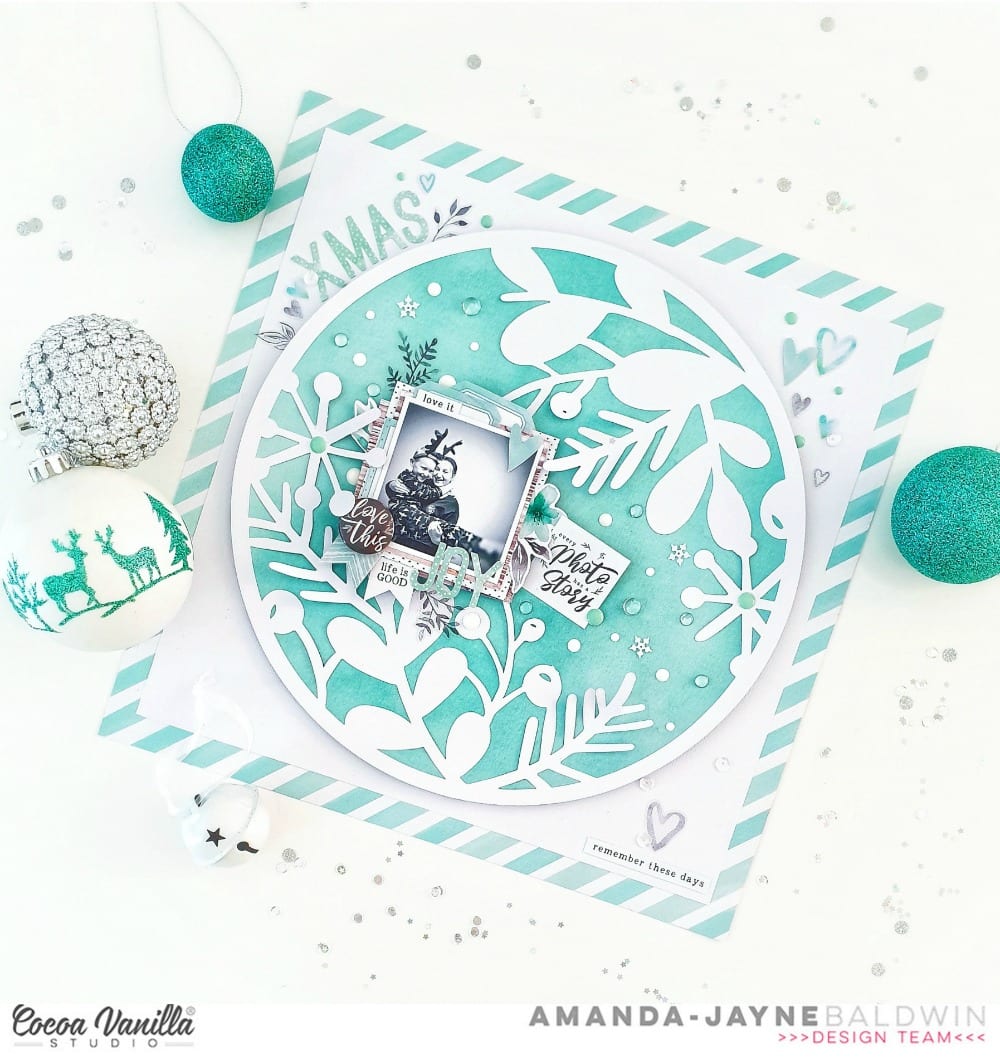
"Xmas JOY"

How beautiful! 
White & Peppermint is always synonymous with Yuletide vibes & is such an elegant color scheme to create with! Love it! 
Let's take a closer look....
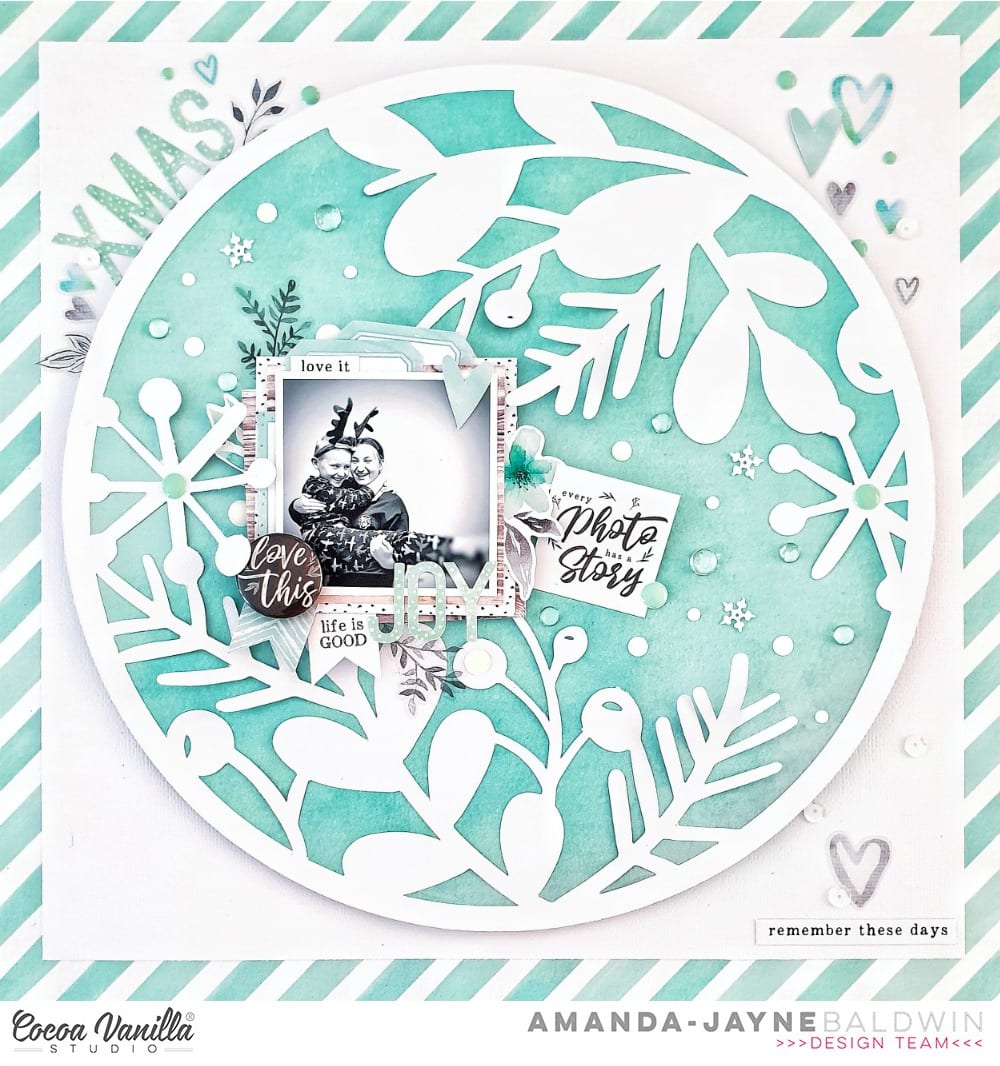
Christmas joy, indeed! These two were having such fun decorating the tree and dancing about to Christmas music. Such a happy capture - remember these days!!!

I started my layout with the reverse side of patterned paper, CV-UF007 SPRIGHTLY. I just adored those mint and white stripes, and knew they'd subtly suggest candy canes & peppermints. A perfect start to my Christmas page! To this paper, I centered & layered an 11" x 11"  sheet of white cardstock. This created a really crisp and fresh background for my layout.

I cut a very simple digital cut file from Lilium Pixel SVG (in the Silhouette Store)  called:  Circle Floral Wreath and backed it with the B side of our divine CV-UFOO3 GARLAND paper. The simpleness of the wreath and snowflakes, combined with this stunning patterned paper was more than enough to create those Holiday feels! I foam mounted this wreath onto my base, before adding my photo cluster and embellishments. 
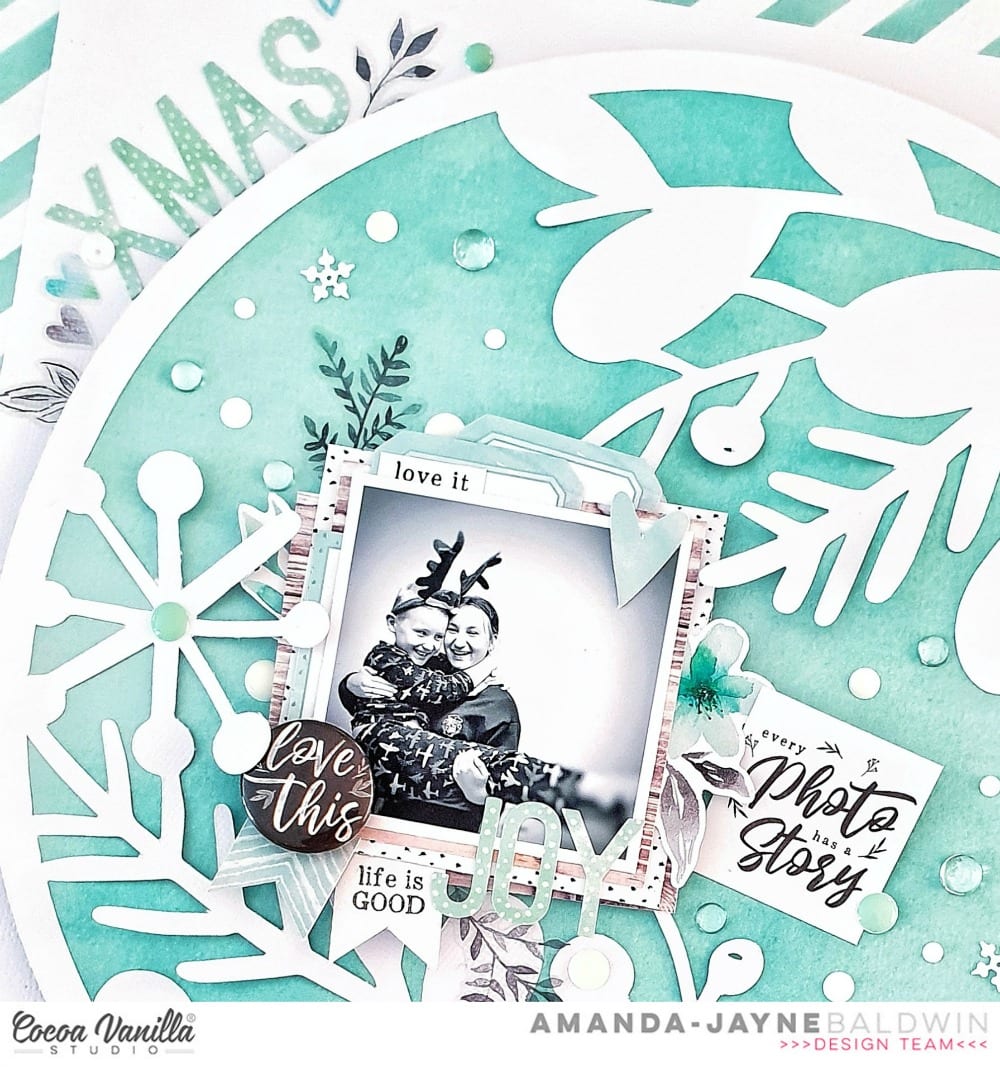
How sweet!
My photo cluster is made from a combination of the 6 X 8 PAPER STACK papers ( the smaller versions of pattern papers: STORYTELLER and NATURAL BEAUTY) that I have layered beneath my photograph. Between these layers, I also tucked in a few coordinating DIE CUT EPHEMERA pieces, and some ACCESSORY STICKERS. I foam mounted the last layer, and before adhering it to my layout, I also attached a few leafy CLEAR STICKERS to enhance the Christmas wreath appeal.
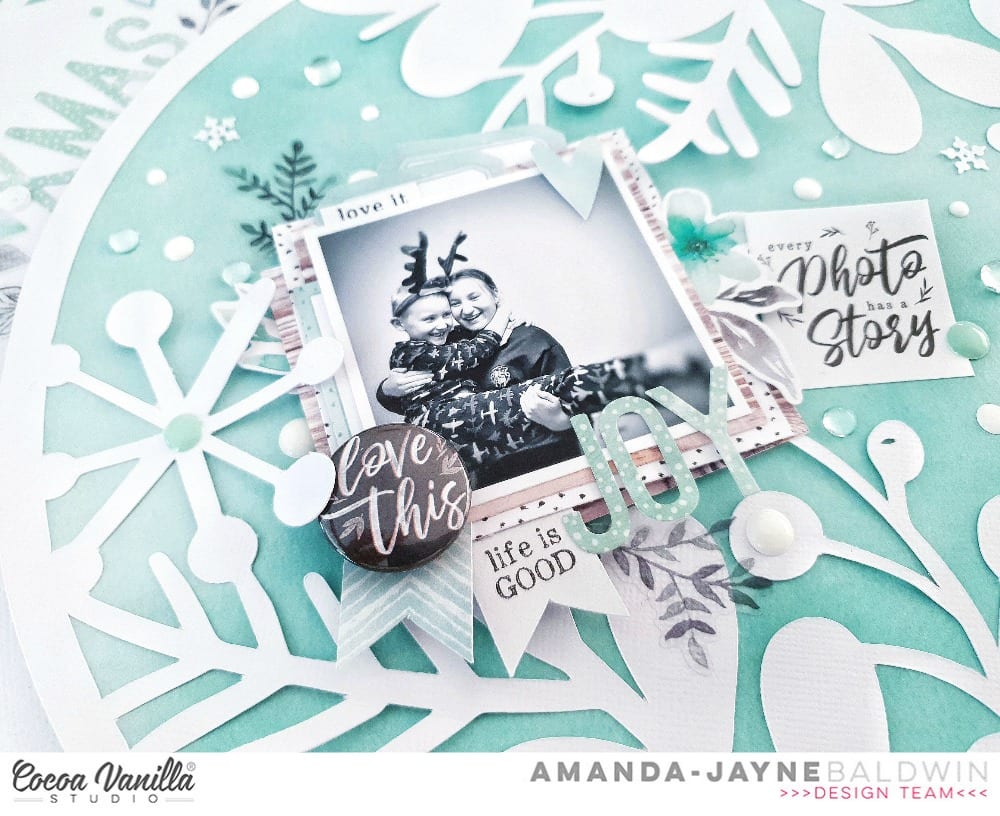

Over my photo, I adorned that fabulous Love this FLAIR BUTTON, and added my title, 'JOY'. I should note that the ALPHABET STICKERS used on this layout are from an older Cocoa Vanilla Studio collection called ENDLESS SUMMER
I specifically selected all the mint colored letters for my page.


To the right of my photo cluster, I added one more phrase sticker, Every photo has a story from the ACCESSORY STICKERS sheet. I used the white and mint green ENAMEL DOTS to decorate around the photo & wreath, as well as a few glass beads and sequins from my stash.


Simple, but so effective!
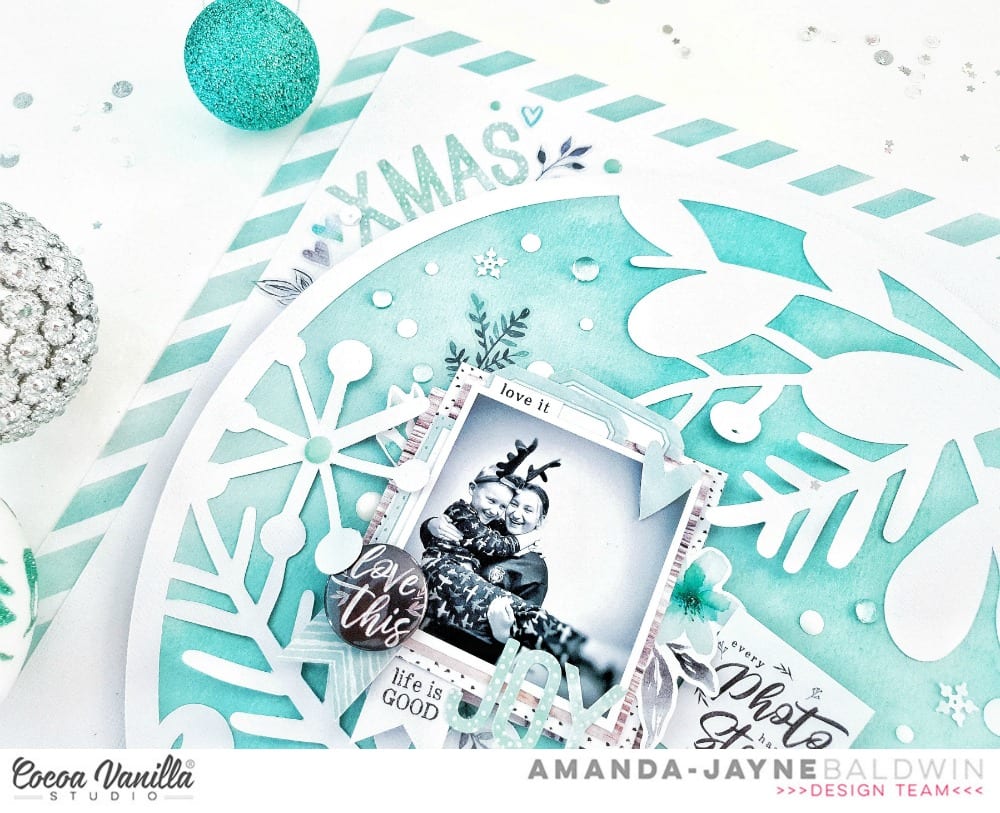

To the top left hand side of my page, and following the curve of the wreath, I attached the 'xmas' part of  my title, and embellished around it with CLEAR STICKERS & ENAMEL DOTS.
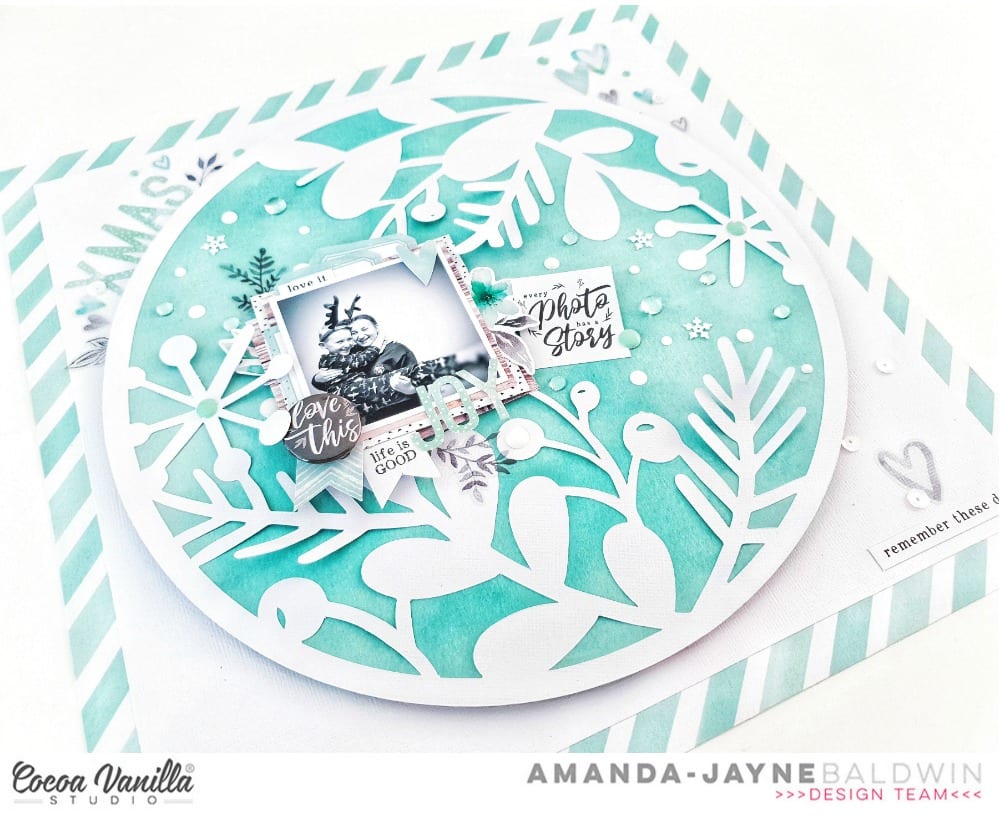

For a finished look, I embellished around the wreath with more stickers, sequins and ENAMEL DOTS.
And there you have it!
A very beautiful, UNFORGETTABLE, Christmas layout!

Thanks so much for stopping by today - I really hope I inspired you to use this 'everyday' collection to document your Holidays with!

Merry Christmas & Have a Happy New Year!
til next time, 

The Cut Shoppe: Fresh Squeezed Summer Layout!


Hi Friends! 
Welcome back to the Happy Arty Days blog! 

Today I am sharing a bright & colorful layout for
The Cut Shoppe!
At the moment it's Summer break in my part of the world - 
think balmy sunsets at the beach and sipping ice cold lemonade! 
My favorite time of year!

For today's layout I am sharing a lil Summer sunshine & warmth with the

"Summer Days"


Whoa, talk about a burst of sunshine! 
This layout is a pop of bright, fun colors and just screams all things Summer! Yay! 

How totally awesome is the Fresh Squeezed cut file?! 
It comes in 2 sizes in the one download too (12 x 12" & 8.5 x 11")! Ideal for all your paper crafting needs!
For today's layout I have cut mine in the 8.5 x 11" size.
Here's a closer look at it.....


Love it! You can get the Fresh Squeezed file from The Cut Shoppe HERE 

For this layout, the Fresh Squeezed file was cut in white cardstock, which I hand colored with Shimmerz Paints. I actually used three shades of yellow paint: Spritz: Chick-a-Dee, Vibez: Sunset Strip & Coloringz: Lil' Yellow Skool Bus. These colors coordinate & blend together beautifully - they really make the Freshly Squeezed cut file 'pop'! 


Instead of backing the lemons with pattern papers, I choose to support the file with a messy, mixed media base. I paint a layer of white gesso, and while it's still wet I add a very watery layer of peachy pink watercolor paint. This creates subtle color for beneath the cut file. I also add lots of pretty paint splatters and droplets in the yellows which I sprayed my cut file with, as well as Shimmerz: Royal Red & Bubblegum Blast too! Messy never looked so pretty! 


I use Echo Park's Good Day Sunshine collection for my layout, as the colors in this collection compliment my photo beautifully (& there may just be a lemon ephemera or two in this line too!)
Here's a few close ups for you.....


So happy together, indeed! Summer break is the BEST!!!
I embellish the cut file with a mix of die cut ephemera, cardstock stickers, chipboard stickers and lots of enamel dots! 


Such a bright & fun page! 
The Fresh Squeezed cut file is perfect for documenting our Summer memories with! 
I hope you feel inspired by my creating today, 
& that my page brings some warmth to my Northern Hemisphere friends :)

& check out more amazing designs in The Cut Shoppe while you're there!

Needing Shimmerz Paints?
Pop my name AMANDA in the comments section of your store order HERE
& you'll receive a FREE paint!
(no minimum spend, not valid with any other promos/code, & code has unlimited use)
Yay for free paint!

Thanks so much for stopping by today,
til next time,


The Cut Shoppe: Merry Christmas Star!


Hi Friends!

Welcome back for more digital cut file inspiration for The Cut Shoppe!
Boy oh boy am I getting excited for Christmas! 
It's the most wonderful time of the year! & I just love spreading the Christmas cheer!
For today's layout I wanted to create something fun 'n' magical, 
The Christmas Star cut file was the perfect choice!

Here's my layout, "Merry"


Isn't this magical?!! 
I have been inspired by visions of sugarplums and used all the pink, glitter & sparkles! 
That giant sequin shaker star is just stunning! And I just adore the super glittery Merry title! 
There's no denying that the Christmas Star digital cut file is all kinds of awesome!
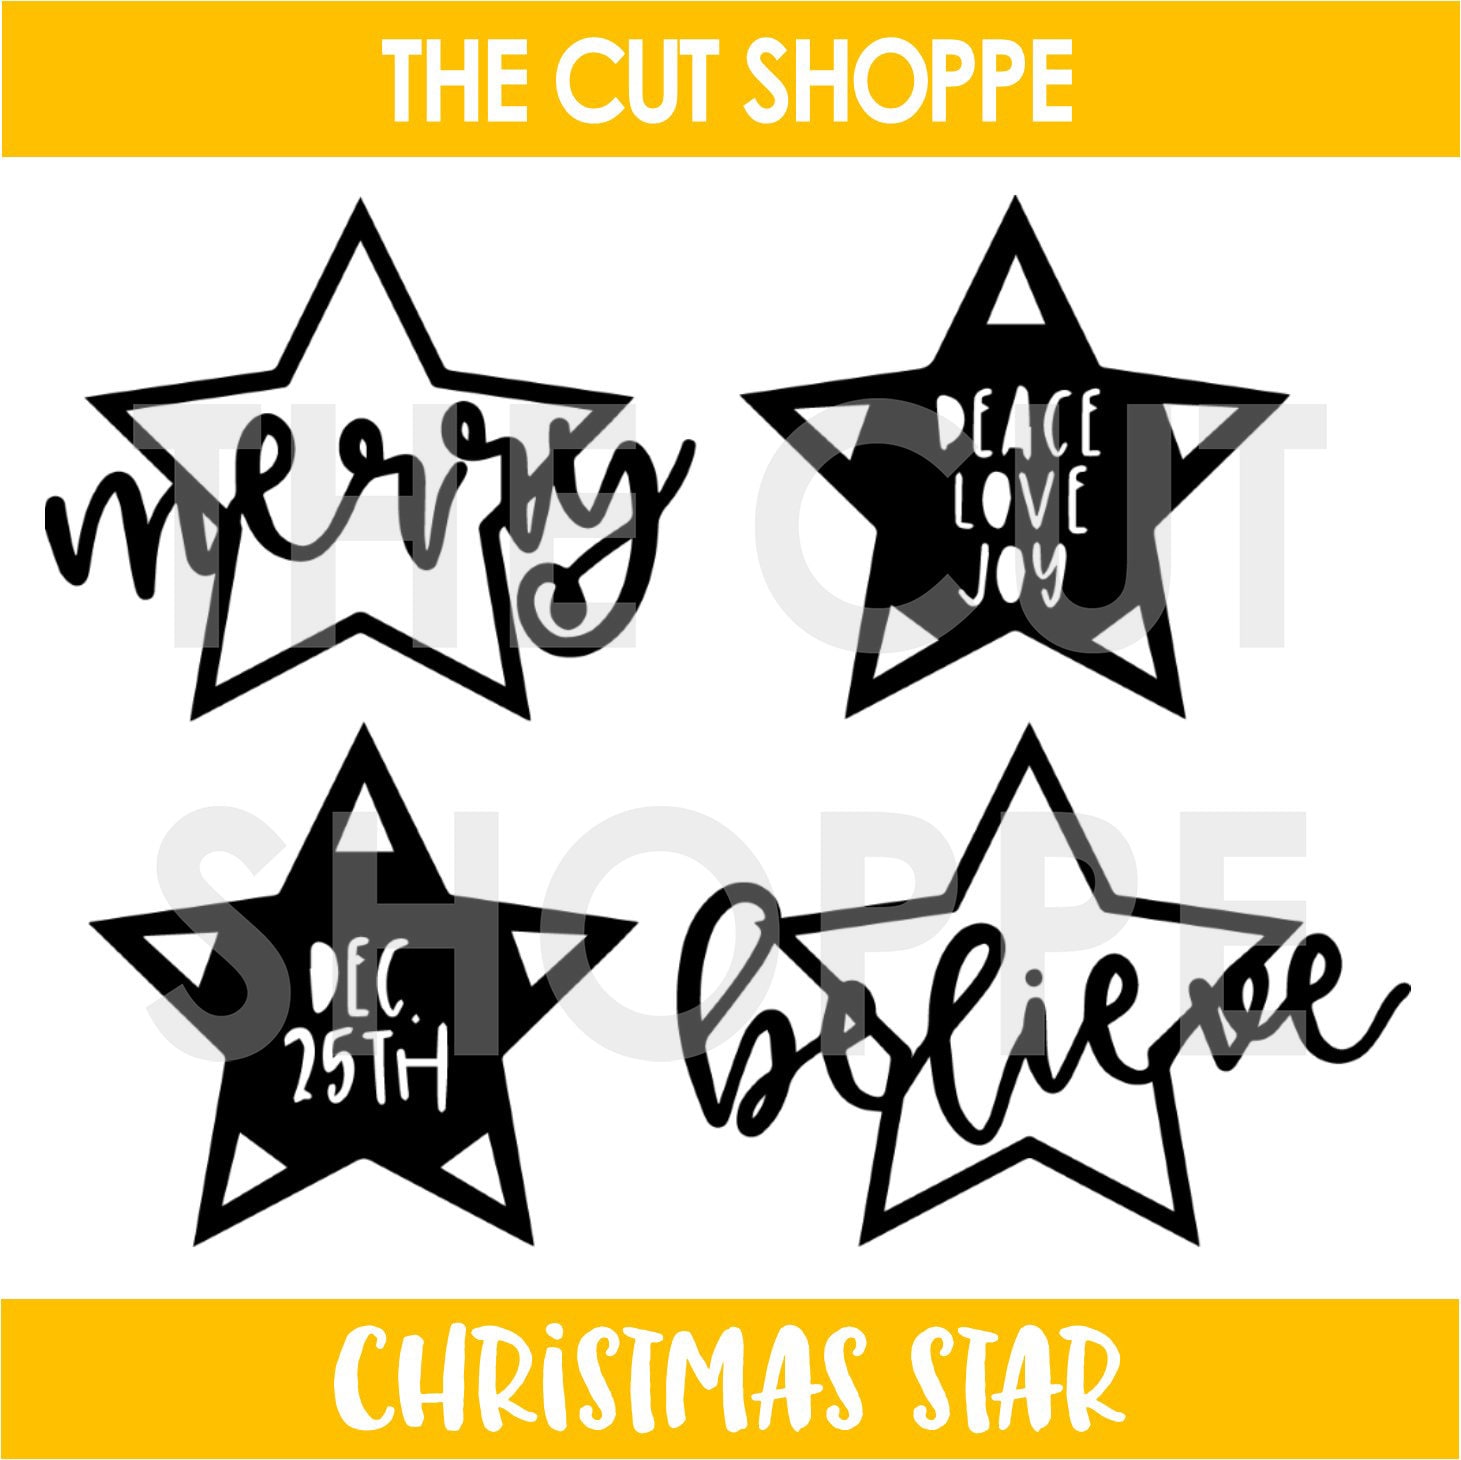
It looks like this....


Wow! What an amazing file with SO many possibilities!
You can get this fabulous cut file from The Cut Shoppe HERE. 

For today's layout, I simply enlarged the Merry star to 8 inches wide and cut it out in white Bazzill cardstock. I created a 'pocket' by backing the star with a layer of pattern paper & vellum. Before I sealed off the pocket, I filled it with sparkly sequins. 
To add extra sparkle and interest, I glued more sequins over the top of the vellum, and then dressed the title in pink glitter paste. 
I just loved how this turned out! So festive & fun!
Here's a closer look for you....


To enhance the magical feel of this layout, I created a whimsical, cotton candy style background with 


***Remember: If you're purchasing Shimmerz Paints, type AMANDA in the comments section of your order to receive a FREE gift. No minimum order, not valid with any other offers & code can be used on repeat orders.***

 This mixed media base really makes the Merry star stand out.
 For added 'pop' factor, I mount the Merry star on thickened foam tape. So effective! 


On closer view, you'll also spot that I embellish the Merry star with a few stickers, and some cotton floss threads! Very pretty details! 


Just look at that glitter title! So.much.sparkle!!!
The Christmas Star cut file is just a stunning addition to any Festive project! 


Aren't they adorable?! Such a Merry Christmas moment! 

With only 3 days til Santa comes, I want to take this opportunity to wish you and your loved ones a safe and very Merry Christmas! 
And a Happy New Year!

Thanks so much for stopping by today, 
You can shop the Christmas Star file & more in The Cut Shoppe HERE.


The Cut Shoppe: Hello, Let's Chat Glam Girl!


Hi Everyone! 

Welcome back for more The Cut Shoppe inspiration!!!

Today I am featuring the fabulous Hello Let's Chat digital cut file 
& let's just say, it's perfection for teen girls!!!
Here's what I've created with it today....

"Glam Girl"


Well, Hello Glam girl, indeed! 
Such a fun & playful page for my not so little girl! 
I have combined the Echo Park's Fashionista with the My Mind's Eye Glam Girl collections to create this teen scene layout. 
I cut the file in white cardstock, attach it to my page with lots of foam dots, and finish it off with lots of embellishments. SO pretty! Raising the cut file with foam dots really makes it stand out against that soft mint background.
Let's have a closer look at this amazing cut file!

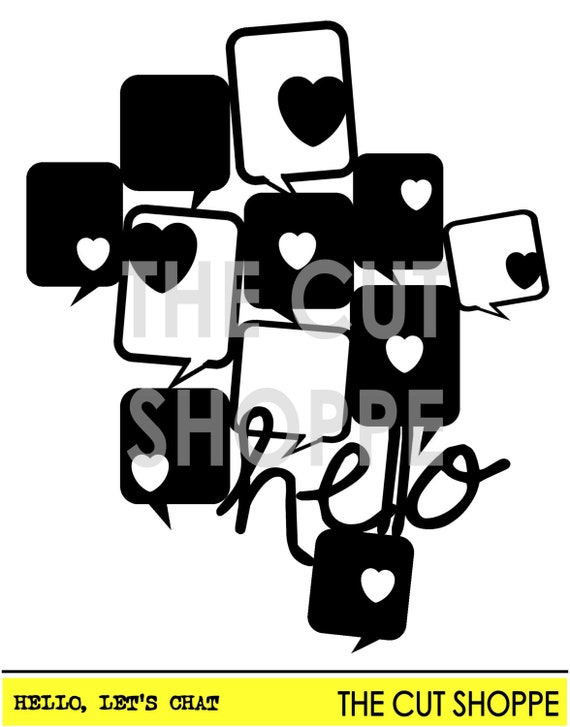
Hello, Let's Chat looks like this.....

image 0

So awesome, huh?! I can see a ton of possibilities with this file too!

Here's a closer look at my layout, and all those sweet embellishments.....


 I choose to back a few of the speech bubbles with pattern papers, and of course, my fun photo! 
This cut file is ideal for memory keeping all our conversations, texts and phone pics! She looks way too grown up in that mirror selfie - I blinked, and all of a sudden she wasn't little anymore. So glad that I document her stories to remember all our days! 
Here's another view for you....


I layer ephemera pieces onto some of the other speech bubbles, as well as cute brads, gold sequins and even some puffy sticker hearts! You'll also spot some typewriter font sentiments around the cut file. 


Loving that hello - it's such a fun font to compliment the speech bubbles with! 


Gorgeous, girly and so much fun!!!
I hope my layout has inspired you to go cut the Hello, Let's Chat file today! 

Thanks so much for visiting, 
til next time, 

Happy Arty Days, 
Amanda xo 

https://www.instagram.com/happy_arty_days/

The Cut Shoppe: A Walk In The Clouds!


Hi Everyone!

Welcome back for more cut file inspiration with The Cut Shoppe!
Today I am featuring the gorgeous Walk in the Clouds digital cut file 
Here's what I created with it....


"Bloom & Grow"


So beautiful! That Walk In The Clouds digital file takes this layout from pretty to pretty special!!!
Love it!
I have cut the clouds with pattern paper Sunset Strip from the new Cocoa Vanilla Studio: Midnight collection.  I love the inky appearance of this ombre paper - it's so beautiful! A gorgeous watercolor look without the mess! Actually, my entire layout is created from this scrapbook collection.

But it's those clouds that have my heart!!! 
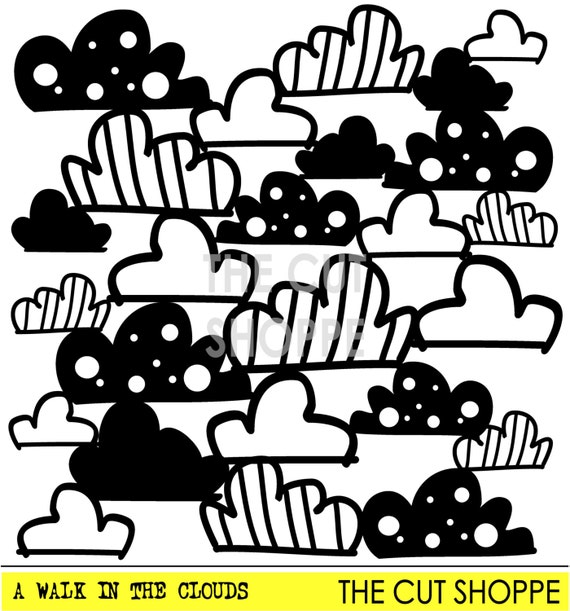
Here's a better look at the Walk In The Clouds digital file.....

image 0

Such a playful & whimsical design! Perfect for a dreamy layout background!

To make the clouds even more impressive, I have mounted them on thick foam tape. Creating both dimension and interest!


You'll also spot that I back some of the clouds with pattern paper Moonlight - another dreamy element & detail!


I've adorned some of the clouds with pretty embellishments (hearts, flair, sequins & even a title!) for added interest! 
My darling photo is also mounted onto the clouds base.....


So very beautiful! Love this, indeed! 
Here's another view for you....


The Walk In The Clouds cut file is really magical! 


I do hope you're feeling inspired to use this amazing digital file in your next project! 
Don't have this digital file in your collection, yet? 
You can purchase it from The Cut Shoppe Etsy Store HERE 

Thanks so much for stopping by today, 
til next time, 


The Cut Shoppe: Love Layout & Process Video!


Hi Creative Friends! 
Welcome to the Happy Arty Days blog! 

 I am so super dee duper excited to be sharing my first official project for 

 Yayyy!!! 
I LOVE The Cut Shoppe digital cut files, and have been wanting to be part of this awesome team for a long time. 
Hooray for dreams coming true! 
Such an amazing opportunity - I hope I'll inspire you!

Today's layout is all about putting the focus back on your photographs, 
and the Piece Of My Heart cut file certainly does that and more! 
Here's what I'm talkin' 'bout......

"Love" 


Sigh! Isn't this just the sweetest?!! 
All the pretty, girly things here! 
Here's a better look at the cut file......


Get this awesome file from The Cut Shoppe HERE

This file is an absolute dream to create with! 
With no intricate or tricky cuts, this file cuts out super fast! With its large, clean cut boxes you can see how it really puts the emphasis back onto your photos!
 And if you're a lil time poor (aren't we all, these days?!) it's also super quick to back! 

Here's a few close-ups for you.....


I have used the Crate Paper: Maggie Holmes: Flourish collection, as well as a few bits n pieces from the Willow Lane line, accessory stickers from Cocoa Vanilla Studio & my favourite Shimmerz Paints - for a gentle hint of color and shine! 


So lovely, indeed! 
You'll spy that I foam mounted the Piece Of My Heart cut file for added dimension & interest!


Such a fabulous cut file for my beautiful girl! 

Want to know more about how this layout came together? 
Please watch my process video  HERE 
Also includes my thoughts on layout design, page elements, and why I didn't choose to back this file with multiple pattern papers (& it isn't what you might expect!) 
I hope you'll enjoy watching! 

Thanks so  much for visiting today!
I hope you're feeling inspired to use the Piece Of My Heart cut file!
til next time,


Elle's Studio: Digital Cut Fun Part 2!


Hi Creative Friends! 
Welcome back for more Elle's Studio inspiration!  

As you already know, I am just crazy for the monthly Digital Cut Files!
& today I am expanding on that love with

 Digital Cut Fun: Part 2! 

***If you missed Digital Cut Fun you can go back and check it out HERE***

Today's focus is on combining those awesome digital files with the monthly printable designs - yay!
Here's what the March set looks like....


Totally awesome, huh?!

I just adore all the cute bunny designs in the latest Happy Day Printables set, and couldn't resist creating an Easter page with them!

Here's my layout, 
"Bunny Love"


Oh the cuteness! Does it get any sweeter than this?!! And yes, yes, yesssss to all the bunnies!

You'll be surprised just how super easy it is to re create this look! 
Simply open the Happy Days Printables and select the images you wish to print. Edit sizes according to your needs & print away!
 I was super lazy and selected my images and just hit the 'share' & 'print' options in Microsoft Windows. I selected my sizes according to the options in Print Pictures. 
Yes, it's honestly that easy! 
 Fussy cut them out (or if you're really clever print & cut with your silhouette software) and voila! Rabbit season!
I especially love the heart icon which I over size to create the cut file bunnies tummy with! 
And speaking of cut files, here's how I created those sweet big feature bunnies....


Enlarge the white tail bunny digital design to 11 inches in height, left align the image and cut it out with white cardstock. Keep the cut out to use as a future template, and use the bunny 'hole' or negative to back with pattern papers. I love the softness and whimsy of the gray stars design in the Live Laugh Love 6 x 6 Paper Stack. As I opted to use 6 x 6 papers, I rounded the bunny chin & glued it over the other sheet of paper to avoid the appearance of ugly join marks. I then add that extra large heart icon to create the bunny tummy. So cute! Using black cardstock scraps, I snip out a nose and eyes for our sleepy bunny. A pink bow and faux stitching (black felt tip pen) complete the main rabbit. 


For the second pattern paper rabbit, you will need your previously cut out rabbit template. Position the template over the paper you wish to use. I chose the pretty pink hearts from the Live Laugh Love collection because they coordinated perfectly with the heart icon printable, and then it's a simple trace & cut! SO easy! Apply the faux stitching and glue into position. 

Now it's time to make the bunny banner! 


Suspend some baker's twine onto the top right hand corner of your page, and glue into place. Take your Happy Days Printable bunnies and adhere them to the string like flags. Divide each bunny with a Puffy Sticker star from the March Kit & Add-Ons, and add a pom pom cotton tail to each one! Adorable!

Use more of your printed bunnies to both adorn & layer your photo onto....


You'll also spot a few items from our March Kit here ;)

I add more of the printed bunnies to the left side of my feature rabbit too! 
Complete your layout with Puffy Alphabet Stickers, Enamel Dots & Heart Of Gold Chipboard Stickers. 
Simple, fun and oh so perfect for Easter memory keeping!


Layering cut files with printables is super easy but looks so effective!
I hope you'll give this technique a try! 

Thanks so much for visiting today!
til next time, 

Happy Arty Days, 
Amanda xo