Showing posts with label cut file. Show all posts

Cocoa Vanilla Studio: Unforgettable - Love This!


Hi Creative Friends!

Welcome back for more Cocoa Vanilla Studio inspiration!
Today I am sharing a super pretty layout with the beautiful new UNFORGETTABLE collection. You'll spy lots of fussy cutting, butterflies & blooms and,discover which pattern paper is my new favorite! 
But enough chatter, here's my latest creation with UNFORGETTABLE.....

"Love This" 
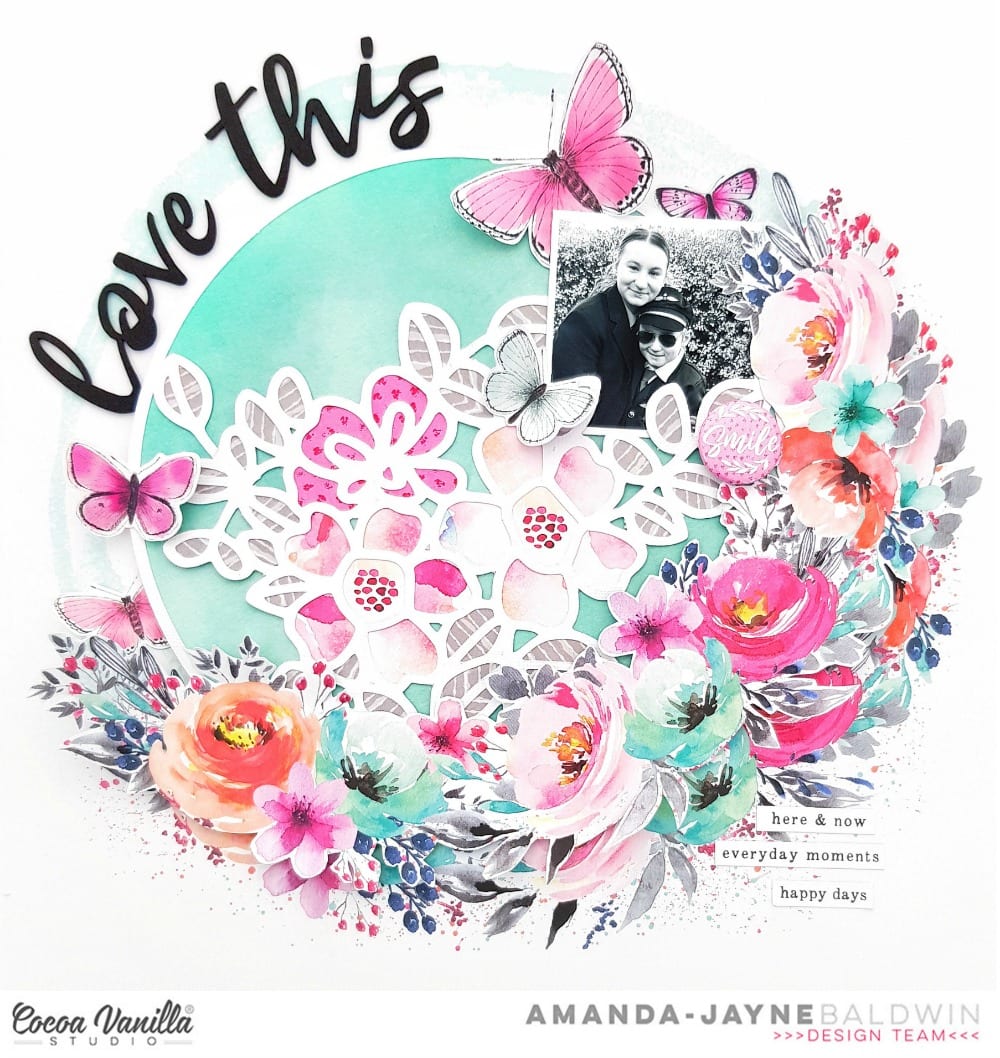

Sigh! Love this, indeed! Such a beautiful layout of my two darlings!
And as for my new favorite pattern paper? Well, it has to be that divine wreath paper, CV-003 GARLAND - gosh it's so super pretty!!! 
You'll notice that I actually used two sheets of CV-003 GARLAND to create today's scrapbook page!

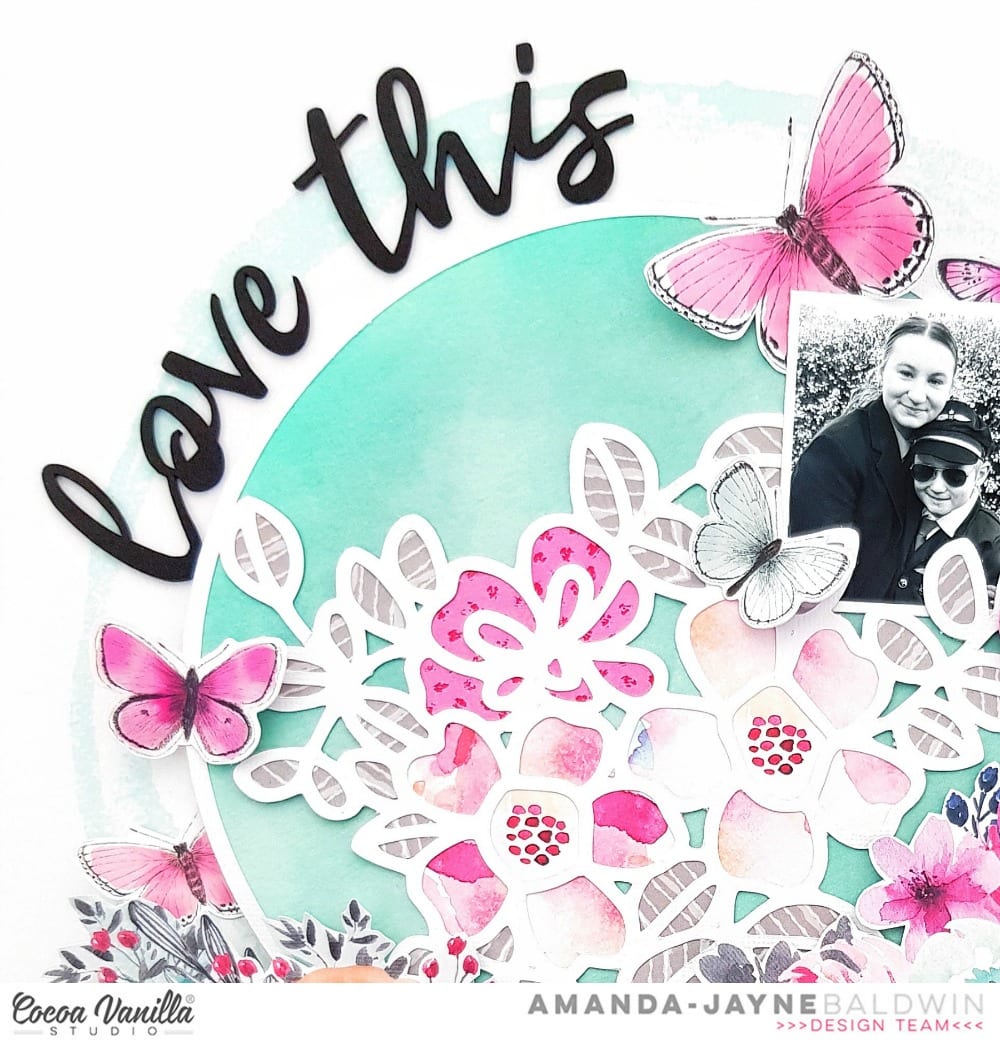
I started my layout with GARLAND as the base, but wanted to do a little more to highlight it's magnificence. I loved the mint arc in the wreath, and decided to 'fill' inside the wreath with this very same colour (which happens to be the reverse side of - you guessed it, the GARLAND paper!). 
To fill this space, I used a Cut To You cut file called, Flower Circle and backed the flowers and leaves with an assortment of papers from the 6 x 8 PAPER STACK.  
Next, I backed the entire circle with the reverse side of GARLAND - I just love mint watercolor wash of this pattern! 

Here's a closer look....
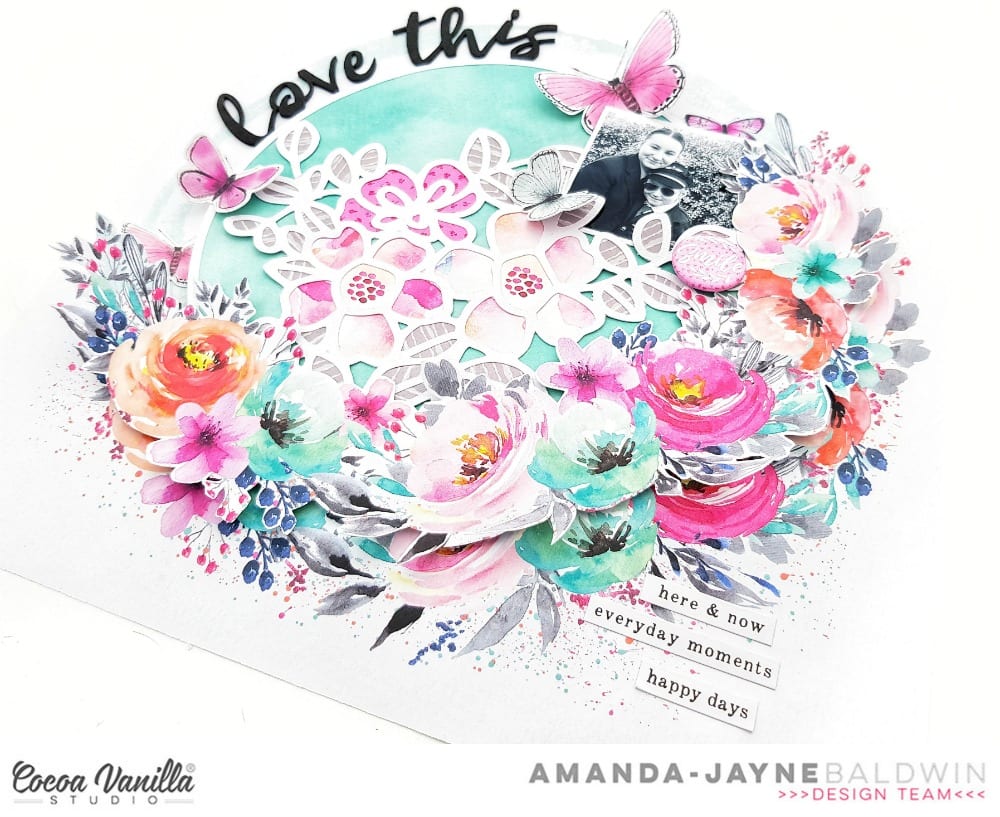

As I'd already cut into a second sheet of GARLAND, I decided to make the most of it, and fussy cut the floral section of the wreath. I foam mounted both the cut file and fussy cut blooms, and adhered them to the layout. I positioned the Flower Circle in the center of the wreath, and layered the fussy cut GARLAND blooms around the edge of it. By doing this, it revealed the original wreath below, and created the appearance of a thicker & fuller arrangement of blooms. Gor-jus!!!
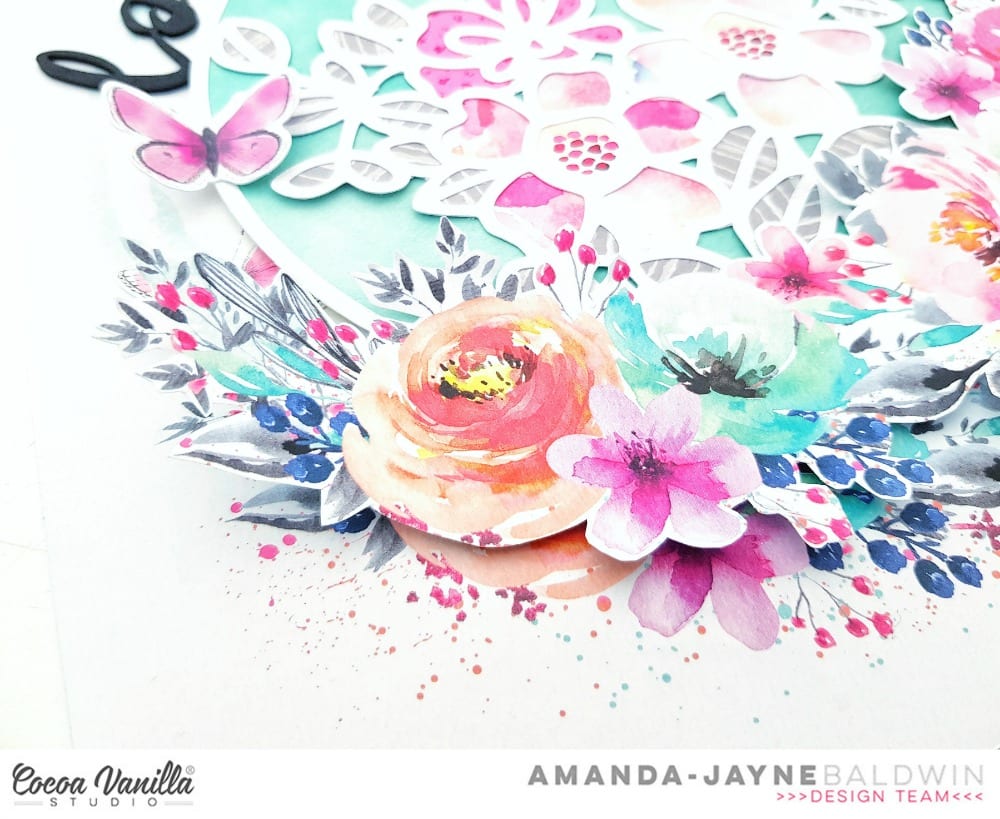

Aren't those florals just errrrything?!! LOVE!

I tucked my darling photograph into the top right section of both the cut file & fussy cut wreath, and embellished it with the 'smile' FLAIR BUTTON. Next, I fussy cut a large pink butterfly from pattern paper, CV-UF004 PRETTY BITS and tucked it beneath my photo. To enhance this decoration, I added two more butterflies around my photo - a CLEAR STICKER butterfly, and a DIE CUT EPHEMERA piece!
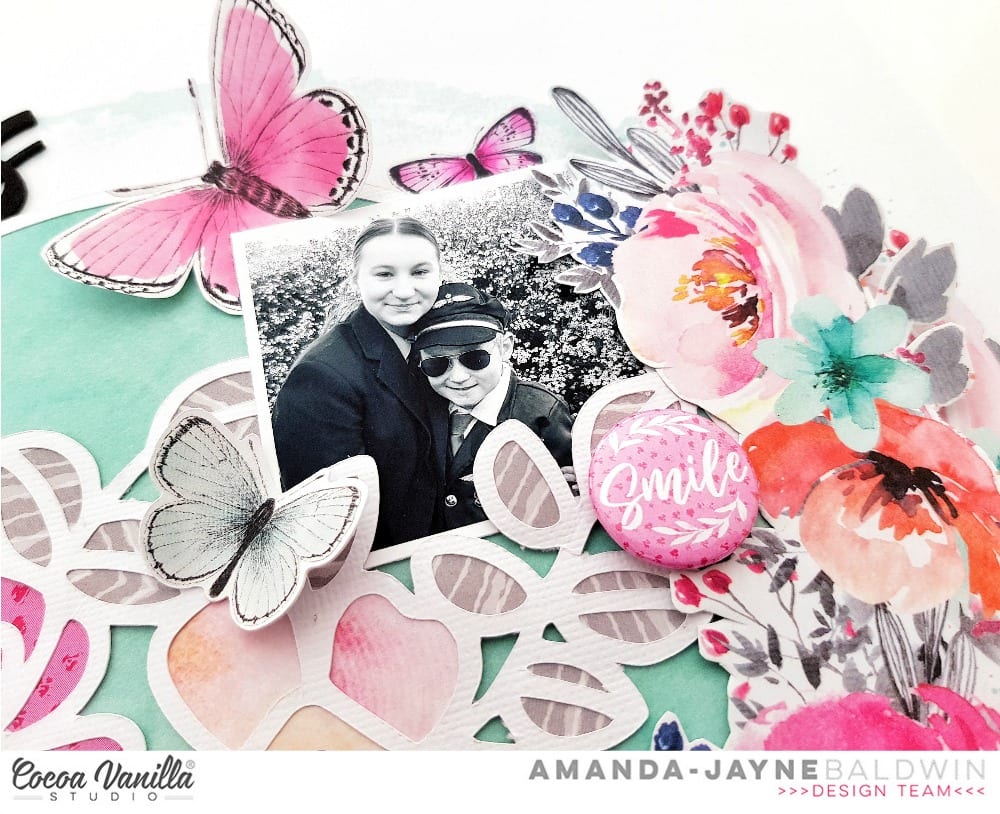

There's no denying that UNFORGETTABLE is the prettiest release of 2019! 
So.much.gorgeousness!!!
The new FOAM TITLE STICKERS are all kinds of awesomeness too! 
I curved my love this title around the outer edge of the wreath arc, and then embellished with a couple more butterflies...

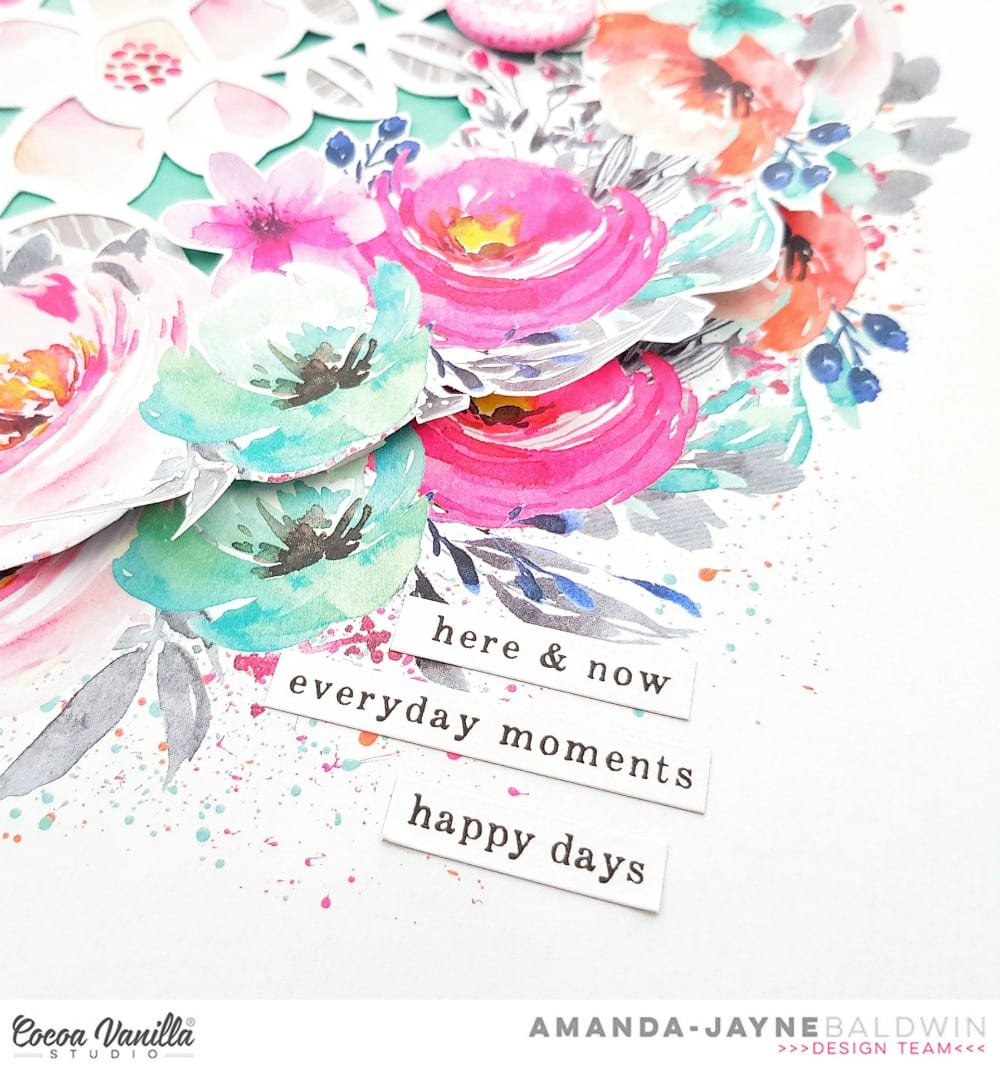
For finishing touches, I added a tiny spot of journaling with the sentiment stickers from the ACCESSORY STICKERS sheet.

Simple, beautiful creating with the new UNFORGETTABLE collection!
I hope my layout has inspired you to get creating with some Cocoa Vanilla Studio lovelies today!

Thanks so much for visiting,
til next time,

The Cut Shoppe: Follow Your Heart!


Hi Friends! 

Welcome back for more digital cut file inspiration!
Amanda here, and to start off 2019 I am all about stash busting my supplies. Time to use up all the things and have a fresh start to the New Year! Yay!
To save time, I often cut an extra cut file or two in white cardstock to 'save' for a just incase or unexpected project. I call these my 'back up files' for times when my software needs a lengthy update or just doesn't want to play nice (you know what I'm talkin' 'bout, right?) LOL!
Well, in my back up stash, I had cut the awesome Follow Your Heart file - perfect for combining with my hoarded stash of Pink Paislee's Auburn Lane.....

"Forever Friends"


Follow your heart, indeed! Isn't this pretty?!! Totally swoon worthy!  
The pink backed heart against the textured woodgrain paper is just stunning!

The Follow Your Heart file is just the BEST!
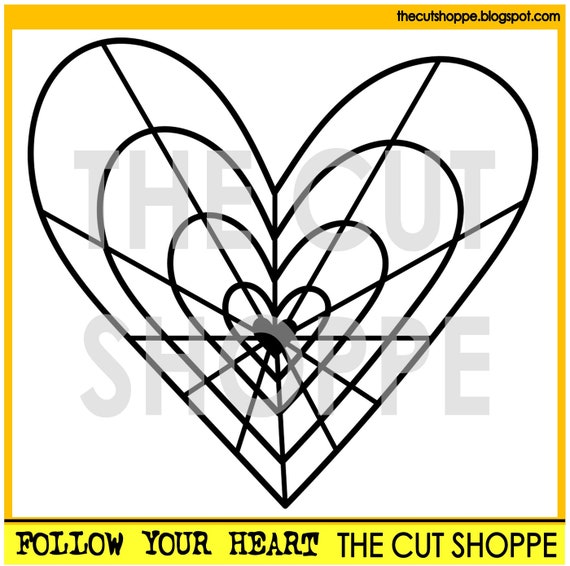
Here's what it looks like....

image 0

Such a fun design! You can get this awesome file HERE!

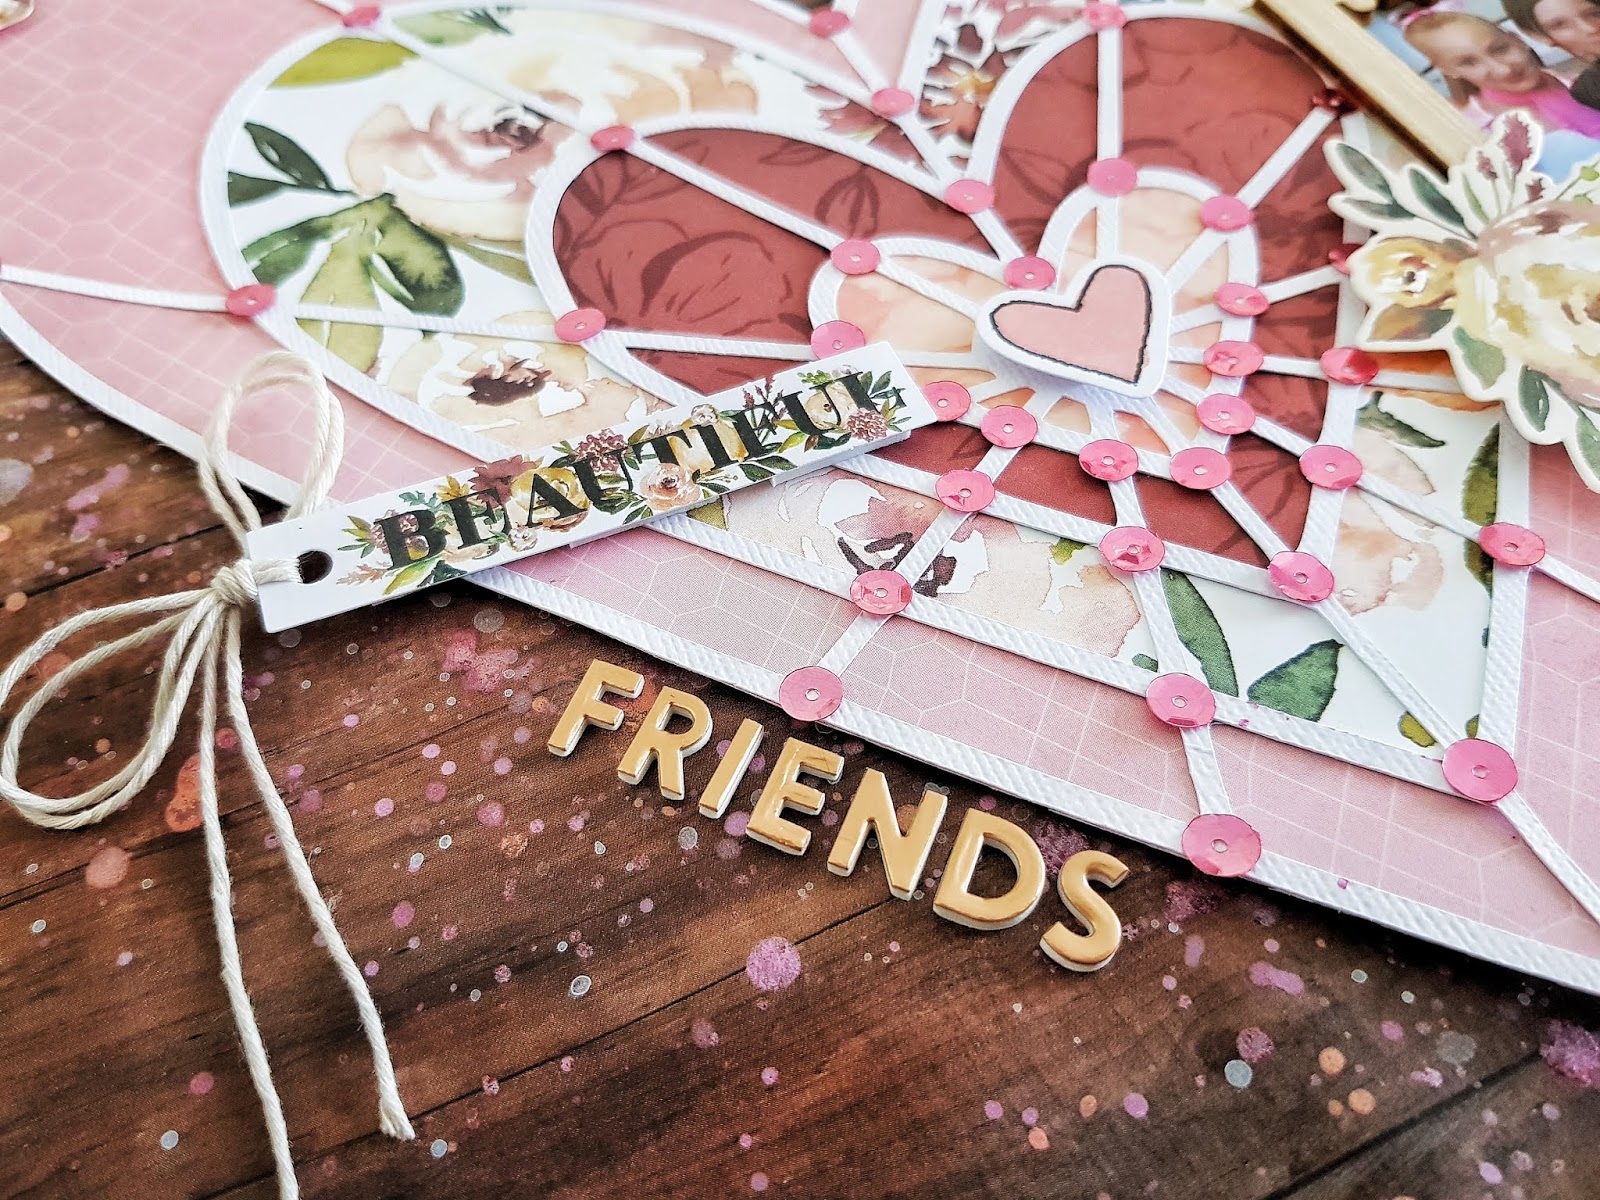
Here's a closer look at my beautiful layout....


I have backed the heart with 4 of the Pink Paislee Auburn Lane pattern papers, then foam mounted a die cut ephemera heart in the center. For added interest & a lil' bling, I use pink sequins at each of the heart 'joins' - so pretty!  


Before adding the Follow Your Heart cut file to my layout, I add a beautiful layer of paint splatters & droplets. I use watered down white acrylic paint plus Shimmerz Paints Vibez sprays in Pop Art Pink, Sweet Heart & Razzeldazzel Berry. So effective! 

***Remember: Type AMANDA in the comments section of your Shimmerz Paints Store order to receive a FREE gift***

I foam mount the heart, and attach it to that mixed media and woodgrain base. 
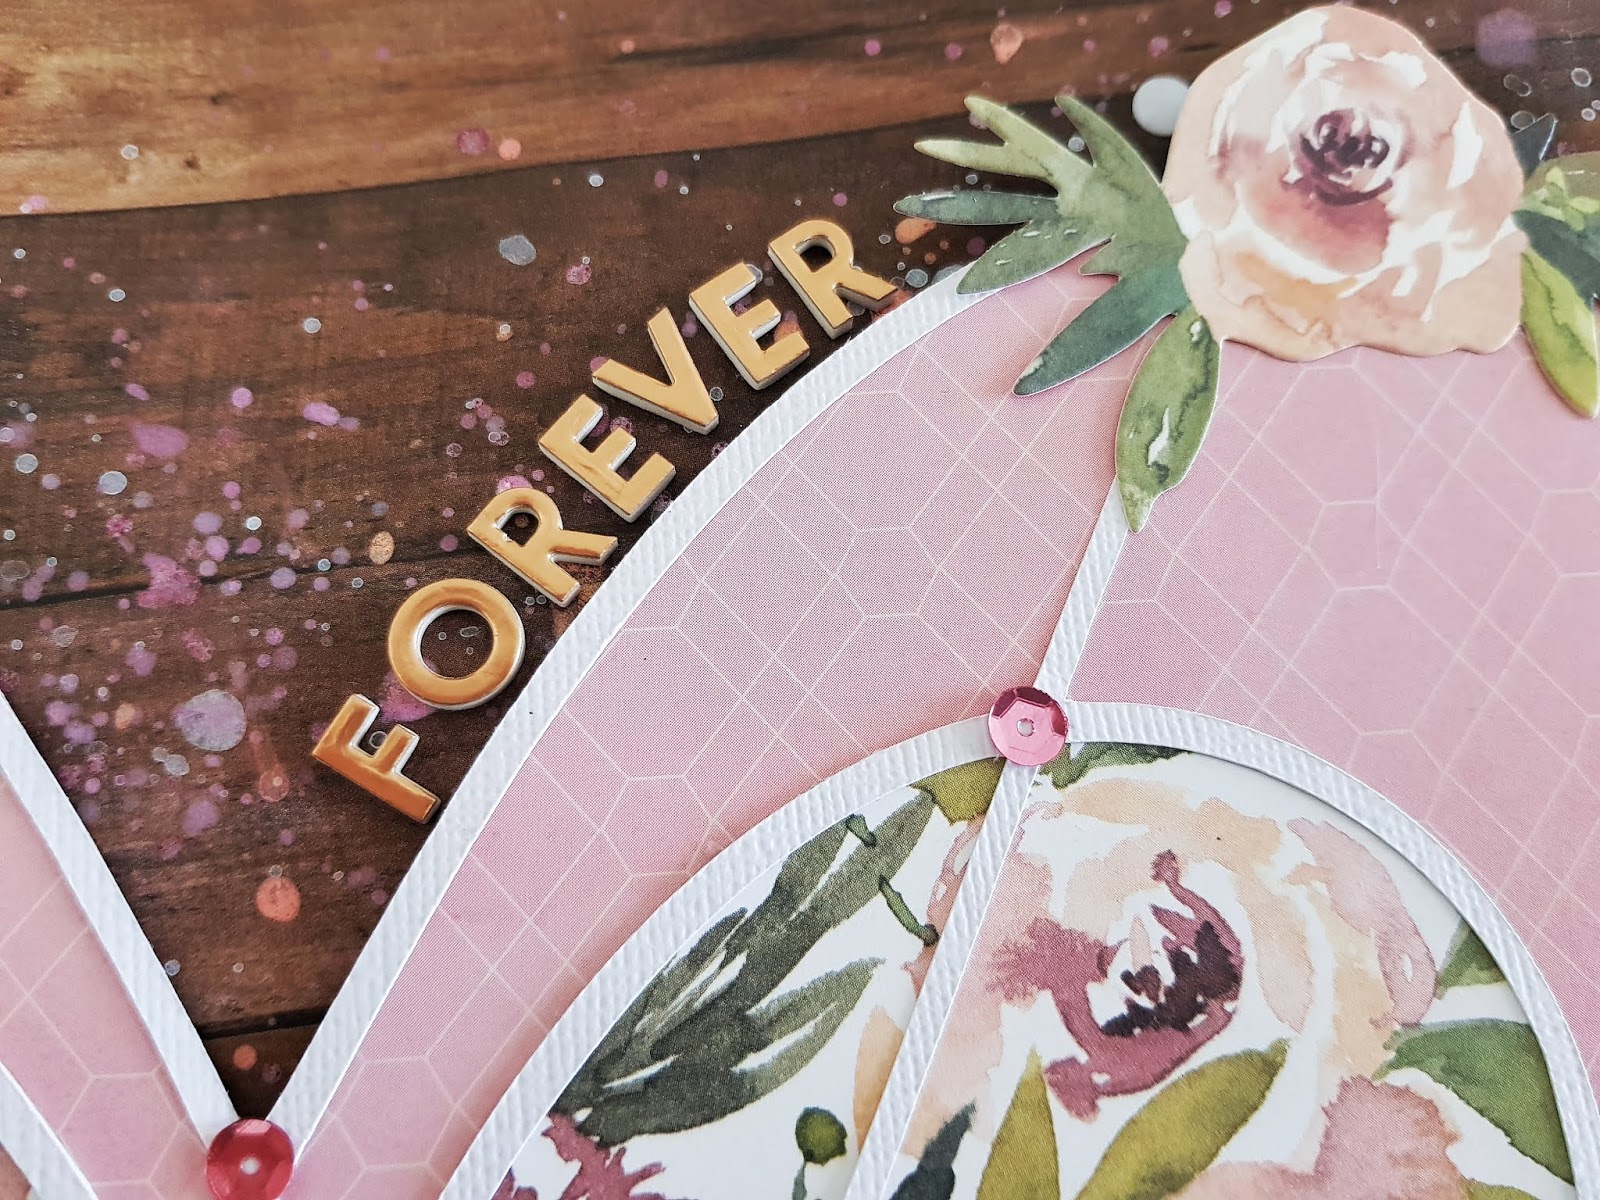
I add the beautiful ephemera tag to the heart, and then wrap the gold foam Thickers title around the heart....


SO gorgeous! 
I also embellish the heart with die cut ephemera blooms - because there's no such thing as too many florals, right?! 


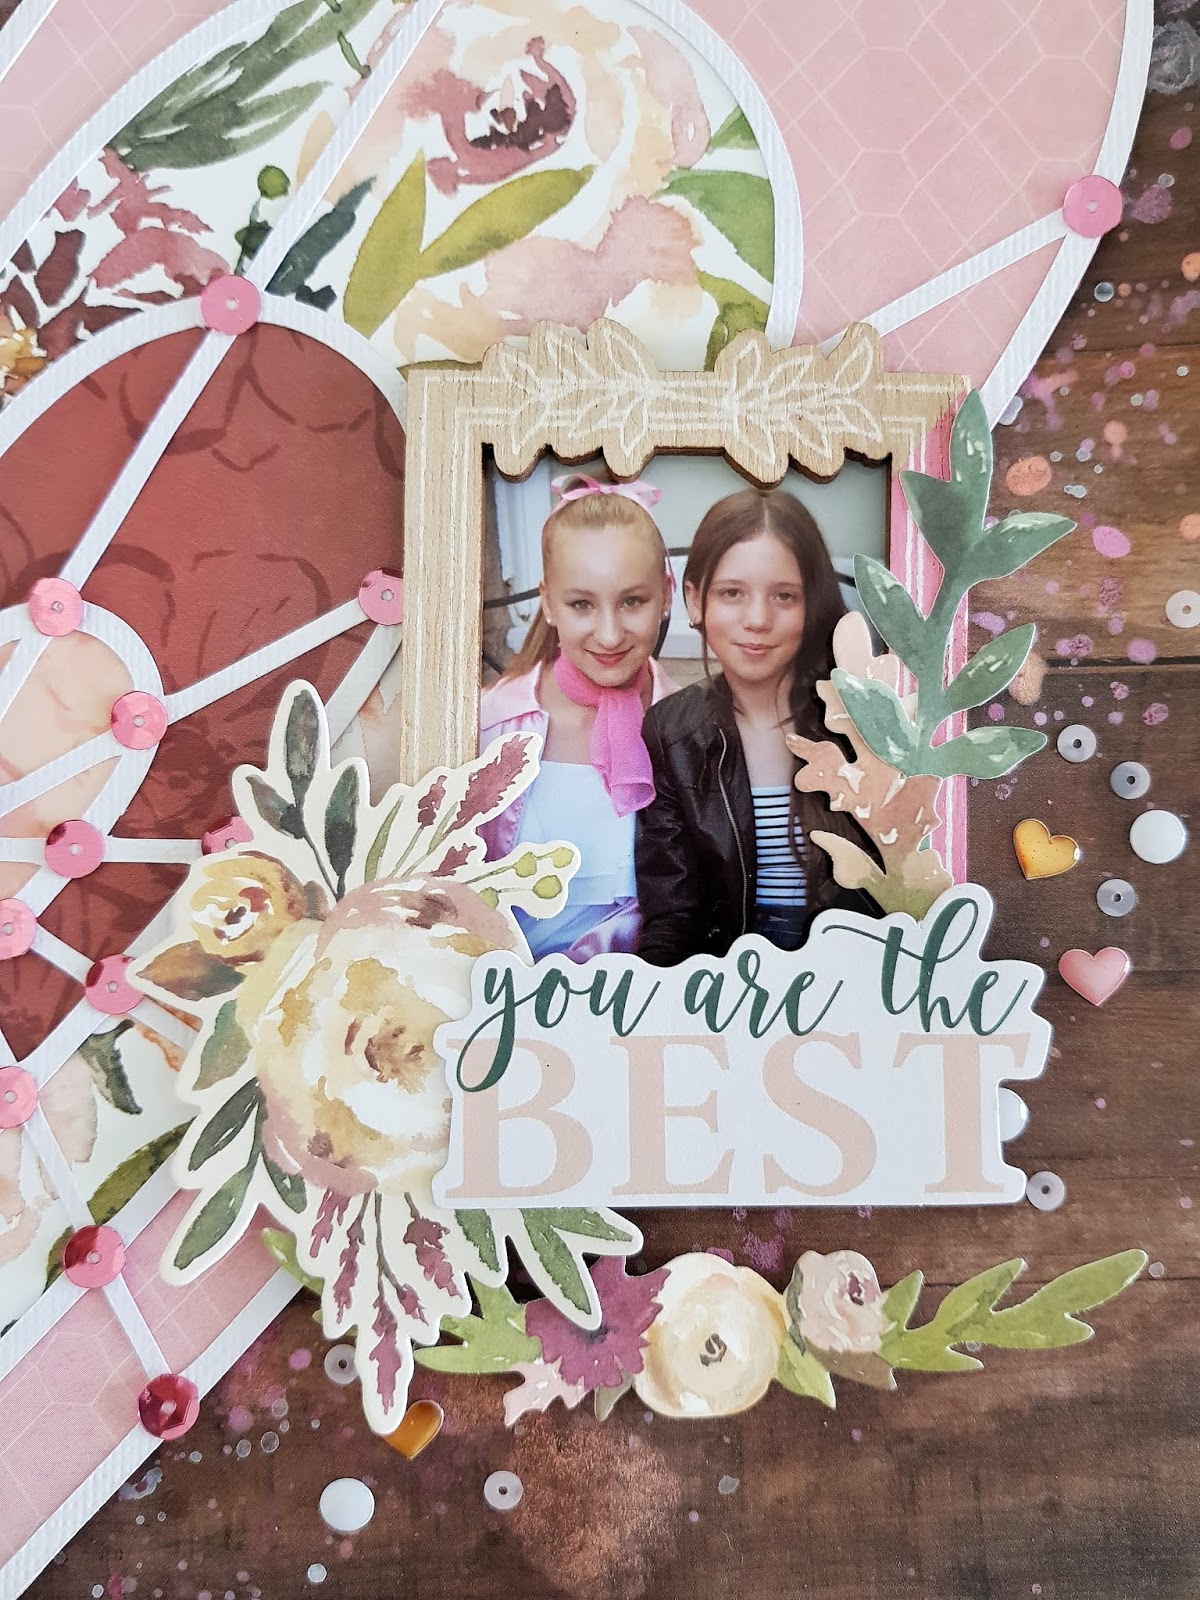
And lastly, I add my beautifully adorned and framed photograph to the Follow Your Heart feature!


Beautiful!
A light sprinkle of sequins, & some enamel hearts and dots complete this lovely layout! 
I hope you enjoyed seeing my first layout for The Cut Shoppe for 2019! 
And you can see more fabulous designs in The Cut Shoppe HERE

Thanks so much for visiting!


The Cut Shoppe: Love Layout & Process Video!


Hi Creative Friends! 
Welcome to the Happy Arty Days blog! 

 I am so super dee duper excited to be sharing my first official project for 

 Yayyy!!! 
I LOVE The Cut Shoppe digital cut files, and have been wanting to be part of this awesome team for a long time. 
Hooray for dreams coming true! 
Such an amazing opportunity - I hope I'll inspire you!

Today's layout is all about putting the focus back on your photographs, 
and the Piece Of My Heart cut file certainly does that and more! 
Here's what I'm talkin' 'bout......

"Love" 


Sigh! Isn't this just the sweetest?!! 
All the pretty, girly things here! 
Here's a better look at the cut file......


Get this awesome file from The Cut Shoppe HERE

This file is an absolute dream to create with! 
With no intricate or tricky cuts, this file cuts out super fast! With its large, clean cut boxes you can see how it really puts the emphasis back onto your photos!
 And if you're a lil time poor (aren't we all, these days?!) it's also super quick to back! 

Here's a few close-ups for you.....


I have used the Crate Paper: Maggie Holmes: Flourish collection, as well as a few bits n pieces from the Willow Lane line, accessory stickers from Cocoa Vanilla Studio & my favourite Shimmerz Paints - for a gentle hint of color and shine! 


So lovely, indeed! 
You'll spy that I foam mounted the Piece Of My Heart cut file for added dimension & interest!


Such a fabulous cut file for my beautiful girl! 

Want to know more about how this layout came together? 
Please watch my process video  HERE 
Also includes my thoughts on layout design, page elements, and why I didn't choose to back this file with multiple pattern papers (& it isn't what you might expect!) 
I hope you'll enjoy watching! 

Thanks so  much for visiting today!
I hope you're feeling inspired to use the Piece Of My Heart cut file!
til next time,


Pebbles: Spooky Halloween Layout & Process Video


Hi Creative Friends!

Welcome back to the Happy Arty Days blog!
 I am so SUPER excited to be sharing my Pebbles: Spooky Boo! interactive Halloween layout & process video with you all today!
Halloween is such a fun Holiday, and the Pebbles Spooky Boo collection is perfect for documenting those happy haunting moments! 

Here's a quick peak at my completed layout, "Spooky Halloween".........


Isn't this fun!!!  I just adore that mix of orange pattern papers on the pumpkin cut file!
And the interactive Halloween 'trick' element comes into play as we lift the pumpkin flap.....


To reveal a surprise BOO!!!!


Happy Haunting!
I just love how super cute & fun this is!


& all those sparkly black glitter embellishments!!! Gorgeous!


Everything in this collection is so perfectly designed to meet all your Halloween crafting needs!


Aww! How sweet are my two trick'o'treaters?!!
Want to see more???
Join me in this short process video, as I take you from start to finish with this Spook-tacular page! 


I really hope you enjoy watching!
Thanks so much for visiting today,
til next time, 

Happy Arty Days, 
Amanda xo

Other Supplies:

Pebbles: My Bright Life: Happy Layout!


Hi Friends!

 I just love it when Jen Hadfield releases a new Pebbles collection! 
And the gorgeous new My Bright Life will make you sigh!!! SO beautiful!
Today's creative assignment for the Pebbles DT was to share something that 'makes you happy' - so you'll spot quite a few happy things in my layout!
Here's what I'm sharing with you....
"So Precious"


Oh.my.heart! SO precious, indeed! And so many elements that 'make me happy' too!
Obviously, my children are my world and had to form the main feature of my project, but then you'll also notice the 'little things' that make me happy! Like butterflies and hearts, twine bows, pom poms, florals, & all the pink and blue. Happy days!!!
Here's how you can recreate this pretty page...
1. Start with 2 sheets of pattern paper Flower Rows & a heart shaped cut file. The one I used is from the Paper Issues store called Butterfly Heart Love.


2. Prepare the layout base. Trim a sheet of white cardstock to 11" x 11" and adhere to the reverse (blue) side of one of the Flower Rows papers.


3. Back the cut file. I use a pretty pink pattern from the 6 x 6 Paper Pad  to back the butterfly.


And the other sheet of Flower Rows to back the heart with!

So pretty already!
4. Use American Crafts Double-Sided Super Sticky Red Tape to adhere pom pom trim to the heart edge.

5. Position the heart file onto the layout, and lightly trace around it with pencil. Remove the cut file, and blend Metallic Cream Chalks around the outline.


These are super fun to play with and have a really soft result! I used the light pink and blue for my layout. Once complete, adhere the backed cut file to the page.
6. Take pattern paper Tag, You're It and cut out the 'I Love You' tag.


7. Embellish the heart with 2 Dimensional stickers and add an Ephemera butterfly to the center of the cut file butterfly.


8. Embellish photo with the I Love You tag (& twine), Ephemera, & a Dimensional Sticker. 

9. Add a few layers of pink tissue wrap beneath the photo cluster, and attach to the layout.


10. Add a title with gold foil Thickers.


11. For finishing touches embellish with 6 x 12 Accent Stickers, Ephemera and even a Puffy Sticker.


So beautiful! THIS makes me happy!!!
Here's a few close ups for you....


That photo cluster is just divine!


Gah! So precious!!!

Love, love, love! 
I hope you do too!

Thanks so much for visiting today,
til next time, 

Happy Arty Days,
 Amanda xo


MY BRIGHT LIFE SUPPLIES:
733862 Flower Rows
733892 6 x 6 Paper Pad
733861 Tag, You're It
733883 Dimensional Stickers
733884 Ephemera
733882 6 x 12 Accent Stickers
733866 Puffy Stickers
733888 Thickers Gold Foil Alphas
OTHER SUPPLIES:
742007 Pebbles Metallic Cream Chalks - Precious Metals
342055 AC Sticky Thumbs Double Sided Super Sticky Red Tape

Cocoa Vanilla Studio: Boys Rule!


Hi Eveyone!

Boy-OH-boy am I excited about the newest  Cocoa Vanilla Studio collection, Boys Rule
This collection is just the coolest boy line EVER! Yep, I said it, EVER!!! Infact, it's cool with a capital C! So easy to create with that I made today's layout in only 15 minutes!

** Warning - the new Boys Rule collection is not for the faint hearted, this is 100% Pure Boy awesome! **

There are just SO many reasons why you're gonna love this collection too!
But enough chatter, let's have a look at my first layout......

"Mr. Fantastic"


Yep. Mr Fantastic indeed!
So many awesome elements in this line, but I just couldn't get past creating with that incredible specialty paper first!
This paper is all kinds of amazing! It's called CV-BR018 LARGE DIE CUT & BACKING KIT and as the name suggests this is a pre-made cut file kit! I know, that's madness! So crazy good! 
Not quite understanding me, well here's a visual to what I'm meaning....

And you thought I created something special, didn't you? 
Well, I kinda did but mostly I just let the paper do ALL the work!
Seriously, this paper is just THE BEST! It even has the mixed media added to it already as well!
Now you can see how I made my page in only 15 minutes - perfect for those of us who are time poor. Or, if you want the cut file look but don't have a cutting machine. I said it before, and I'll say it again, this is the coolest boy collection EVER!
Let's take a closer look....


With the background taken care of, this layout was simply a matter of mounting my photo, and embellishing! My photo mounts consist of that fun striped CHIPBOARD PIECES frame, ACCESSORY STICKERS and mixed pieces from the MISCELLANY pack. I'm especially loving the raw woodgrain frame  - so edgy, and perfect for balancing all the black & white in this page.
 A mix of arrows direct you into my sweet photograph, he's Mr Fantastic for sure! 
I adorn my cool kid photograph with CHIPBOARD PIECES, adding both sentiments as well as dimension to the design.


As always, the coordinating FLAIR BUTTONS are super awesome, so I used three for good measure! Love them layered onto the cut file stars - so good!


And while we're speaking of stars, I just had to add more of them to this cool kid page!  
You'll find DIE CUT EPHEMERA, ACCESSORY STICKERS, & CHIPBOARD PIECES stars throughout my layout. As layering is quite the feature on this page, I even doubled up that Yeah Boy flag in keeping with the design aesthetic. I've mounted it on foam dots, and even popped a star in it too! Stars for the win!


Here's another close up of those awesome FLAIR BUTTONS! 
Nothing says Beware, Adventure Boy! more than skull n cross bones! SO cool! 
You'll spot the star one below too.....


It's no secret that I am a huge fan of the typewriter font phrases in our ACCESSORY STICKERS. I couldn't resist adding just a little journaling with them in the bottom corner of my page. I just love how everything works together so perfectly - it really is so easy to create with!


The CHIPBOARD PIECES are another new fave of mine! 
I love that they're not stickers and can be easily rearranged around your page during the planning process. Here's a closer look at that speech bubble adorning the top of my photo....

Pretty RAD indeed!


 BOOM! 
Super cool boy pages in minutes, that's what we love!
I hope my layout has inspired you today!

Thanks so much for visiting!
til next time, 

Happy Arty Days,
 Amanda xo