Shimmerz Paints: You Make Me Feel HAPPY!!!


Hi Friends!

Welcome back for more Shimmerz Paints inspiration! 

I am super excited about today's project, as I've finally managed to create my very first ever 
YouTube Process Video for it too! Yayyyyy! 
But before I share a link for you to go check it out, 
here's my layout, 

"You Make Me Feel HAPPY"


Oh isn't this the sweetest?!!
Just adore how cute these two are together! 
I've combined our gorgeous Shimmerz colors & Stampz with a Paige Evans Silhouette cut file, as well as her Pink Paislee: Pick Me Up collection. SO stunning! 
and the fabulous Lovely Balloons Stampz (shown below) 


Lovely Balloons

Isn't this stamp set just divine?!!


Gorgeous colors, and such a sweet moment captured! 


Here's a few close ups for you.....


I love the layered colors and the tiny bouquet stamp details!


So very pretty!!!


Those stamps are really something! 


Lots of painty, shimmery goodness going on here!

You can check out how I created this sweet page with my process video HERE 

& REMEMBER: Type AMANDA in the comments section of your Shimmerz Paints order and they'll send you a free paint with every order! (not valid with any other offers) 


Yay for free paint!

Thanks so much for visiting, 
til next time, 

Happy Arty Days, 
Amanda xo 

Cocoa Vanilla Studio: RAD Boys Rule!


Hey Friends!

Welcome back for more Cocoa Vanilla Studio Design Team inspiration!
Today I am sharing a super fun, mixed media, grungy, boy page for geometric theme week!
I just had to use the awesome new BOYS RULE collection for this cool kid layout!
"RAD"
 

Whoa! Super RAD indeed!
I've opted for big impact with striking pops of colour, bold use of texture and all our AWESOME embellishments!
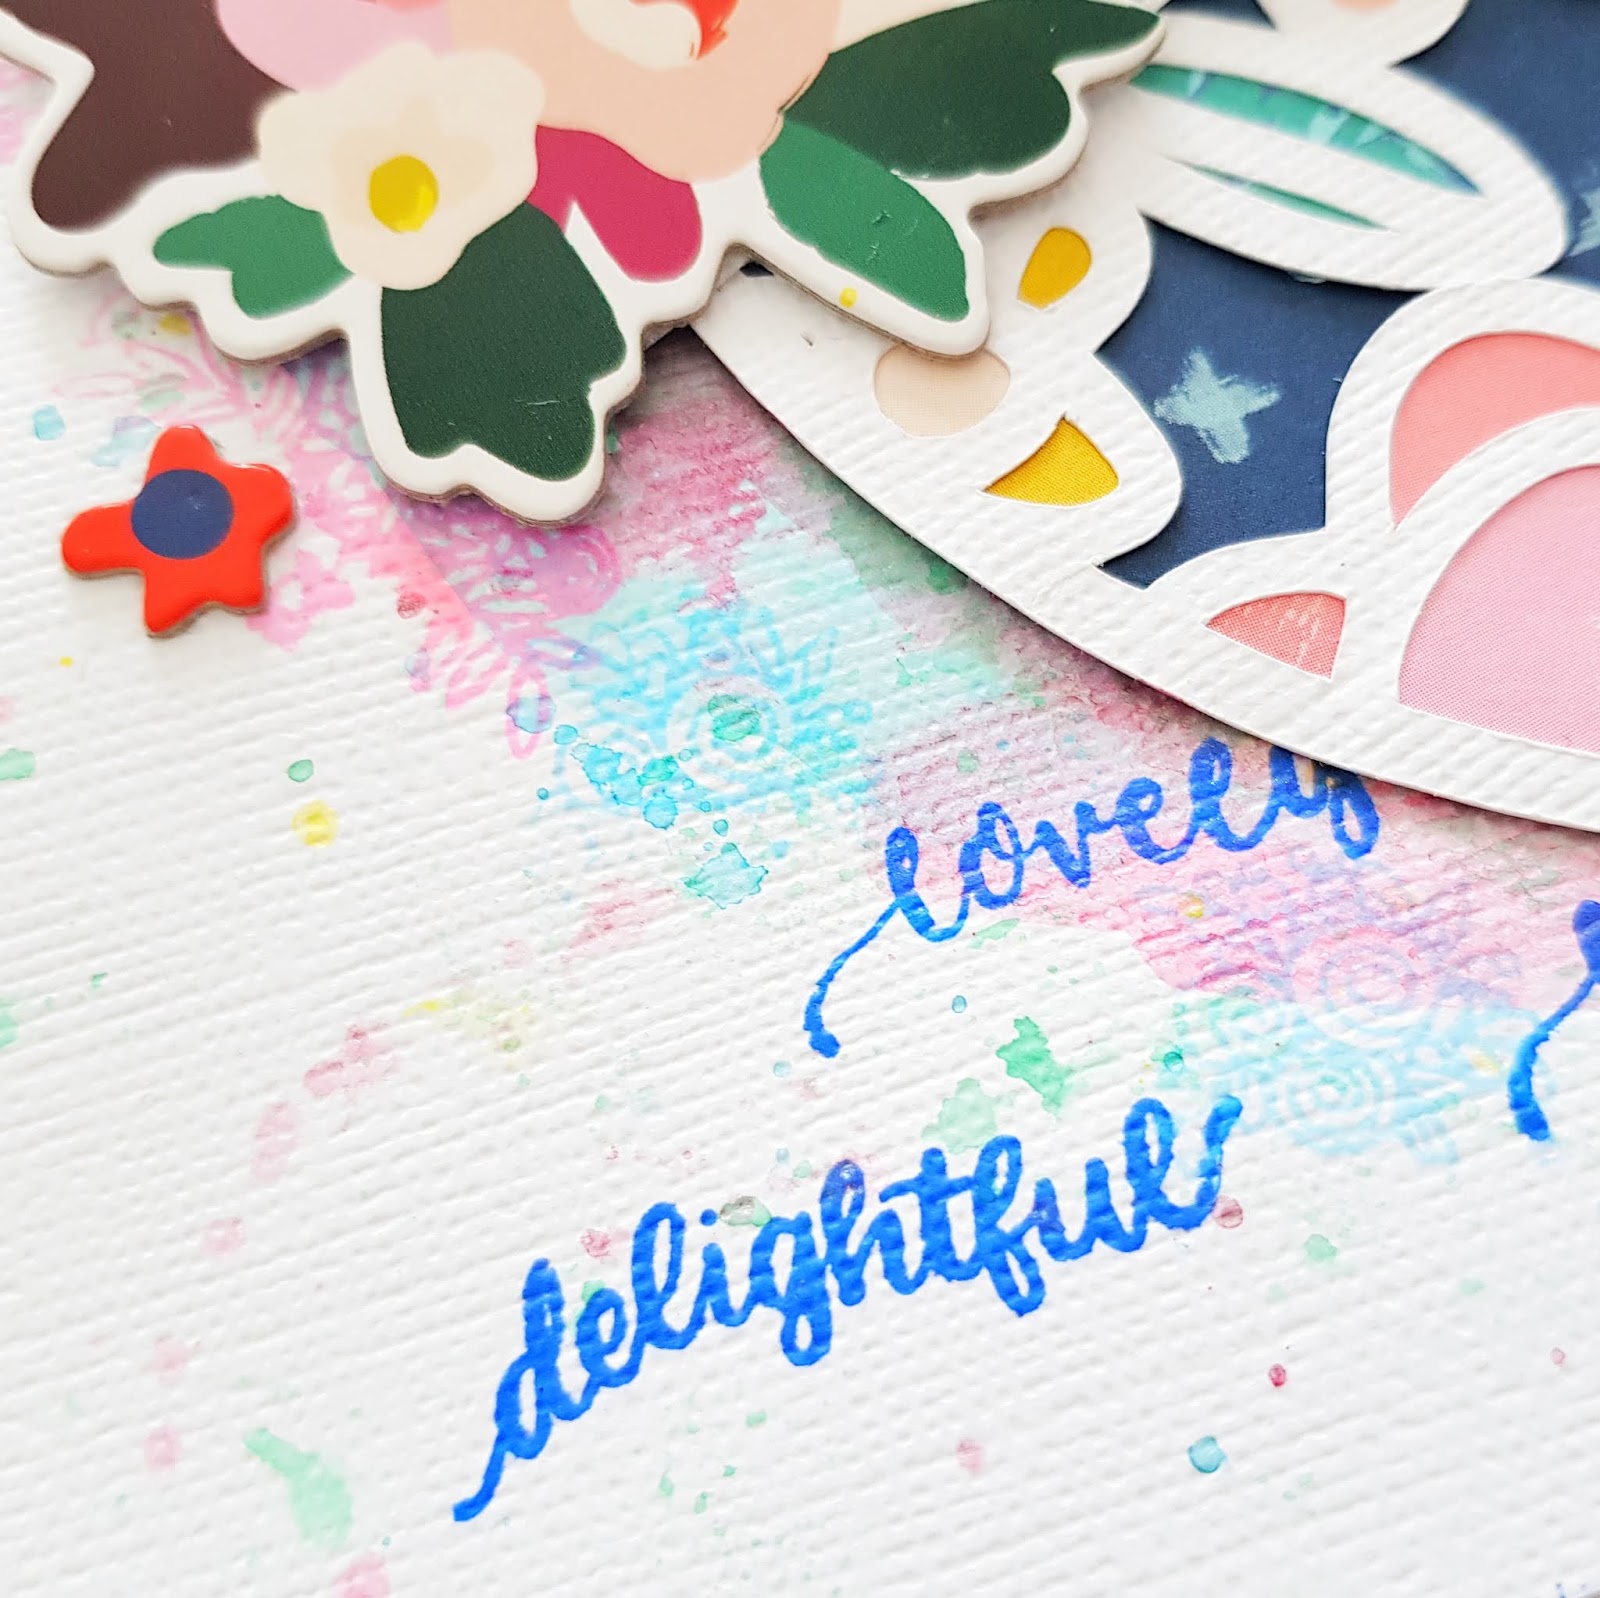
Here's a closer look for you....


There are so many fun details & elements coming to play in this design! & I did warn you it was a grungy, messy, mixed media page! Sometimes it's good for your creativity to go wild - and what could be more appropriate for my Wild Child on the scooter, lol!

I've incorporated this week's geometric theme with the triangle pattern paper CV-BR005 MESSED UP (B side), and then followed through with fussy cut pattern paper triangles, and a triangle mask for all that texture paste! I even flipped the mountains DIE CUT EPHEMERA to mimic the downwards triangles! So cool!

I have used the reverse side of pattern paper, CV-BR001 HAPPY GO LUCKY, as my layout base. Apart from the striking black, I just love how it looks 'grainy' & distressed. Such a cool, textural look, that works so well with our edgy masculine creations.


I layer the pattern paper base with a variety of mediums. I start with aqua & lime pastes which I apply with a palette knife in horizontal strokes (to compliment the grain in the paper). I then build on this paste with the triangles mask & a white dimensional paste. I add white ink splatters, and then a mix of high gloss pastes (lime greens, & blues) using the mask as both a stencil & stamp. To complete the mixed media element, I add more inky splatters in both white & aqua.  
With such a dramatic background, I have opted for lots of black and white embellishments (and even use a black and white photograph) to cut through, and balance all that striking color.


Next, I matte my photo onto a mix of pattern paper rectangles - mostly my leftover cuts from pattern paper CV-BR004 FUN & GAMES, (see my previous creation with this paper HERE) and a torn white paper bag from my stash. I staple the underneath layers together through the center, to keep the edges 'open' to allow the insertion of DIE CUT EPHEMERA and ACCESSORY STICKERS. 
I attach the photo layers to my page, and then adorn my photograph with fun embellishments. I just love that cool CHIPBOARD PIECES label 'Fun & Games' - such a perfect descriptor for my photo!


On closer view, you'll also spy both DIE CUT & MISCELLANY EPHEMERA, as well as more of my fussy cut triangles directing your eye into my photograph.
The CHIPBOARD PIECES 'RAD' title is the final addition to my photograph, before embellishing the remainder of my page.


I know I say this every release, but seriously the FLAIR!!! SO good! Always so perfectly coordinated, and another fun way to add dimension to your layouts! #BoysRule indeed!

 
Loving that skull n cross bones DIE CUT EPHEMERA too! Such a cool accessory for our rough 'n' tumble, dare devil boys! And while we're talking all things EPHEMERA, how fabulous is that ombre blue 'AWESOME' subtitle?!! LOVE the inclusion of bigger words in the DIE CUT EPHEMERA pack! SO good!
For finishing touches, it's a few more ACCESSORY STICKERS, and a smattering of both CHIPBOARD & DIE CUT stars!


So.much.awesome!!!!
When it comes to scrapping the boys, BOYS RULE, really does rule!
I hope my bold page has inspired you to get creating with this super cool collection!
Thanks so much for visiting,
til next time, 

Happy Arty Days,
 Amanda xo 


Citrus Twist Kits: Let Your Dreams Take Flight!


Hi Friends! 

Welcome back for more Citrus Twist Kits inspiration! 
I am just loving being part of this team, & am having so much fun! 
Here's what I've created today with their July Skyland Kits, 

"Let Your Dreams Take Flight"


Oh, isn't this cool!?!!
One for the boy - documenting his love of aircraft and all things planes! 
You'll spy a mix of the July Skyland Scrapbook & Pocket Life Kits, July Pattern Paper Play Kit & even the exclusive Citrus Twist Kits Digital Files! 
You can see all the kit contents in the store HERE 

Here's a closer look at my layout....


Loving the mixed alphas title! 
The tiny puffy alphas are CTK exclusives from the Pocket Life Kit, and the larger, multi colored letters are from Echo Park: Imagine That (girl) collection & are included in this months Scrapbook Kit! So awesome!

For my pattern papers, I have used the B sides of Heidi Swapp's Hawthorne: 'Dreamscape', as well as Bella Blvd's Little Man: 'Star'. The map print was perfect for the 'journey' story happening in my sweet photo! 


All boy, all awesome!!!

Hope my layout has inspired you to check out this month's amazing kits, 
& sign up for a subscription so you never miss a kit again! 
See more inspiration from our amazing team in the Creative Team Gallery HERE!

Thanks so much for visiting, 
til next time, 

Happy Arty Days, 
Amanda xo 


Citrus Twist Kits: Sunday Sketch!


Happy Sunday Friends! 

I'm on the Citrus Twist Kits blog today with a really fun sketch to share & inspire you with! 


Isn't this fun?! 
I love the simplicity of this design! A nice & easy, one photo layout - perfect for lazy Sunday scrapping! 
And here's my take on the sketch.....

"Summer Paradise Found" 


Summer Lovin'!  
I have used the gorgeous Skyland Pocket Life Kit for this sweet page. 
The Summer themed vintage ephemera, and beautiful 6 x 8 papers complimented my photograph perfectly!


As you can see, I really kept to the sketch design, with the only variance being that I enlarged the size of the layers beneath my photo. I could have easily flipped or rotated this sketch, but when it's a lazy Sunday it's good to just match pretty papers to your photo, and glue! 
Here's a few close ups for you.....


Just look at those embellishments! Apart from the darling retro Summer die cuts, those exclusive Puffy Stickers and Freckled Fawn One Happy Day Epoxy Stickers are just awesome! 
I love adding sewing and thread to layouts, and in keeping with the sketch I machine stitch that tab/ticket embellishment at the top right  hand side of my layout. I add more messy threads to my layers, and even stitch that 4 x 6" card to the base of my layered papers. 
You'll also spy that I used a Skyland Free Digital Cut Apart tab, love you to distraction as part of my story telling & journaling. So sweet!


With such a clean and fresh page, I decide to use the die cut ephemera 6 point stars to replicate the ink splatters in the sketch. While we're talking ephemera, I must mention my cool title. I have incorporated the Every Summer Has A Story
4 x 6" journaling card with the ephemera Paradise and complete it with Found using the Exclusive Turquoise Blue Puffy Stickers. I love how effective this mixed fonts title looks! Super cool! 


And let's not forget the etched cork embellishments! Isn't that cork the cutest?!! 
The warmth of the cork adds balance to this very crisp color palette. Love it! 

So much gorgeousness in the July Kits and now it's your turn to showcase them! 
Play along with today's sketch, & be sure to share your creations with us in the
Love instagram?! We do! 
Tag @citrustwistkits and use the hashtag #citrustwistkits so we can see more of your awesome creating! 

I can't wait to see your interpretation of today's Sunday Sketch! 
Thanks so much for visiting, 

Happy Arty Days, 
Amanda xo  


Pebbles: My Bright Life: Happy Layout!


Hi Friends!

 I just love it when Jen Hadfield releases a new Pebbles collection! 
And the gorgeous new My Bright Life will make you sigh!!! SO beautiful!
Today's creative assignment for the Pebbles DT was to share something that 'makes you happy' - so you'll spot quite a few happy things in my layout!
Here's what I'm sharing with you....
"So Precious"


Oh.my.heart! SO precious, indeed! And so many elements that 'make me happy' too!
Obviously, my children are my world and had to form the main feature of my project, but then you'll also notice the 'little things' that make me happy! Like butterflies and hearts, twine bows, pom poms, florals, & all the pink and blue. Happy days!!!
Here's how you can recreate this pretty page...
1. Start with 2 sheets of pattern paper Flower Rows & a heart shaped cut file. The one I used is from the Paper Issues store called Butterfly Heart Love.


2. Prepare the layout base. Trim a sheet of white cardstock to 11" x 11" and adhere to the reverse (blue) side of one of the Flower Rows papers.


3. Back the cut file. I use a pretty pink pattern from the 6 x 6 Paper Pad  to back the butterfly.


And the other sheet of Flower Rows to back the heart with!

So pretty already!
4. Use American Crafts Double-Sided Super Sticky Red Tape to adhere pom pom trim to the heart edge.

5. Position the heart file onto the layout, and lightly trace around it with pencil. Remove the cut file, and blend Metallic Cream Chalks around the outline.


These are super fun to play with and have a really soft result! I used the light pink and blue for my layout. Once complete, adhere the backed cut file to the page.
6. Take pattern paper Tag, You're It and cut out the 'I Love You' tag.


7. Embellish the heart with 2 Dimensional stickers and add an Ephemera butterfly to the center of the cut file butterfly.


8. Embellish photo with the I Love You tag (& twine), Ephemera, & a Dimensional Sticker. 

9. Add a few layers of pink tissue wrap beneath the photo cluster, and attach to the layout.


10. Add a title with gold foil Thickers.


11. For finishing touches embellish with 6 x 12 Accent Stickers, Ephemera and even a Puffy Sticker.


So beautiful! THIS makes me happy!!!
Here's a few close ups for you....


That photo cluster is just divine!


Gah! So precious!!!

Love, love, love! 
I hope you do too!

Thanks so much for visiting today,
til next time, 

Happy Arty Days,
 Amanda xo


MY BRIGHT LIFE SUPPLIES:
733862 Flower Rows
733892 6 x 6 Paper Pad
733861 Tag, You're It
733883 Dimensional Stickers
733884 Ephemera
733882 6 x 12 Accent Stickers
733866 Puffy Stickers
733888 Thickers Gold Foil Alphas
OTHER SUPPLIES:
742007 Pebbles Metallic Cream Chalks - Precious Metals
342055 AC Sticky Thumbs Double Sided Super Sticky Red Tape

Elle's Studio: Product Highlight: Everyday Phrases Stamp


Hi Friends! 

Welcome back for more Elle's Studio inspiration! 

For today's post I am shining the spotlight on the fabulous new Everyday Phrases Stamp! 
As the name suggests, this stamp is all phrases & oh-so cool! 
Here's what I've created with it today.....

"Heart Eyes For This"


Whoa! Who would've thought that stamped words could have such impact! 
I've taken inspiration from the veneer & vellum asterisks from the July new releases, and repeat stamped in this style. 
Such a fun way to create a background, and make the most of your stamp sets!


To emphasize the asterisk style, I have also layered some of the veneers and vellum pieces onto the stamp centers. 


To compliment my seaside photograph, I used inks in sky blue, aquamarine, & cobalt to imitate the ocean. 


 Repeat stamping is such a fun technique to use to create card and layout backgrounds! 


I hope I have inspired you to give this stamping technique a try today! 


Thanks so much for visiting, 
til next time, 

Happy Arty Days, 
Amanda xo 


Cocoa Vanilla Studio: Wanderlust


Hi Creative Friends!

Welcome back for more Cocoa Vanilla Studio awesomeness!
 Today I am sharing a super fun, BIG title, BIG impact, boy layout with the fabulous new 
BOYS RULE collection.  
Here's my layout,

"Wanderlust"


Yay! I love a big title, and backed with the awesome BOYS RULE papers - well, it just doesn't get any better than this! Love it! And speaking of love, how cute is my little adventurer in the photo?! Such a cool lil guy! One Of A Kind, indeed!
My layout begins with the reverse side of pattern paper, CV-BR008 ENTITLED for the base. I trim white cardstock to 11"x11" and stitch it to the base. Next, I cut the Paige Evans Wanderlust cut file from the Silhouette Store, enlarging it to 11 1/2" high. I back the letters with what looks like lots of different papers; but it's actually ALL from pattern paper CV-BR004 FUN & GAMES. How cool is that?! I love the varying designs within the one paper - SO many creative possibilities!

Here's a closer look....


Loving all those cool patterns! The woodgrain hyphen is from the reverse side of this paper too! So much awesome from one sheet of paper! To add to it's impact, I embellish the large pattern paper title with CHIPBOARD PIECES and DIE CUT & MISCELLANY EPHEMERA.


I also machine stitch the black sentiment tags onto the layout. Lots of messy threads, texture and a little bit of 'raw' on this otherwise clean design.


How cool is that CHIPBOARD PIECES skull n crossbones icon?!! All kinds of awesome!
Let's take a closer look at my photo cluster.....


You'll spy that I have layered my photo onto a combination of MISCELLANY & DIE CUT EPHEMERA. Between these layers, I slide a few ACCESSORY STICKERS too! But it's the FLAIR BUTTON adorning my photo that I just can't get enough of! King Of The World - just perfect!


Below my photo I also include  the 'boy' CLEAR STICKER, and that awesome die cut too!


For finishing touches, I add more random cotton threads, and those dimensional black drops. Simple. Striking & Oh-so-fun!
I am absolutely loving creating with the new BOYS RULE line, & I am sure you will too!
Thanks so much for visiting today,
til next time,

Happy Arty Days, 
Amanda xo