Hi Friends!
Welcome back for more sparkly inspiration with my latest project for the Sparklers DT!
Today's layout is for the scraplift challenge being hosted in the Spread The Sparkle Facebook group!
If you haven't seen it yet, we're lifting this fabulous layout by papercrafter, Katie Scott....

Gorgeous, huh?
Apart from those stunning sequins,
I was instantly taken in by that fabulous heart cut file, the partially backed puzzle pieces & the embellishment cluster at the base, on the right hand side.
Here's what it inspired....
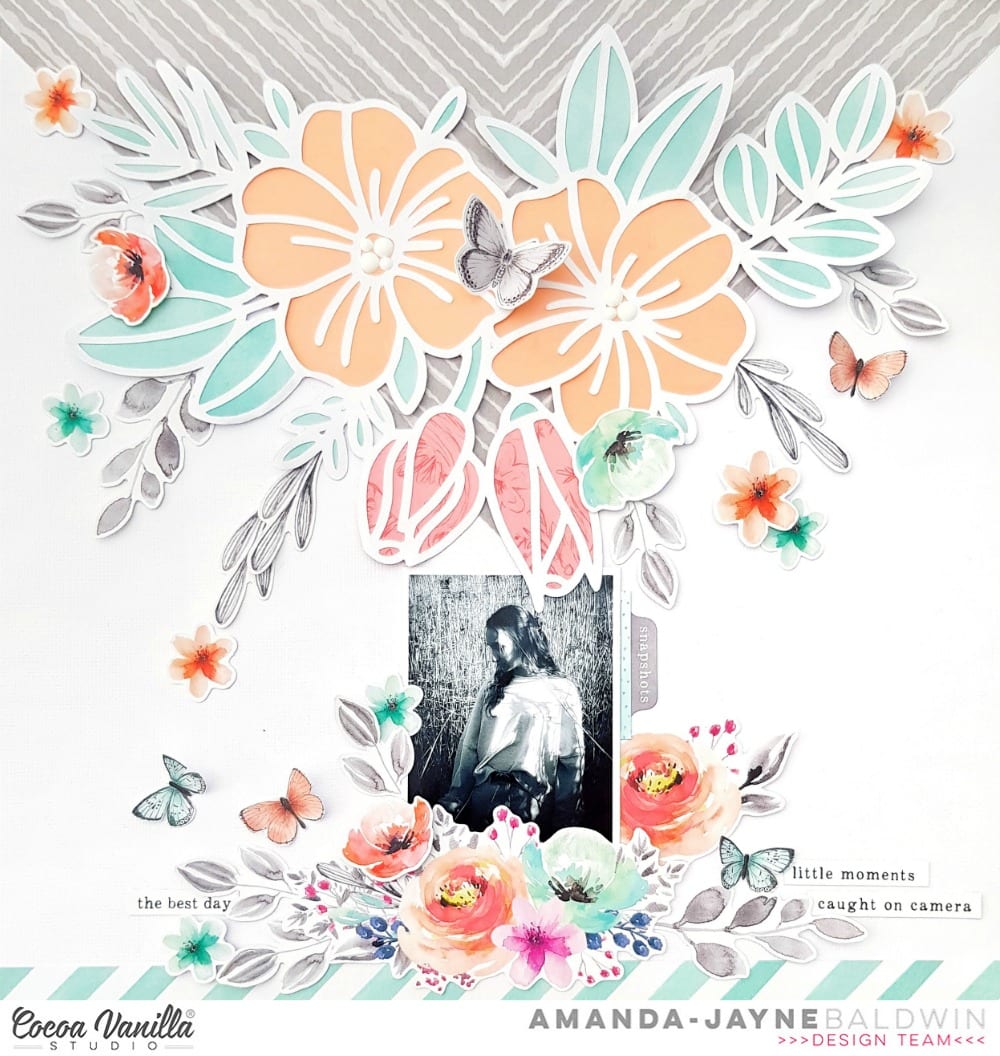
"Baby Girl"

Sigh! Soooooo pretty!
I have combined the That Summer Feelin' and Happy Vibes sequin sets to create this gorgeous page!
Best part? These sequins are still available in the SpiegelMom Scraps Shop HERE & code AMANDA15 will save you 15% too! Yay!!!
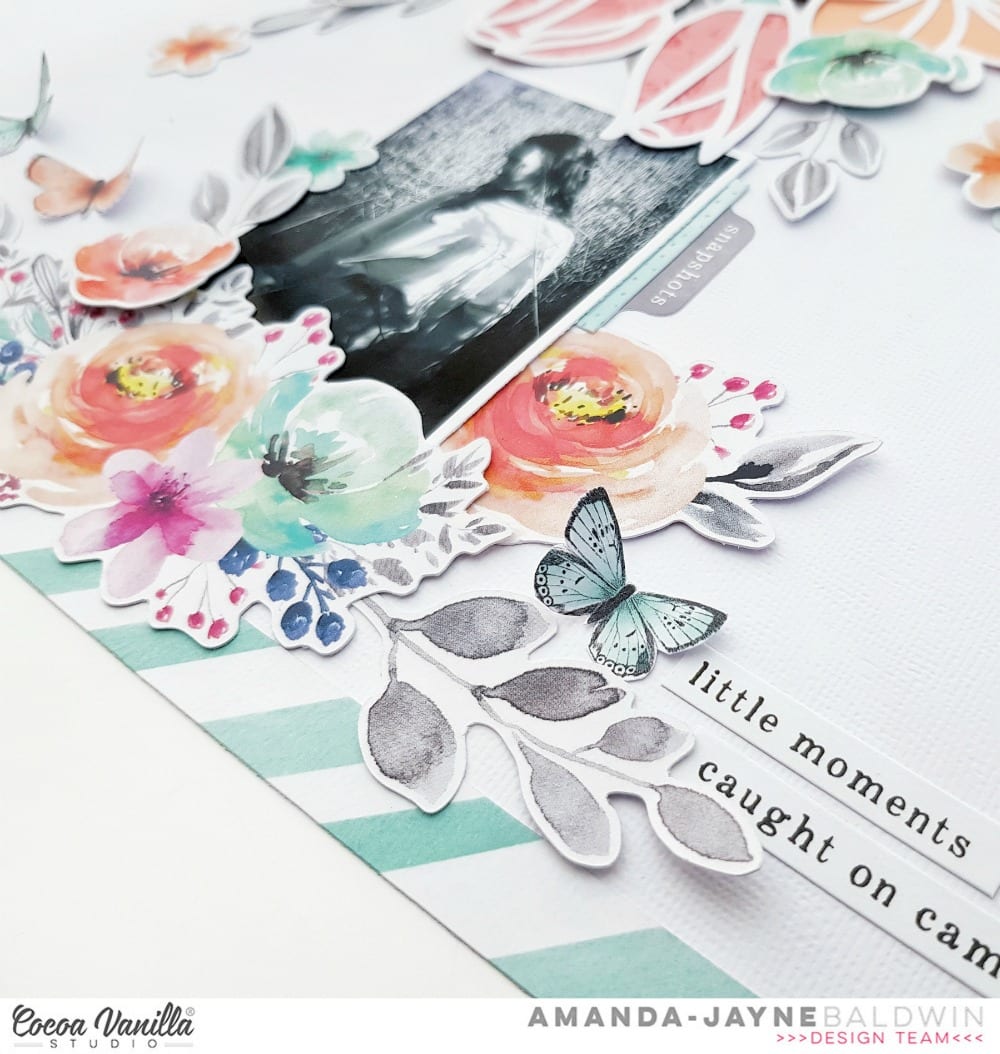
Here's a closer look for you....

Just stunning!
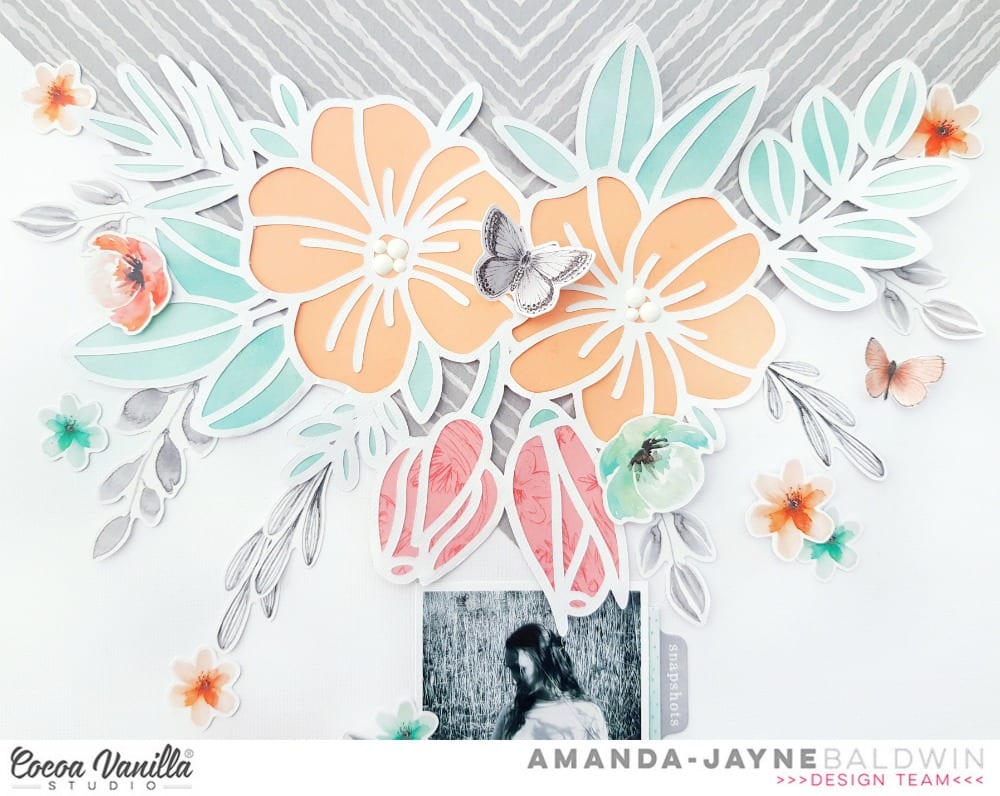
I have also used the beautiful Just A Lil Lovely collection from Pinkfresh Studio, as well as one of their brand new digital cut files, Heart & Floral. Inspired by the partially backed puzzle pieces, I decided to partially 'fill' my cut file with sequins. In particular, the leaves and blooms!
I just LOVE how effective this looks....

Super sparkly, & just divine!!!
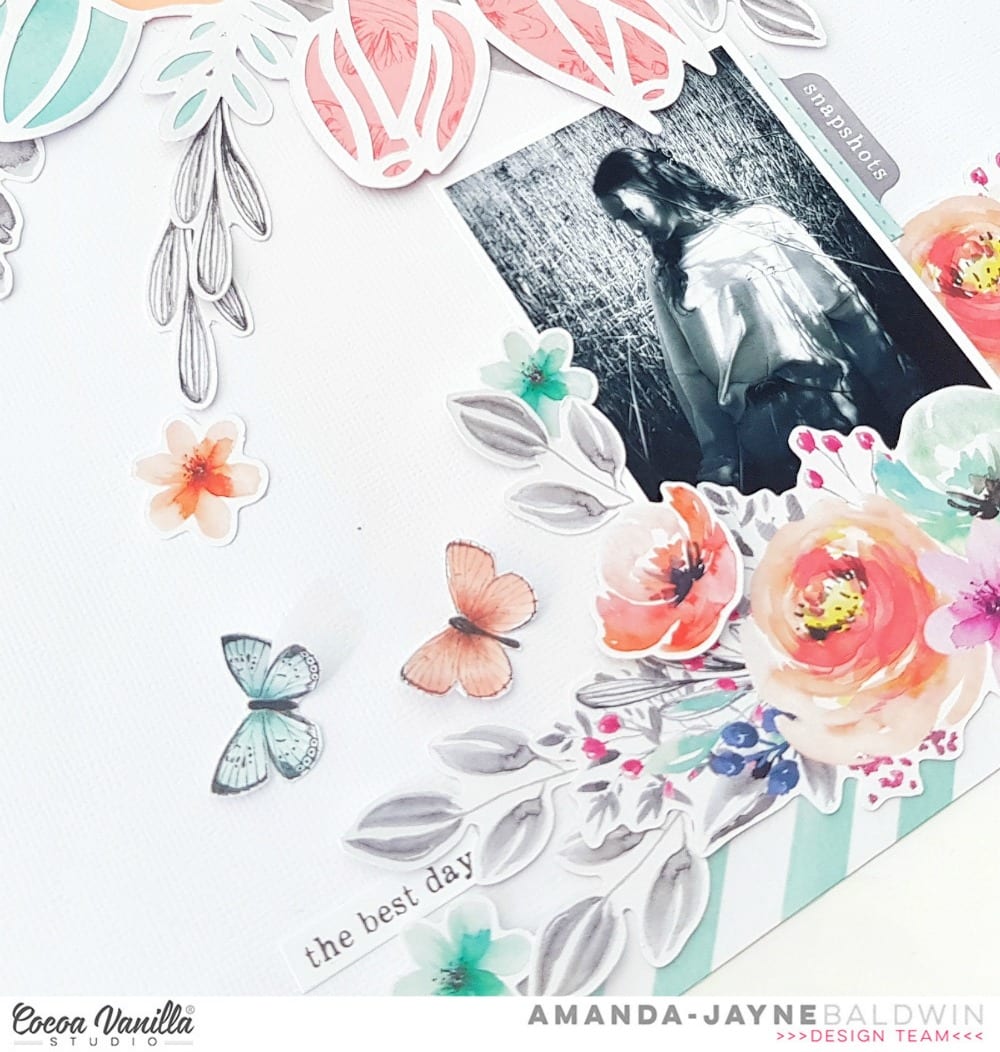
And how cute are those tiny scattered hearts from the That Summer Feelin' sequin set?!
LOVE!!!
Here's a look at those sequins adorning my sweet girl's photo....

Absolutely gor-jus!!!
And there you have it!
My take on the October Scraplift Challenge!
I hope you feel inspired to play along too!
And good luck! (There's a $15 Gift Card prize up for grabs!)
Get all the details in the Spread The Sparkle Facebook Group HERE
Thanks so much for visiting,
til next time,