Showing posts with label Guest designer. Show all posts

Altenew Guest Designer: Fabulous Floral Frames Creativity & Process Videos!


Hi Friends! 

Boy oh boy, I am so super excited to announce that I am this month's 
Guest Designer for Altenew! Yayyyy!!!


What a dream come true! 
For my post today, I was very lucky to receive the 


 This kit contains the following items:


Floral Frame Stamp & Die Bundle
Watercolor 36 Pan Set
Permanent Black Crisp Dye Ink
Fenstone Decorative Element - Gold
Exclusive Fabulous Floral Frames Creativity Kit Inspiration Guide

I know, how amazing, right?! So much gorgeous product to create with! 
It's certainly a card maker's dream kit, but I wanted to showcase how perfect this kit is for scrapbook and memory keeping too! 
I have created 2 scrapbook layouts and process videos using the Fabulous Floral Frames Creativity Kit - I hope they'll inspire you! 

First is this super sweet page of my two darlings, aptly titled

"You Amaze Me"


Sigh! So beautiful! 
This kit is nothing short of magic!
Let's take a closer look at my layout.....


Talk about 'Fabulous Florals' - absolutely swoon worthy! 
What a wonderful stamp and die set for documenting your loved ones with! 
I just couldn't resist framing my treasured photograph with those fabulous florals, and I think it really created a beautiful focal point within my layout. 

I hand colored the florals and foliage with the totally amazing Watercolor 36 Pan Set, and was so impressed by the quality and pigment of these paints! I used a combination of Frayed Leaf and Forest Glades for the leaves, Purple Wine for the roses and buds, and the super pretty Sunkissed color for the orchids. Such a bright and beautiful result!
Here's a close up of these pretties framing my photograph....


Just divine! 
For maximum 'wow factor' and to further draw your attention into my photo, I foam mounted the framed photo in the center of my cardstock, and then embellished around it with more of the Floral Frame Stamp in the Permanent Black Crisp Dye Ink. 
*Please note: cardstock, cotton thread and clear gems were additional items from my stash* 

So effective!


You'll also notice that I used the gorgeous florals and foliage to trim the top of my scrapbook page. I foam mounted the florals for a lil extra somethin' and am so happy with how they enhanced the overall design. Really stunning details!

For the base of my layout I just couldn't go past that elegant gold Fenstone Decorative Element! It was the perfect adornment to complete the page with! 


I embellished beneath the Fenstone element with trimmed pieces of the Floral Frames leaves and some cotton thread from my stash. Over the top of the Fenstone, I added a fussy cut orchid and my stamped title. Simple, beautiful creating,  made easy with the Fabulous Floral Frames Creativity Kit! 
You can watch how easy it is to create this layout in my process video here:


My second guest designer project is a very pretty watercolor number called, 
"Beautiful You" 


Oh so pretty!!!
Such a different look to my previous scrapbook page, and yet oh so stunning!
Those Watercolors are really something!
Here's a better view for you....


Oh.my.heart!!!
Floral framed goodness at it's very best here! 

Like my previous layout, I stamped, hand colored and die cut the gorgeous floral and foliage pieces from the Fabulous Floral Stamps & Die Set. I used the same colors for the leaves, but this time I painted the rose & buds with the beautiful Grapevine color, and the orchids were painted with a combination of Caribbean Sky & Deep Iris. Stunning! 

On my white cardstock base, I painted that swirly circular design using the Ocean Waves & Lagoon colors, and added a few painty splatters too! 


This created the perfect base for my darling girl's photo, and gave me all the design guidance I needed to position my florals in the right spot!
I aligned my photo the left of the circle, simply because my daughter is looking across the page and then built the floral and leafy cluster in the 'C' design around her image. 


I used the lovely golden Fentstone decorative piece to enhance and support the photo, and essentially draw more attention to the image. I overlayed (and foam mounted) another of the stamped florals onto the Fenstone element for some added interest and then repeat stamped around the 'C' design. 

For finishing touches, I stamped two of the sentiments from the Floral Stamp Set on a separate piece of white paper, then fussy cut out the larger font words to create my title, 'Beautiful You'. 


A really clever and easy way to maximize your stamps and get them working for your designs! 
See more of how this pretty layout came together in my process video for you here:


Alternatively, you can view both videos in full HD on my YT channel HERE

Thanks so much for watching & to Altenew for having me as a Guest Designer this month!
I hope my projects have inspired you to get creating with this literally Fabulous kit! 


Til next time,


WOW! Em June Creative Guest - Lovely Layout


Hi there, crafty friends!

 I am so super dee duper excited to be this month's creative guest for

WOW! Embossing Powder Blog

WOW Embossing Powder! 

I know, awesome!
For today's post I wanted to showcase how easy it is to incorporate glitter embossing into your scrapbook layouts! 
Here's what I'm talkin' 'bout....

"Lovely"


Sigh! So.much.pretty!!!!
Did I mention that Florida Sunset Glitter  is my new FAVE powder?!! 
Like seriously, how amazing is that sparkle?!
LOVEEEEEE!

Let's take a closer look....


Lovely, indeed!
Simple, beautiful & super easy to recreate!
Here's how....


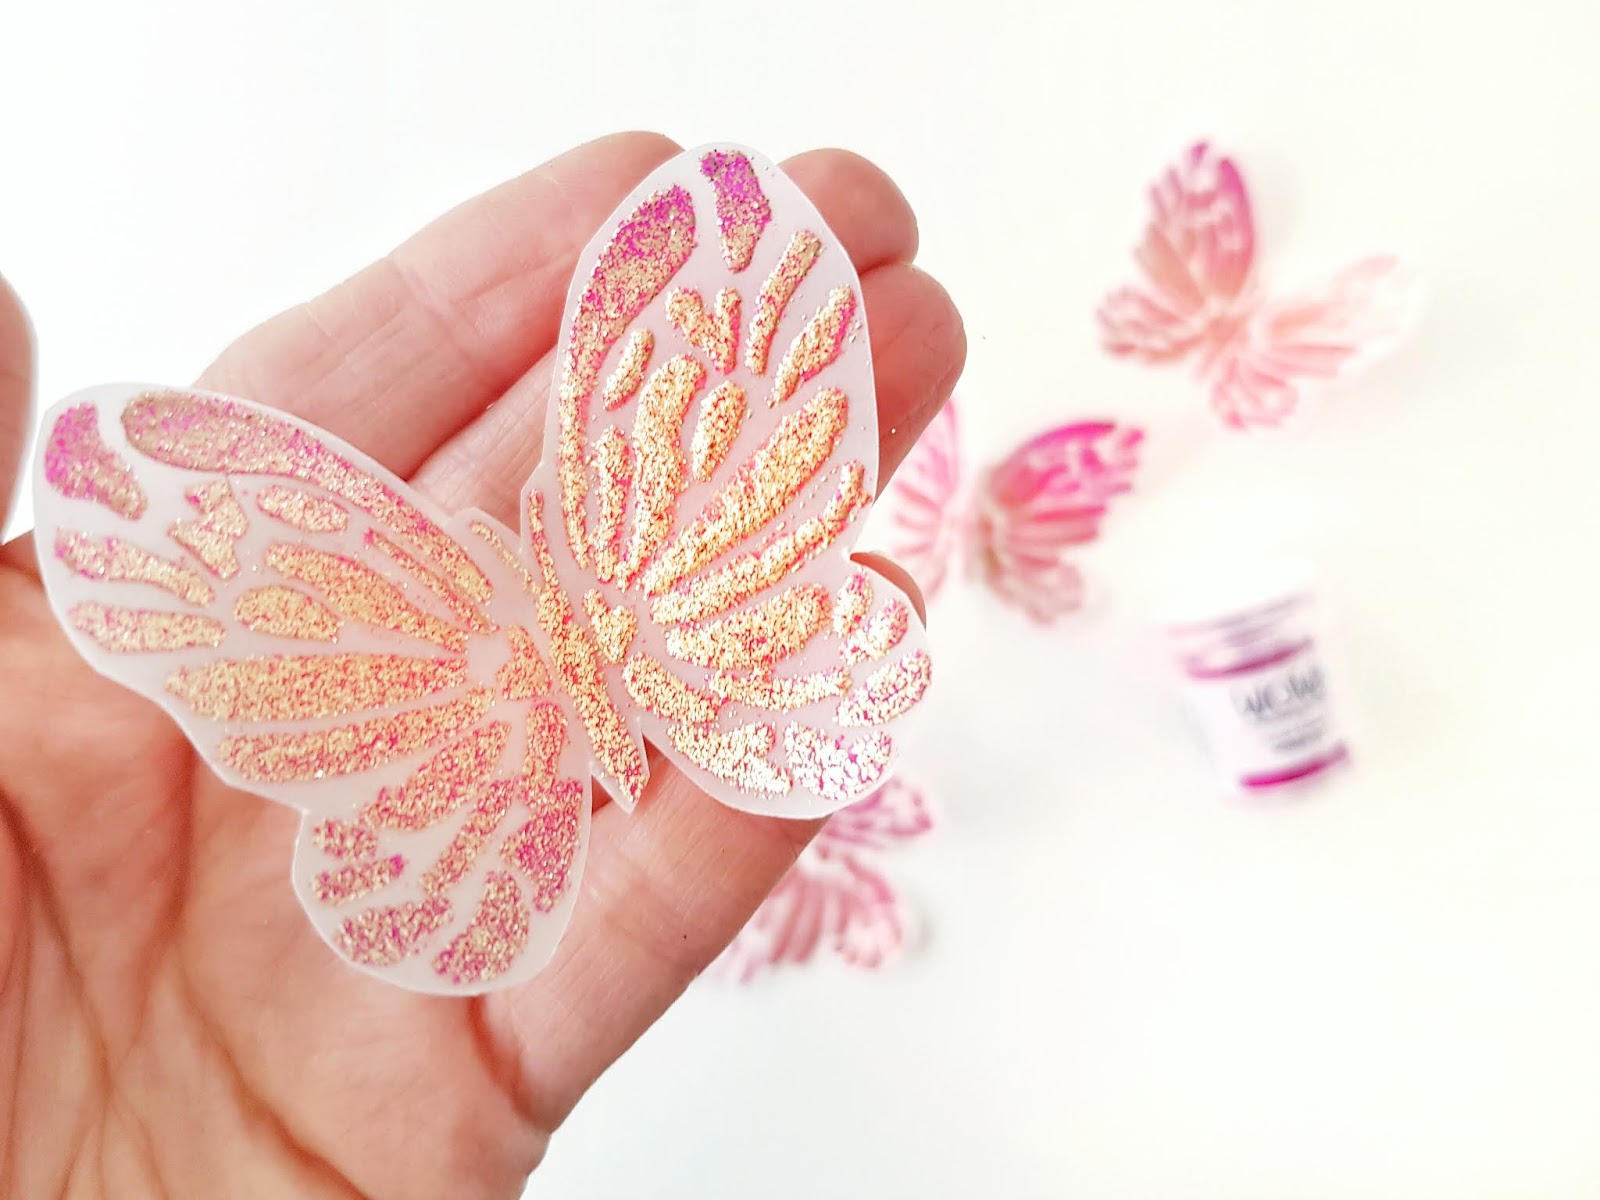
Take your WOW! Embossing Pen & use it to draw (or stencil color ) a butterfly onto clear vellum. 


Sprinkle generously with WOW! Embossing Glitter: Florida Sunset WS95R(O).


Use your WOW! Embossing Heat Tool to heat set the powder. 
Just look at that gold!!!


Repeat process until 5 Florida Sunset butterflies are created. 


Fussy cut each butterfly. 
Ahh-may-zing! Told you that this glitter was something else!!! 
Absolutely MAGICAL!


Paint a watercolor heart onto 12 x 12" white cardstock. 


Once dry, draw in a few more 'heart lines' with the WOW! Embossing Pen. 
This will add  both interest to the layout & really highlight the heart shape. 


Sprinkle & heat set with the fabulous Florida Sunset Glitter Embossing Powder!
Such an effective result!
To complete the layout, embellish the heart with the fussy cut Florida Sunset butterflies, some of your favorite scrapbook supplies (I used Cocoa Vanilla Studio: Happiness collection), photo & title! 
Voila! 
Super simple, but oh so beautiful scrapbooking with WOW! Glitter Embossing Powder!

Here's a couple of pretty close ups for you.....


Such gorgeously rich colors & intense sparkle!


WOW, indeed!!!!


And there you have it! 
WOW! Embossing Glitter is just errrrrything to me right now! 
I hope I have inspired you to use these awesome powders on your next creative project (or even scrapbook layouts) - 
Trust me, you'll be SO happy with the result!

Thanks so much for stopping by today!
I'll be back later in the month with more creative inspiration,

til then, 

Products Featured:
WOW! Embossing Pen 
WOW! Embossing Glitter: Florida Sunset WS95R(O)
WOW! Embossing Heat Tool
Clear Vellum Acetate
Cocoa Vanilla Studio: Happiness Collection 
Watercolor Paints


Spellbinder's Card Kit of the Month for December!


Hi Friends! 

I am so excited to be joining you today for more Spellbinders inspiration with their incredible 
Card Kit of the Month! 

Card Kit of the Month Membership

And let me tell you, the December kit is all kinds of awesome!!!
It's jam packed full of Winter Wonderland & Christmassy delights!
Here's a few sneaks for you....

 OH.WOW!!!
How fabulous is this card kit?!!
 And the 6 x 6 Winter Wishes pattern papers are pretty fantastic too!
So many beautiful designs!
Here's another look for you....

What an amazing kit!


Here's just a handful of cards I've made, using only items from the kit.....


Wow! All the Winter Wishes here! So many lovelies!
And they're all made entirely from the kit - no extra items from my stash. How awesome is that?! 
Such a fabulous kit!
Let's take a closer look at them all.....


Aren't they pretty?!! 
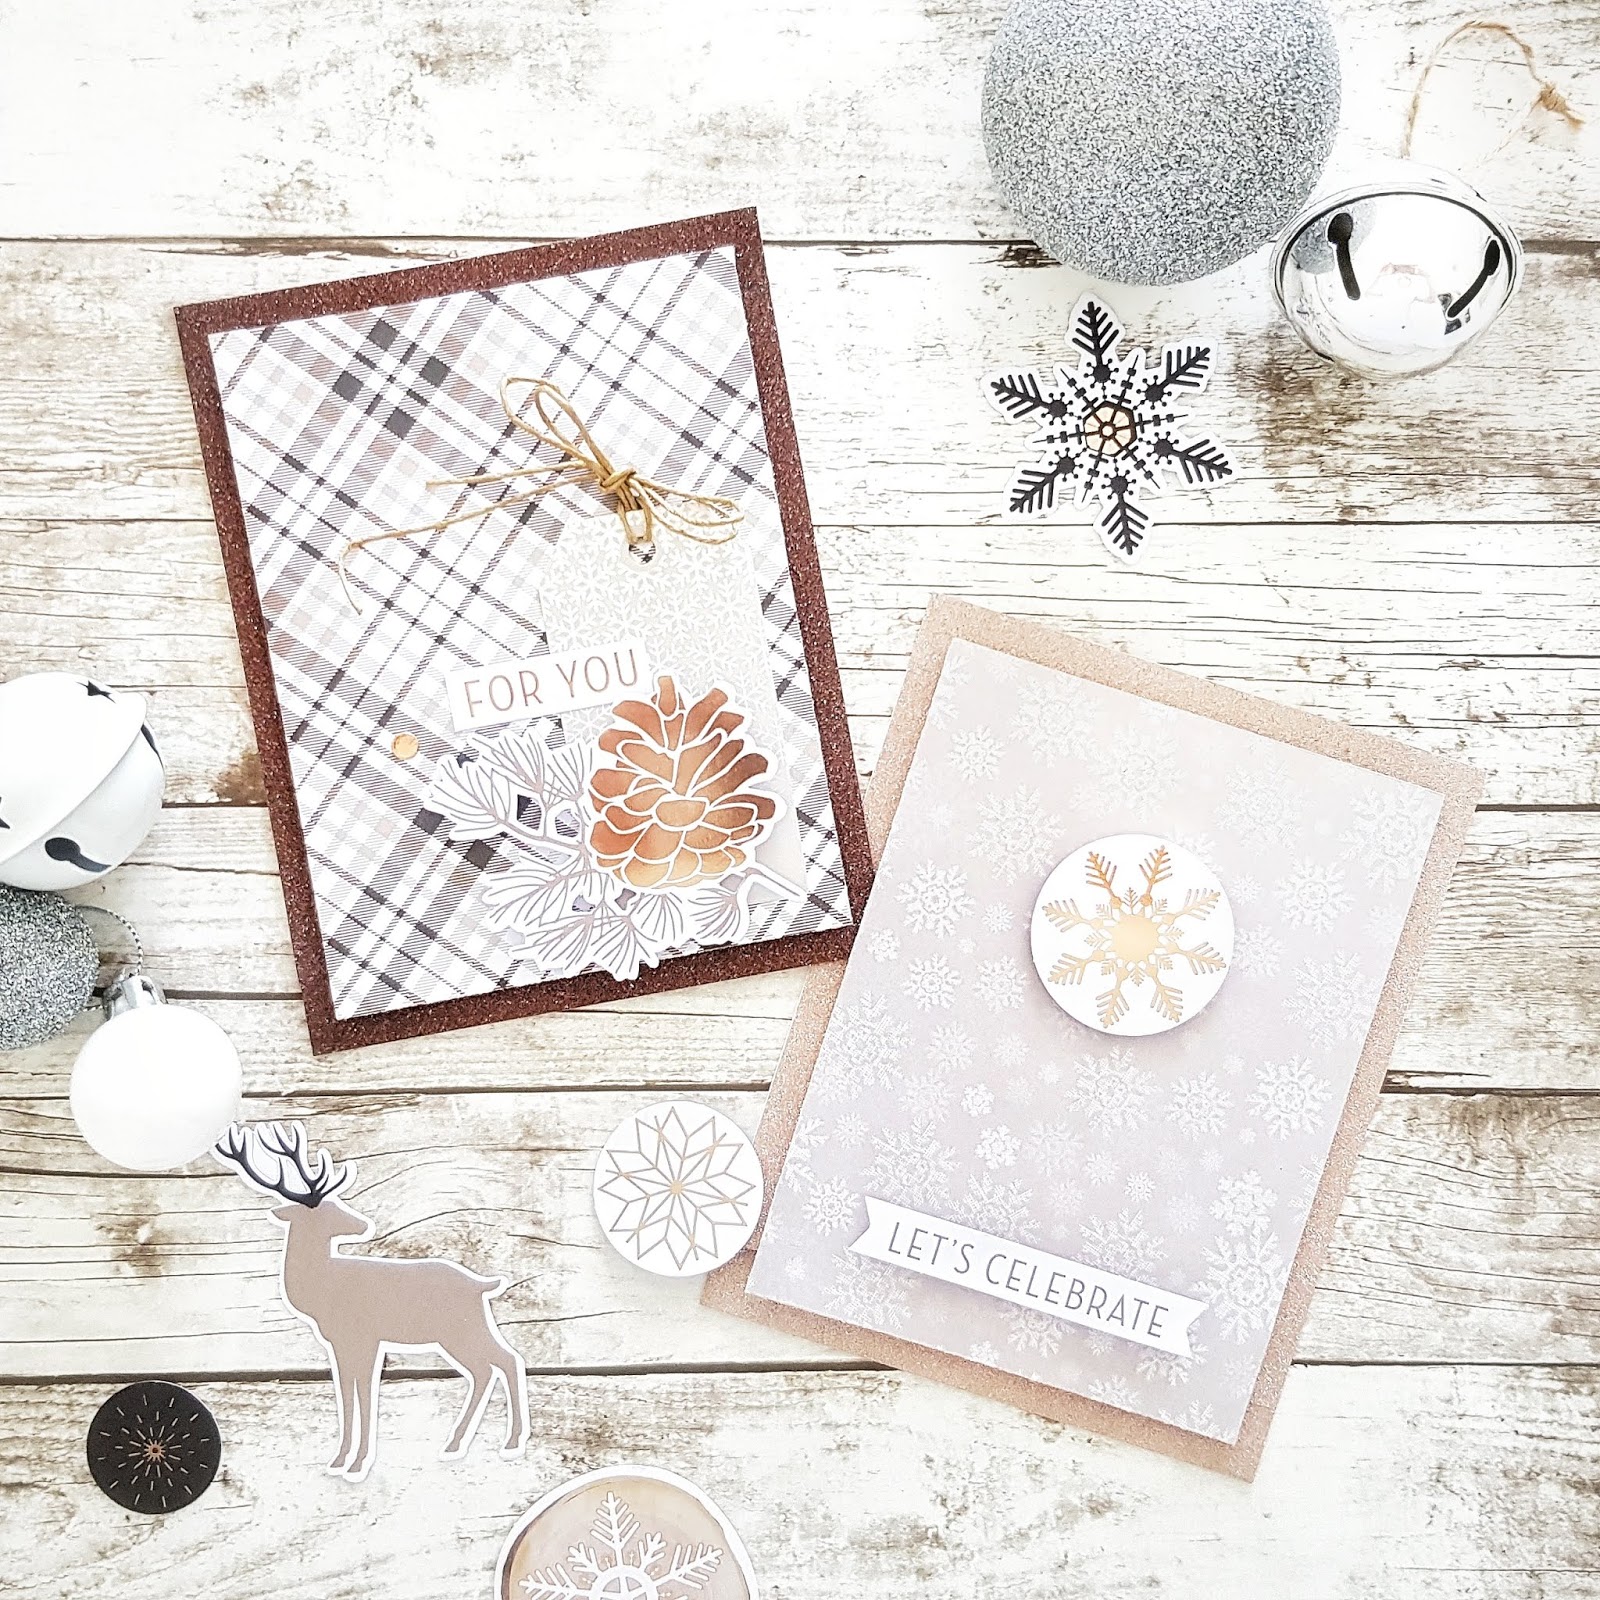
I've used the glitter washi tapes in this month's kit to border the card bases, and give the appearance of glitter cardstock. I've also featured the exclusive 6 x 6 pattern papers and die cuts. So gorgeous! 
Here's another look ....


Oh so lovely! This one also features the twine in this month's kit too! 
I just adore that pinecone! 
Next up are a few cards made with the amazing metal dies in the kit.....


Winter Wonderland perfection!
The metal dies are always my favourites! LOVE!!!
You'll spy the teal enamel dots and gold glitter puffy alpha stickers also making a statement on these two cards! 


That polar bear is just adorable!!!


Those gold glitter puffy stickers are so sparkly! & I'm totally crushing on all those intricate snowflakes! 

For my next card, I'm demonstrating the versatility of this Christmas themed kit with a simple birthday card.....


Super sweet! & how awesome to be able to get more than just Winter themed Christmas cards out of this kit! 
I love all the foil elements on the tags, it really makes them pop! 


And now for some Winter Wishes.....


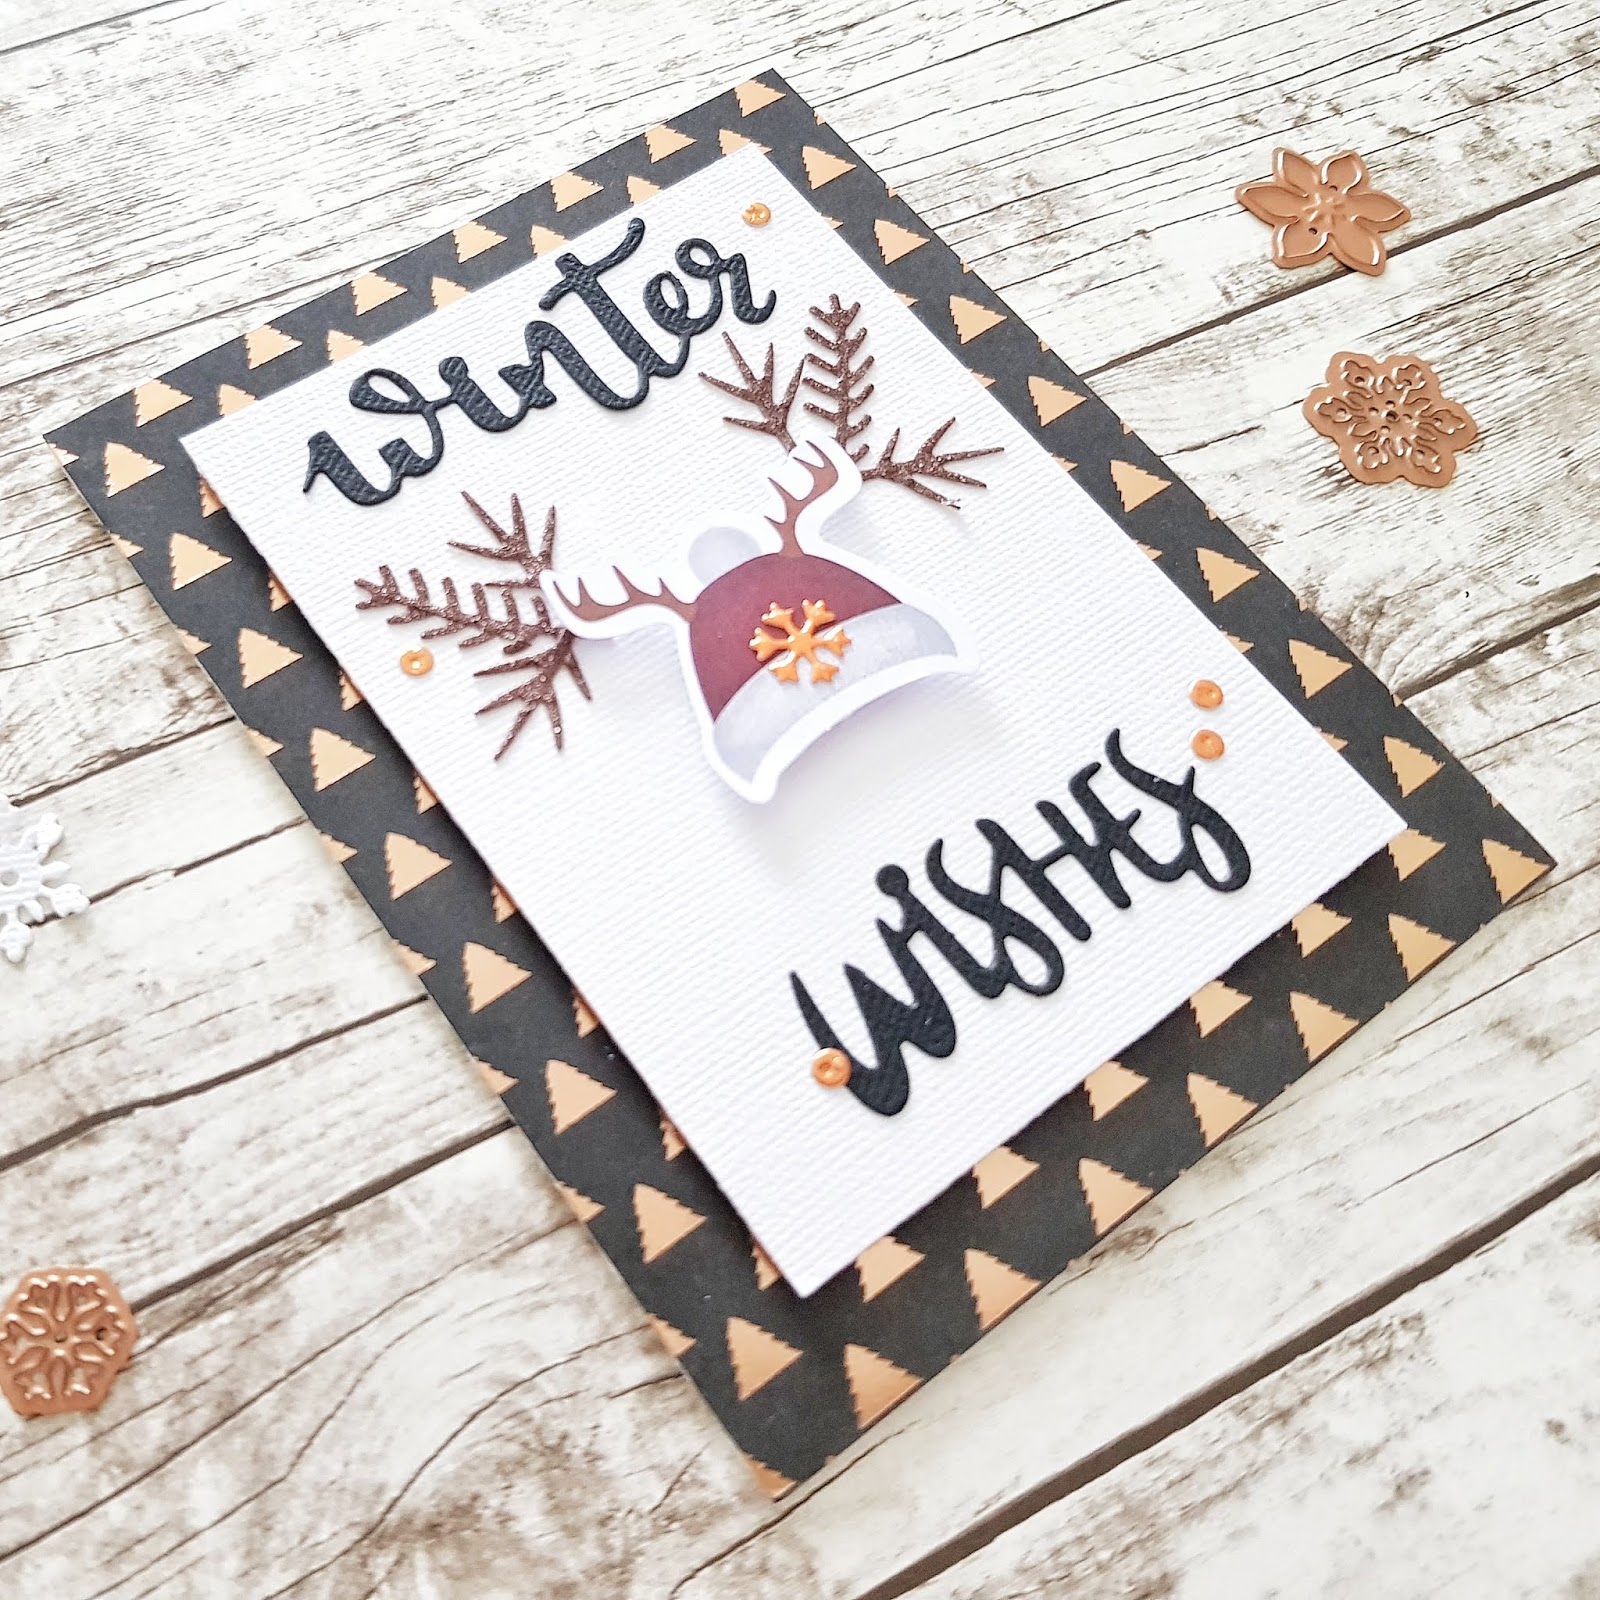
How cute is that Santa hat die cut with the antlers?! 
It inspired me to create more antlers with some of the leafy metal dies. 


You'll spot that the faux antlers are a lil sparkly!  
That's because I die cut them from the glitter washi tape in the kit! 
I just love how effective the die cut washi tape looks, that I double it's width and cut my sentiments with it for the next card.... 


Oh.how.stunning!!!
Everything in this kit is just so beautiful! 


Total gorgeousness!

I hope I have inspired you with my first installment of creations with this kit! 
 I have so many leftovers that I'll be using this kit all month - it's amazing!
I haven't even got to the stamps yet! 
So good! 


Thanks so much for visiting, 
til next time, 

Happy Arty Days, 
Amanda xo 

Spellbinders Guest Designer : Inked Messages Stamp & Die Sets #3


Hi Crafty Friends!

Welcome back my final guest post projects with Spellbinders
If you missed my earlier posts you can go back and check them out here. 
I have really enjoyed creating with the beautiful 
I hope my projects will inspire you to try these fabulous products! 


Roses are a favorite of mine, so I couldn't wait to play with that stamp first!
Here's what I created....


Sigh! Aren't these stamps divine?!! 
With such beautiful and intricate designs, I opted for a clean & simple approach to really highlight them! 
Both cards are created from smooth white cardstock. The stamps are also printed onto this cardstock, and applied using black permament ink. I use colored markers to fill the images, and then use my Platinum 6 Die Cutting & Embossing Machine & their coordinating dies to precisely cut them out. 
Here's a closer look....................


Isn't that Siren / Sea Faring Girl just stunning?! 
But it was the roses that had my heart! Gor-jus!
I pop a little white tangled thread beneath the large rose, and then glue the rose on top. I use thick foam tape beneath the Siren, and attach to the card front. 
A few clear rhinsetones complete this striking CAS card! 

I use a similar approach for the larger 5" x 7" version.....


Loving the red for the roses! So elegant and beautiful!


That Siren is a lil mesmerising! What a heartbreaker!
SO many creative possibilities with this set! LOVE!

Last, but by no means least, I am sharing two support and healing cards.....


Oh, how lovely! 
What a beautiful way to show someone that they're loved & not alone during tough times! 
Like the previous cards, I have stamped onto smooth white cardstock, and filled the images with ink markers. I use their coordinating dies to cut them out, and again, feature tangled threads beneath the main image. I use foam tape to add a little dimension, and embellish with a few pearls. 
Super quick & simple, but oh so pretty! 


The inclusion of lace trim beneath the stamped image really softens this somber card. With it's cooler color scheme, this card would be very appropriate as a sympathy card.  


With a modern and warm color scheme, this card is ideal for your bestie's break up blues! The warm colors signal playfulness and hope. Such a great idea for this stamp & die set!


Absolutely Beautiful! 

Spellbinders Supplies: 

Thankyou so much for visiting today!
I hope you enjoyed seeing my creations with these gorgeous products!
I have loved being a Guest Designer for Spellbinders and hope to share more with you again soon!

til next time,  

Happy Arty Days, 
Amanda xo