Showing posts with label Along The Way. Show all posts

The Cut Shoppe: Flutterby Butterfly Love!


Hi Friends!

Welcome back for more cut file inspiration, with my latest layout for The Cut Shoppe!
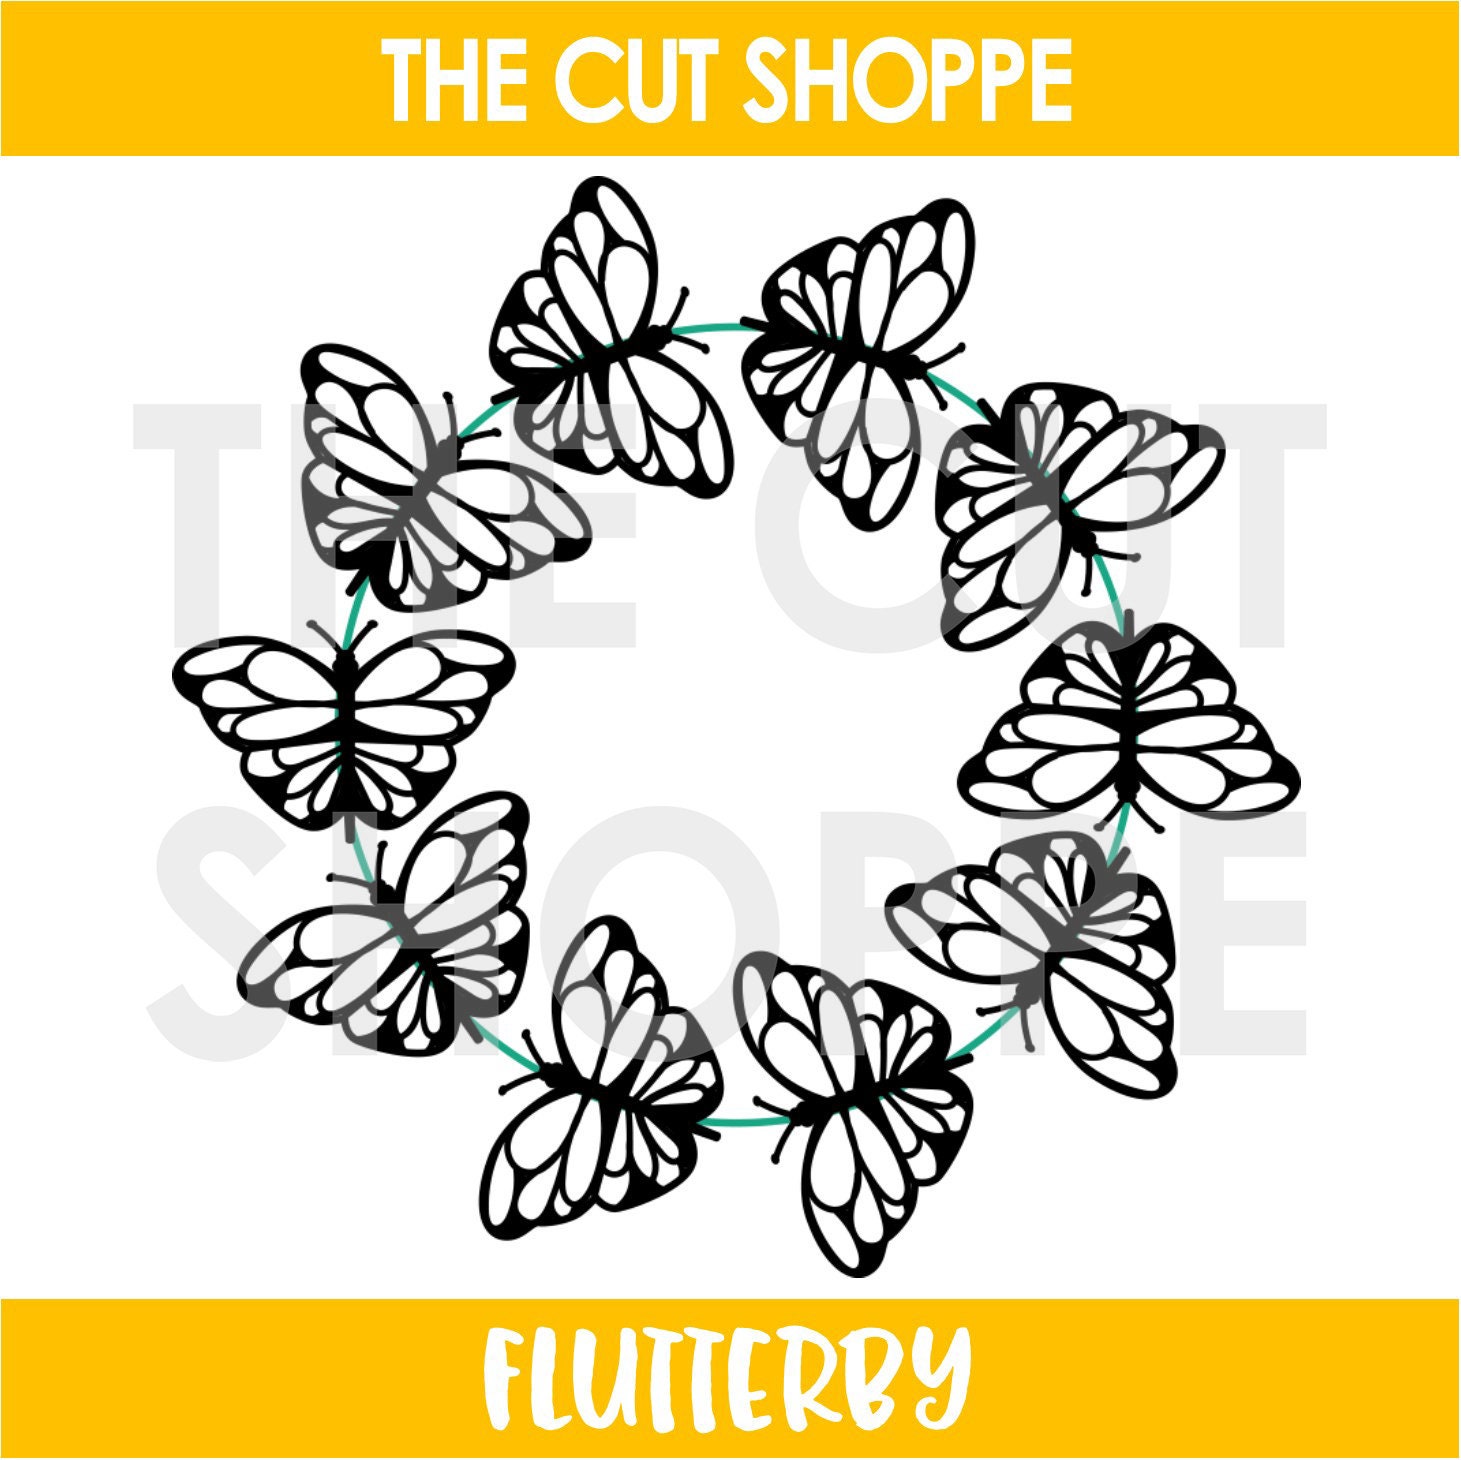
Today I am sharing a very pretty page with the fabulous Flutterby cut file! 
I just love butterflies, & pop them in a wreath and well, I'm one happy creator! 
Here's what I've made with this file today.....
"Hello, Sunshine"


Sigh! Isn't this just lovely?!
The Flutterby digital cut file is just so intricate and oh-so-beautiful!

Absolutey divine! 
You can find this incredible file in The Cut Shoppe Etsy Store HERE. 

Let's take a closer look at my layout....


I've teamed that amazing Flutterby file with the beautiful Pebbles Jen Hadfield: Along The Way collection & I think you'll agree that this is perfect combination!
You'll also spy my fave Shimmerz: It's Mint To Be as an accent color.
So.much.pretty!
I love the white on white look, & regularly cut our files in white cardstock to use on white backgrounds. I really like how this creates a clean and fresh look to layouts, and allows the cut file to be supported with bright pops of color - without being too busy on the eye! 


I've backed half of the butterflies with that soft pink polka dot paper, gluing them perfectly into place. 


The other butterflies are backed a lil differently! I have traced the remaining butterflies with pencil onto that pretty golden yellow paper, cut them out and semi attached them to the Flutterby cut file. I love how they create that layered wing look! 


I've also dressed the Flutterby cut file with lots of pretty embellishments including die cuts, stickers and dots. 
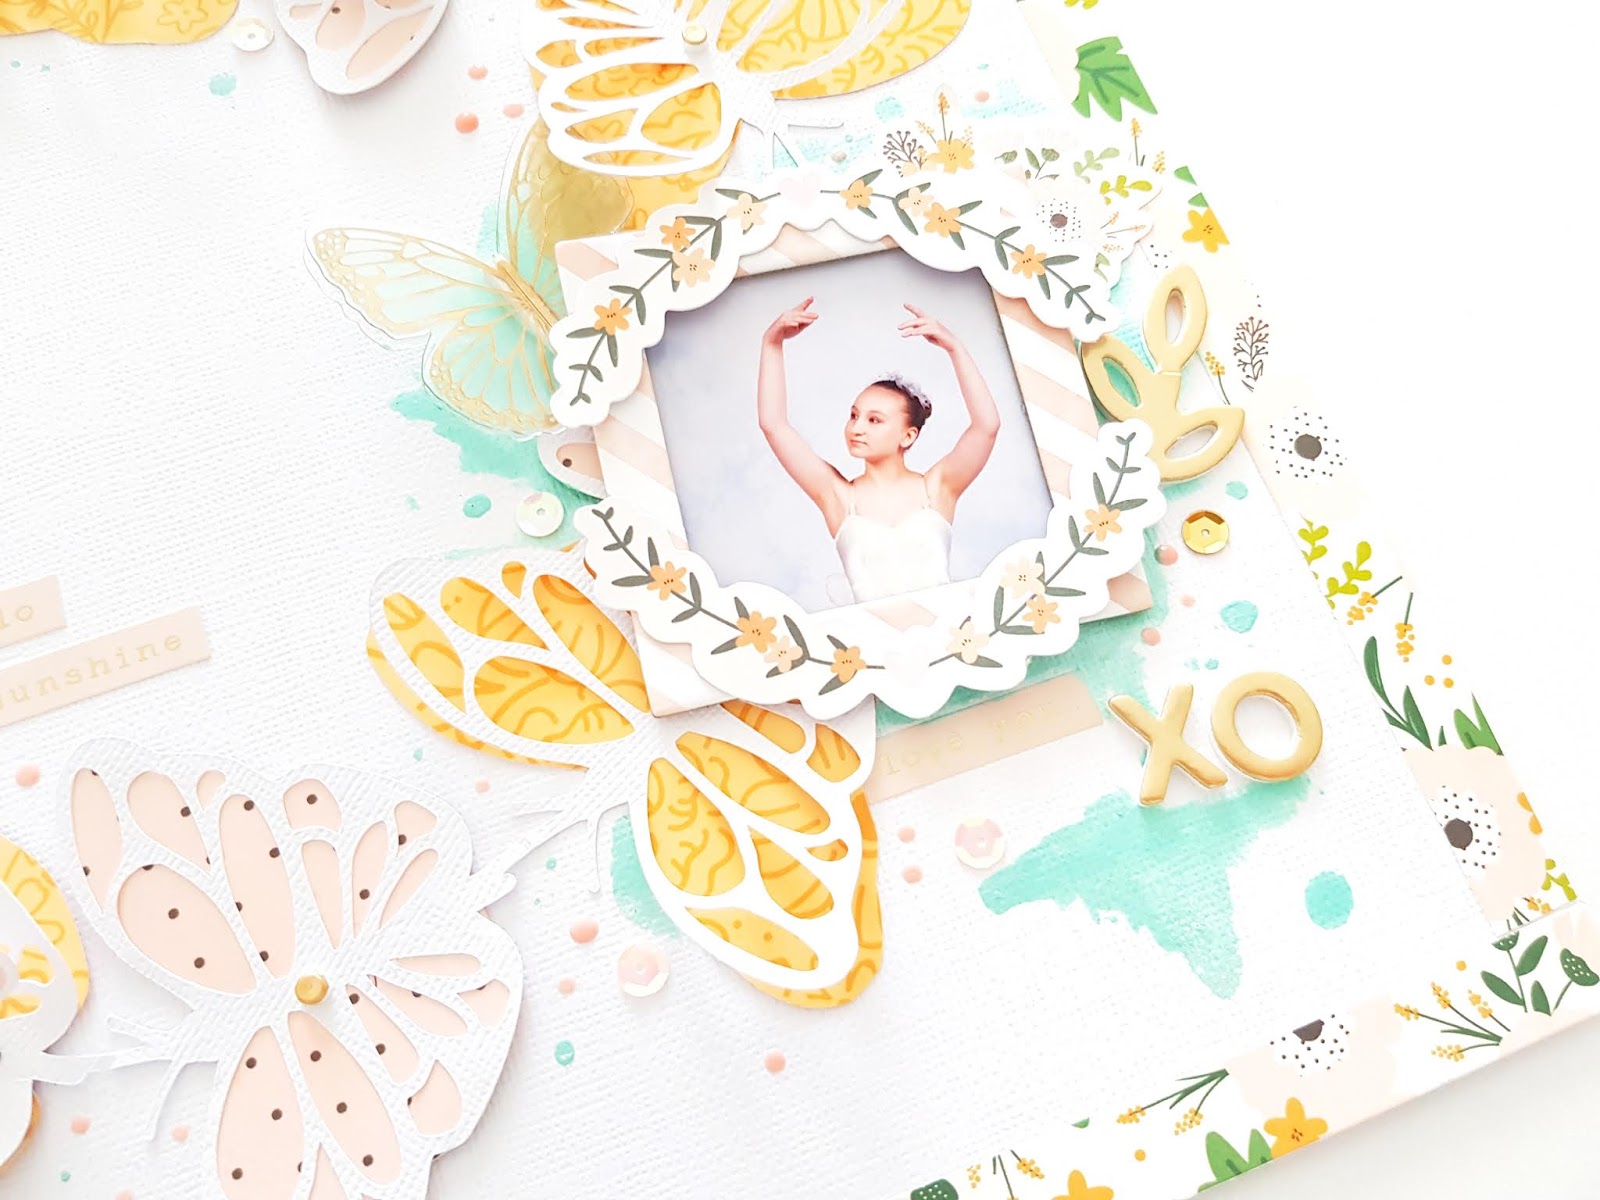


To ensure my photo isn't lost amongst all those beautiful butterflies, I pop it into a frame before layering it onto the Flutterby file. Pretty! 
Such a gorgeous layout for my gorgeous ballerina! 
I think you'll agree that the Flutterby digital cut file is a must have! 

I hope my layout has inspired you to add the Flutterby to your TCS collection today!

Thanks so much for visiting, 


Pebbles: Happy Day with Along The Way!


Hi Creative Friends!

Welcome back for more Pebbles inspiration!
Today I am sharing a really beautiful layout with our adorable Along The Way collection
With so many pretty patterns and such a delightful color scheme, 
it's an absolute joy to memory keep with!
 And this lovely layout is both effective and super easy to recreate at home! 
But enough chatter, here's my lovely page....

"Happy Day"


Oh so pretty, indeed! Clean, & contemporary design with a soft, feminine twist!
Here's how to recreate this layout....


Start by adhering 5 tags from the Along The Way Tags pk to the right hand side of white 12" cardstock, as shown above. I adore this sweet pack of tags and just had to feature some of them in my layouts!


Next, trim the reverse side of pattern paper Flutter (blue with polka dots print) to 3 1/4" x 12" and attach to the right hand side, being sure to cover the prints on the Tags.  Then, trim Flutter to 2 3/4" x 12", mount with foam tape and attach from the right hand side also. This creates a raised paper overlay onto the polka dots print, and looks so impressive! A great point of interest to the right side of the layout, and such a wonderful way to showcase that divine Flutter paper!
Time to create the photo cluster....


Trim the reverse side of pattern paper Flutter to 4" x 3", and then trim the reverse side of Window Box to 4 1/2" x 3 1/4" and glue them together. Attach another of the Tags beneath the paper layers, as shown above. Glue your smaller size photo (mine was 2" 2 1/2" size) & embellish with an Ephemera sentiment. I applied foam dots to the Ephemera to make sure it was easy to see against the pattern papers.


Align this photo cluster beside the center Tag on the layout, and tape into position.

Tuck a couple of Ephemera leaves into the photo cluster. Embellish over the cluster with the pretty girl Ephemera. Again, I used foam dots to ensure this adornment was easily identified.


Embellish with butterflies! I used two of the 6" x 12" Cardstock Stickers butterflies, as well as that gorgeous Dimensional Sticker one! So pretty!


Add a title with the gold foil Katherine Thickers, and a few tiny spots of journaling with Phrase Stickers.


Tuck a floral sticker beneath the right hand corner of the photo, and add the extra pretty girl Cardstock Sticker. For finishing touches, add the smile always heart Cardstock Sticker, a baker's twine bow to the photo cluster tag and a scattering of pastel pink sequins.


Such a lovely page to document the oh so pretty person in your life!
I hope I have inspired you to get creating with the beautiful Along The Way collection!

Thanks so much for visiting,
Happy Arty Days, 
Amanda xo


Other Supplies: Baker's twine, sequins.

Pebbles: Cards of Hope with the Along The Way collection!


Hi Friends!

Welcome back for more Pebbles inspiration!
Today I am sharing something that's a little close to my heart; 
raising cancer awareness & spreading hope. 
These days cancer is all too well known, with most of us being affected either with the disease, or having a friend or family member suffering. It is a thing of great despair & darkness.

So let's bring some light to those who need it most, by creating cards of Hope!
Infact, why not host a little 'Coffee, Cake & Create' card making session to raise money for cancer awareness?
Together we can all make a difference!

Here are my cards of hope with the beautiful Along The Way collection.....


Aren't they beautiful?!
Here's how to recreate them......


Start by trimming pattern paper Blooms into two sections,  10" x 7" and 10" x  5". Score down the center, and fold to create 2 card bases, as shown above. One card is a larger 5" x 7" size, and the other is cute 5" square card. 

Next, trim the reverse side of pattern paper Window Box to 4 1/2" x 6 1/2" and 4 1/2" x 4 1/2" and adhere to the card fronts. Cut a 4 1/2" x 3" strip of pattern paper Bird Seed and attach to the Window Box base of the larger card. Glue doilies to the card centers.


Select a tag or two from the Along The Way Tags pk, and embellish with a Phrase Sticker or Ephemera sentiment.


To add dimension and interest, build up your card layers with foam mounted ephemera.


Add a few stickers, & a lil more ephemera!


Looking good!


Use the pretty laurel leaves from the Kacie Thickers to add another texture, & element of interest.

Apply a sentiment at the card base with the gorgeous gold foil Anne Thickers. 

For finishing touches add a coordinating bow, and some sequins. Simple, but oh so elegant!


Cards of Hope only take a few minutes to create, but their thoughtfulness will last for months. 
Let's spread the hope, and support our community! 
I hope my cards have inspired you to get creating and maybe even raise a little money towards cancer awareness too!


The Along The Way collection is really beautiful, and just perfect for all those special projects!

Thanks so much for visiting,
Happy Arty Days, 
Amanda xo


ALONG THE WAY SUPPLIES:
OTHER SUPPLIES:
Doilies, ribbon & sequins.