Hi Creative Friends!
I hope you all had a very Merry Christmas!!!
Today I am sharing my take on the Hip Kit Club's Weekly Challenge! This time it's a super fun color challenge....

Both the November & December Hip Kits are brimming with these divine colors, and I couldn't wait to get creating for this challenge!
I have been so smitten by the super cute Russian Nesting Dolls featured in the November Hip Kits, that I decided to make some of my own for today's layout.
Here's what I crafted,
"Merry & Bright"

Oh how adorable is this?!!! So cute 'n' fun! Those Russian Nesting Dolls are the BEST chipboard stickers I've ever seen! Love 'em! With so many beautiful pattern papers in the November 2020 Main Kit, and the challenge colors in mind, I just had to feature them for my larger, fussy cut & hand stitched Russian Dolls.
Let's take a closer look at them...
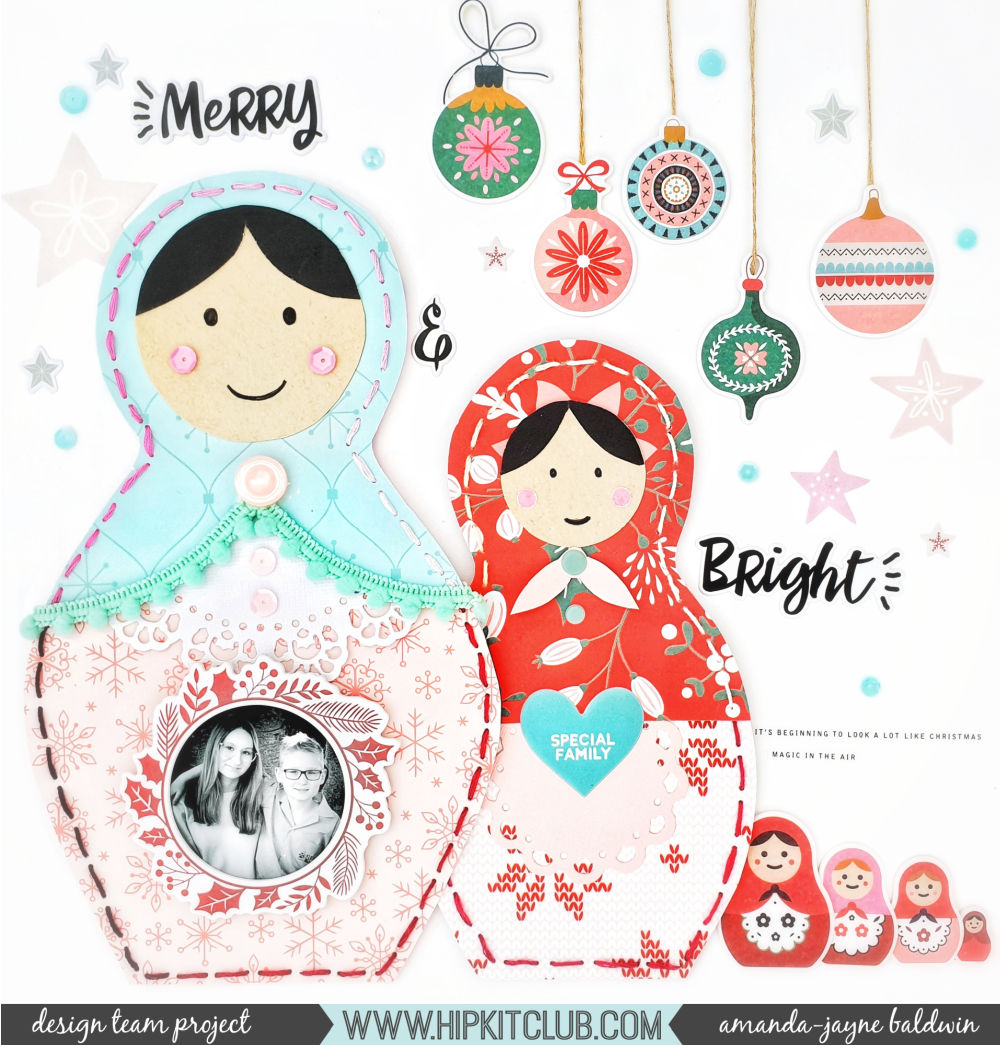
SO super cute!!! I quickly made up a doll template by drawing a bowling skittle with a circle on top. I traced around these templates and cut out all the pattern paper pieces in red, blue & pink papers. For the doily aprons, I used a metal die from my stash & cut out both a White and a Quartz doily courtesy of the November Cardstock Kit.

For the doll faces, I used Light Kraft Cardstock from the October 2020 Cardstock Kit, and drew in the eyes and mouths. I fussy cut out the doll hair from a black 3" x 4" journal card from the November 2020 Pocket Life Kit. For the larger doll, I used pink sequins for her cheeks and for the smaller one, I used a hole punched on some pink paper, both of which are from the November Main Kit. So simple, and yet such a fun use of these supplies!

As the pattern papers are so detailed, I opted for a chunky straight stitch to outline my dolls, and give them even more of that handmade feel. I embellished them with a few supplies from my sewing box, as well as those sweet blue Puffy Stickers.
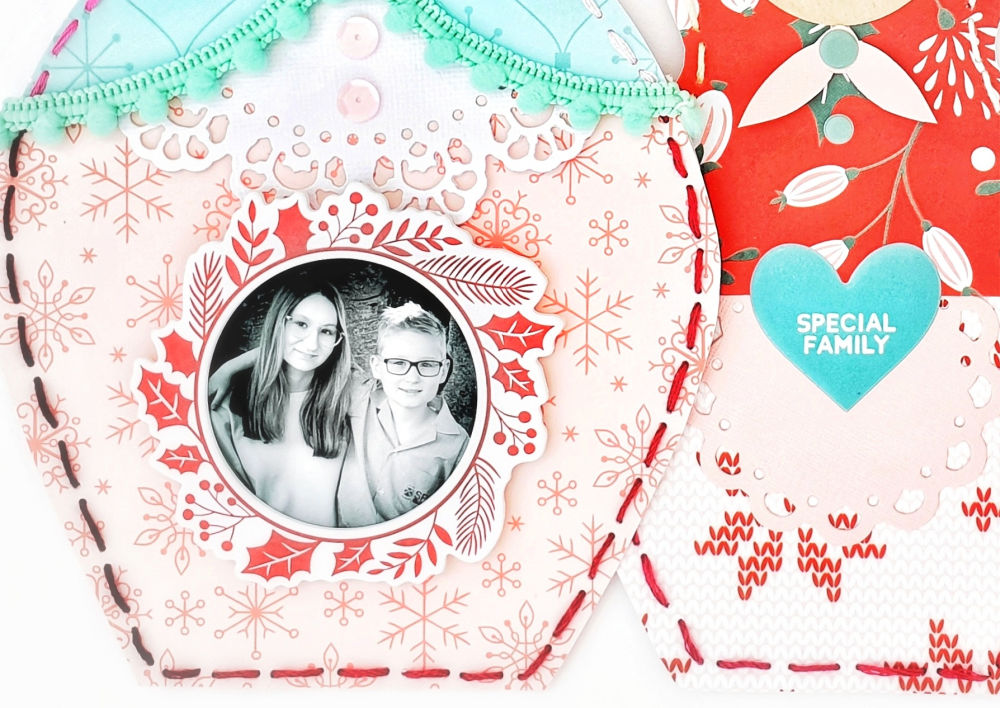
As the largest nesting doll always holds all the 'babies' inside, it seemed only fitting that my large doll feature my babies on it. I framed my children's photograph with that striking Merry Everything Chipboard Sticker Wreath, and foam mounted it onto my doll. So sweet!

Surrounding my Russian Nesting Dolls, and completing my scene, are more of the Merry Everything Chipboard Stickers. This time, I've backed the stickers with golden twine, and created the appearance of hanging ornaments - so cool! I used the Merry Everything Puffy Phrase Stickers for my layout title, and then filled the remaining white space with a mix of star stickers, and vellum from the November Embellishment Kit.
For finishing touches, I added some sequins from the Main Kit too. Love it!
The November Hip Kits are really stunning!
I hope my Russian Nesting Dolls page has inspired you to get a little creative with your Hip Kits, and play along with this week's challenge! Please be sure to share your projects with us in the Hip Kit Club Group HERE - we truly love seeing what everyone creates with the beautifully curated Hip Kits!
Thanks so much for visiting!
Til next time,


